All that spells BITTER is NOT BAD!

Bitter gourd, as is named is a very bitter vegetable and ranks higher for it dislikes. Yet, it is one of the most favored one in my house. I have grown up eating it in my lunch box for school and while I loved it, my peers despised it for its bitter taste. Thanks to my Mom, who, by all means ensured that I never say a no to ANY vegetable.
If I write down all the nutritional values of Bitter gourd, I might run out of time and space! It contains Vitamins B1, B2, B3 and C, Magnesium, Folate, Zinc, Phosphorus, Manganese, High dietry fibre, Iron, Calcium and what not!
Try this wonderful recipe! I am sure your family and friends will love it.
Ingredients: (Serves 3)
- Bitter gourds/ Karela (Smaller in size)- 250 grams (10 Pieces)
- For Stuffing:
- Salt as per taste
- Turmeric Powder/ Haldi- Half a tea spoon
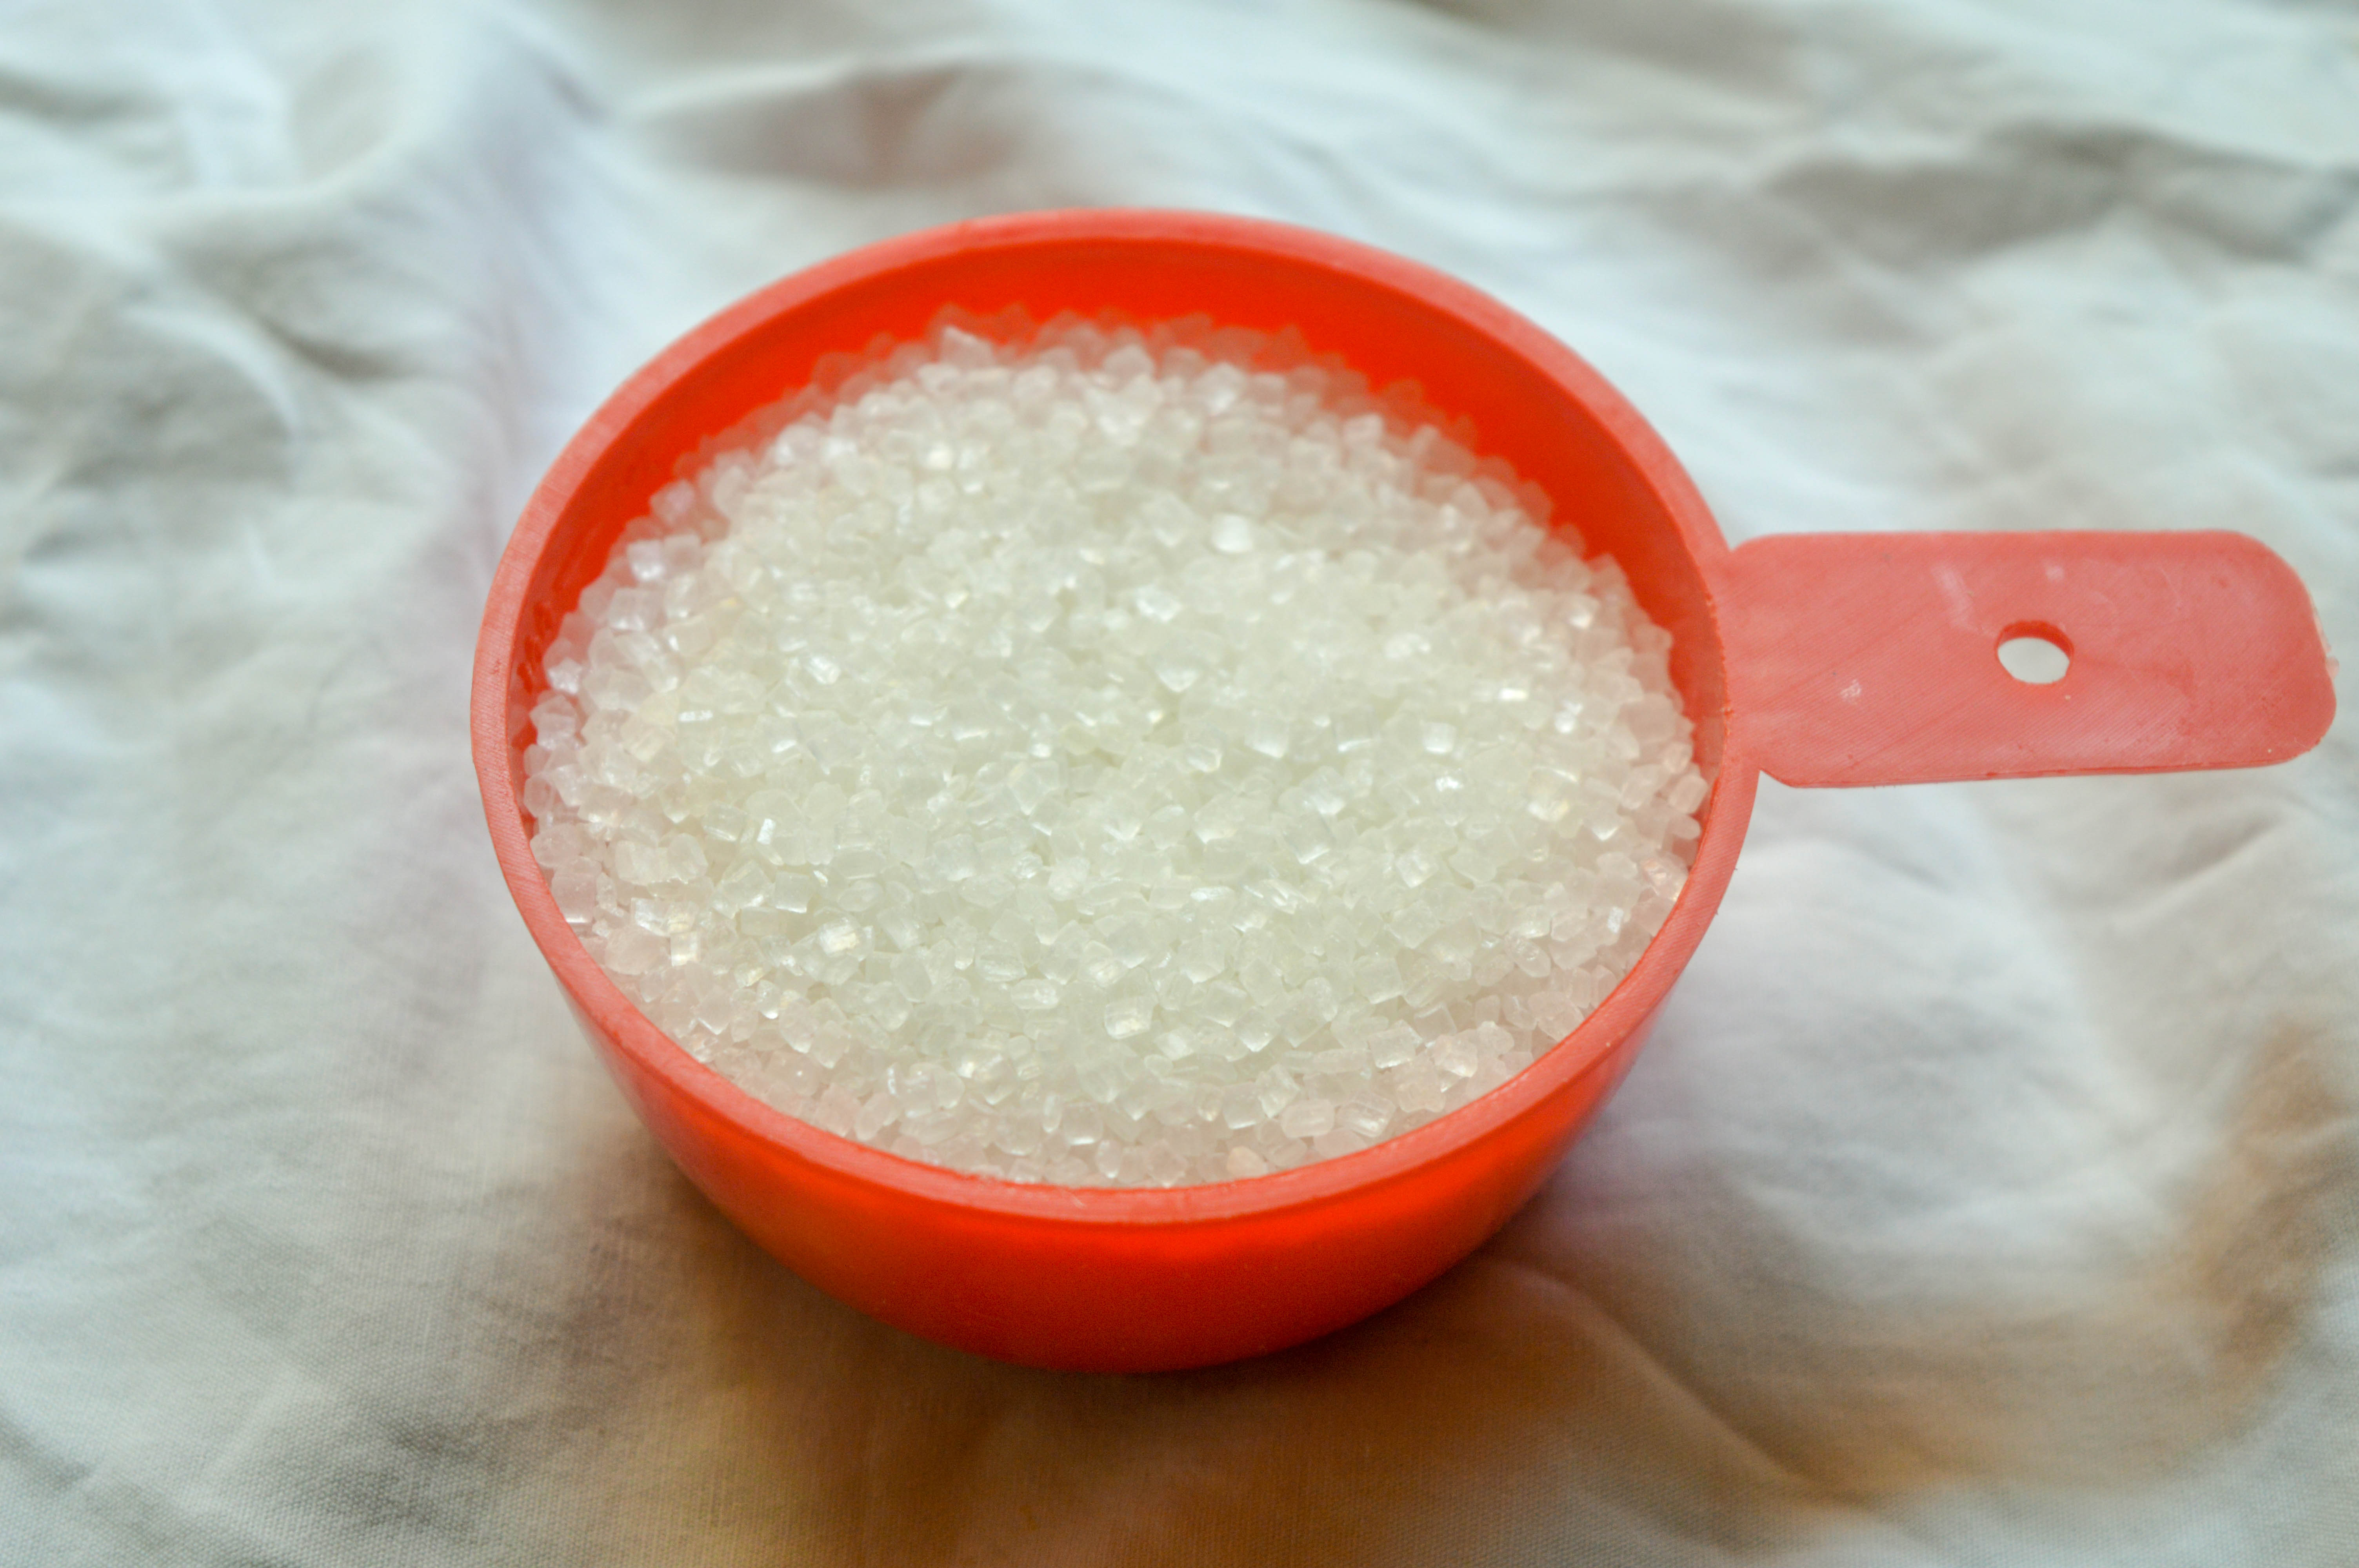
- Chili Powder/ Lal mirch Powder- 3 Tea spoons
- Coriander Powder/ Dhaniya Powder- 3 Tea spoons
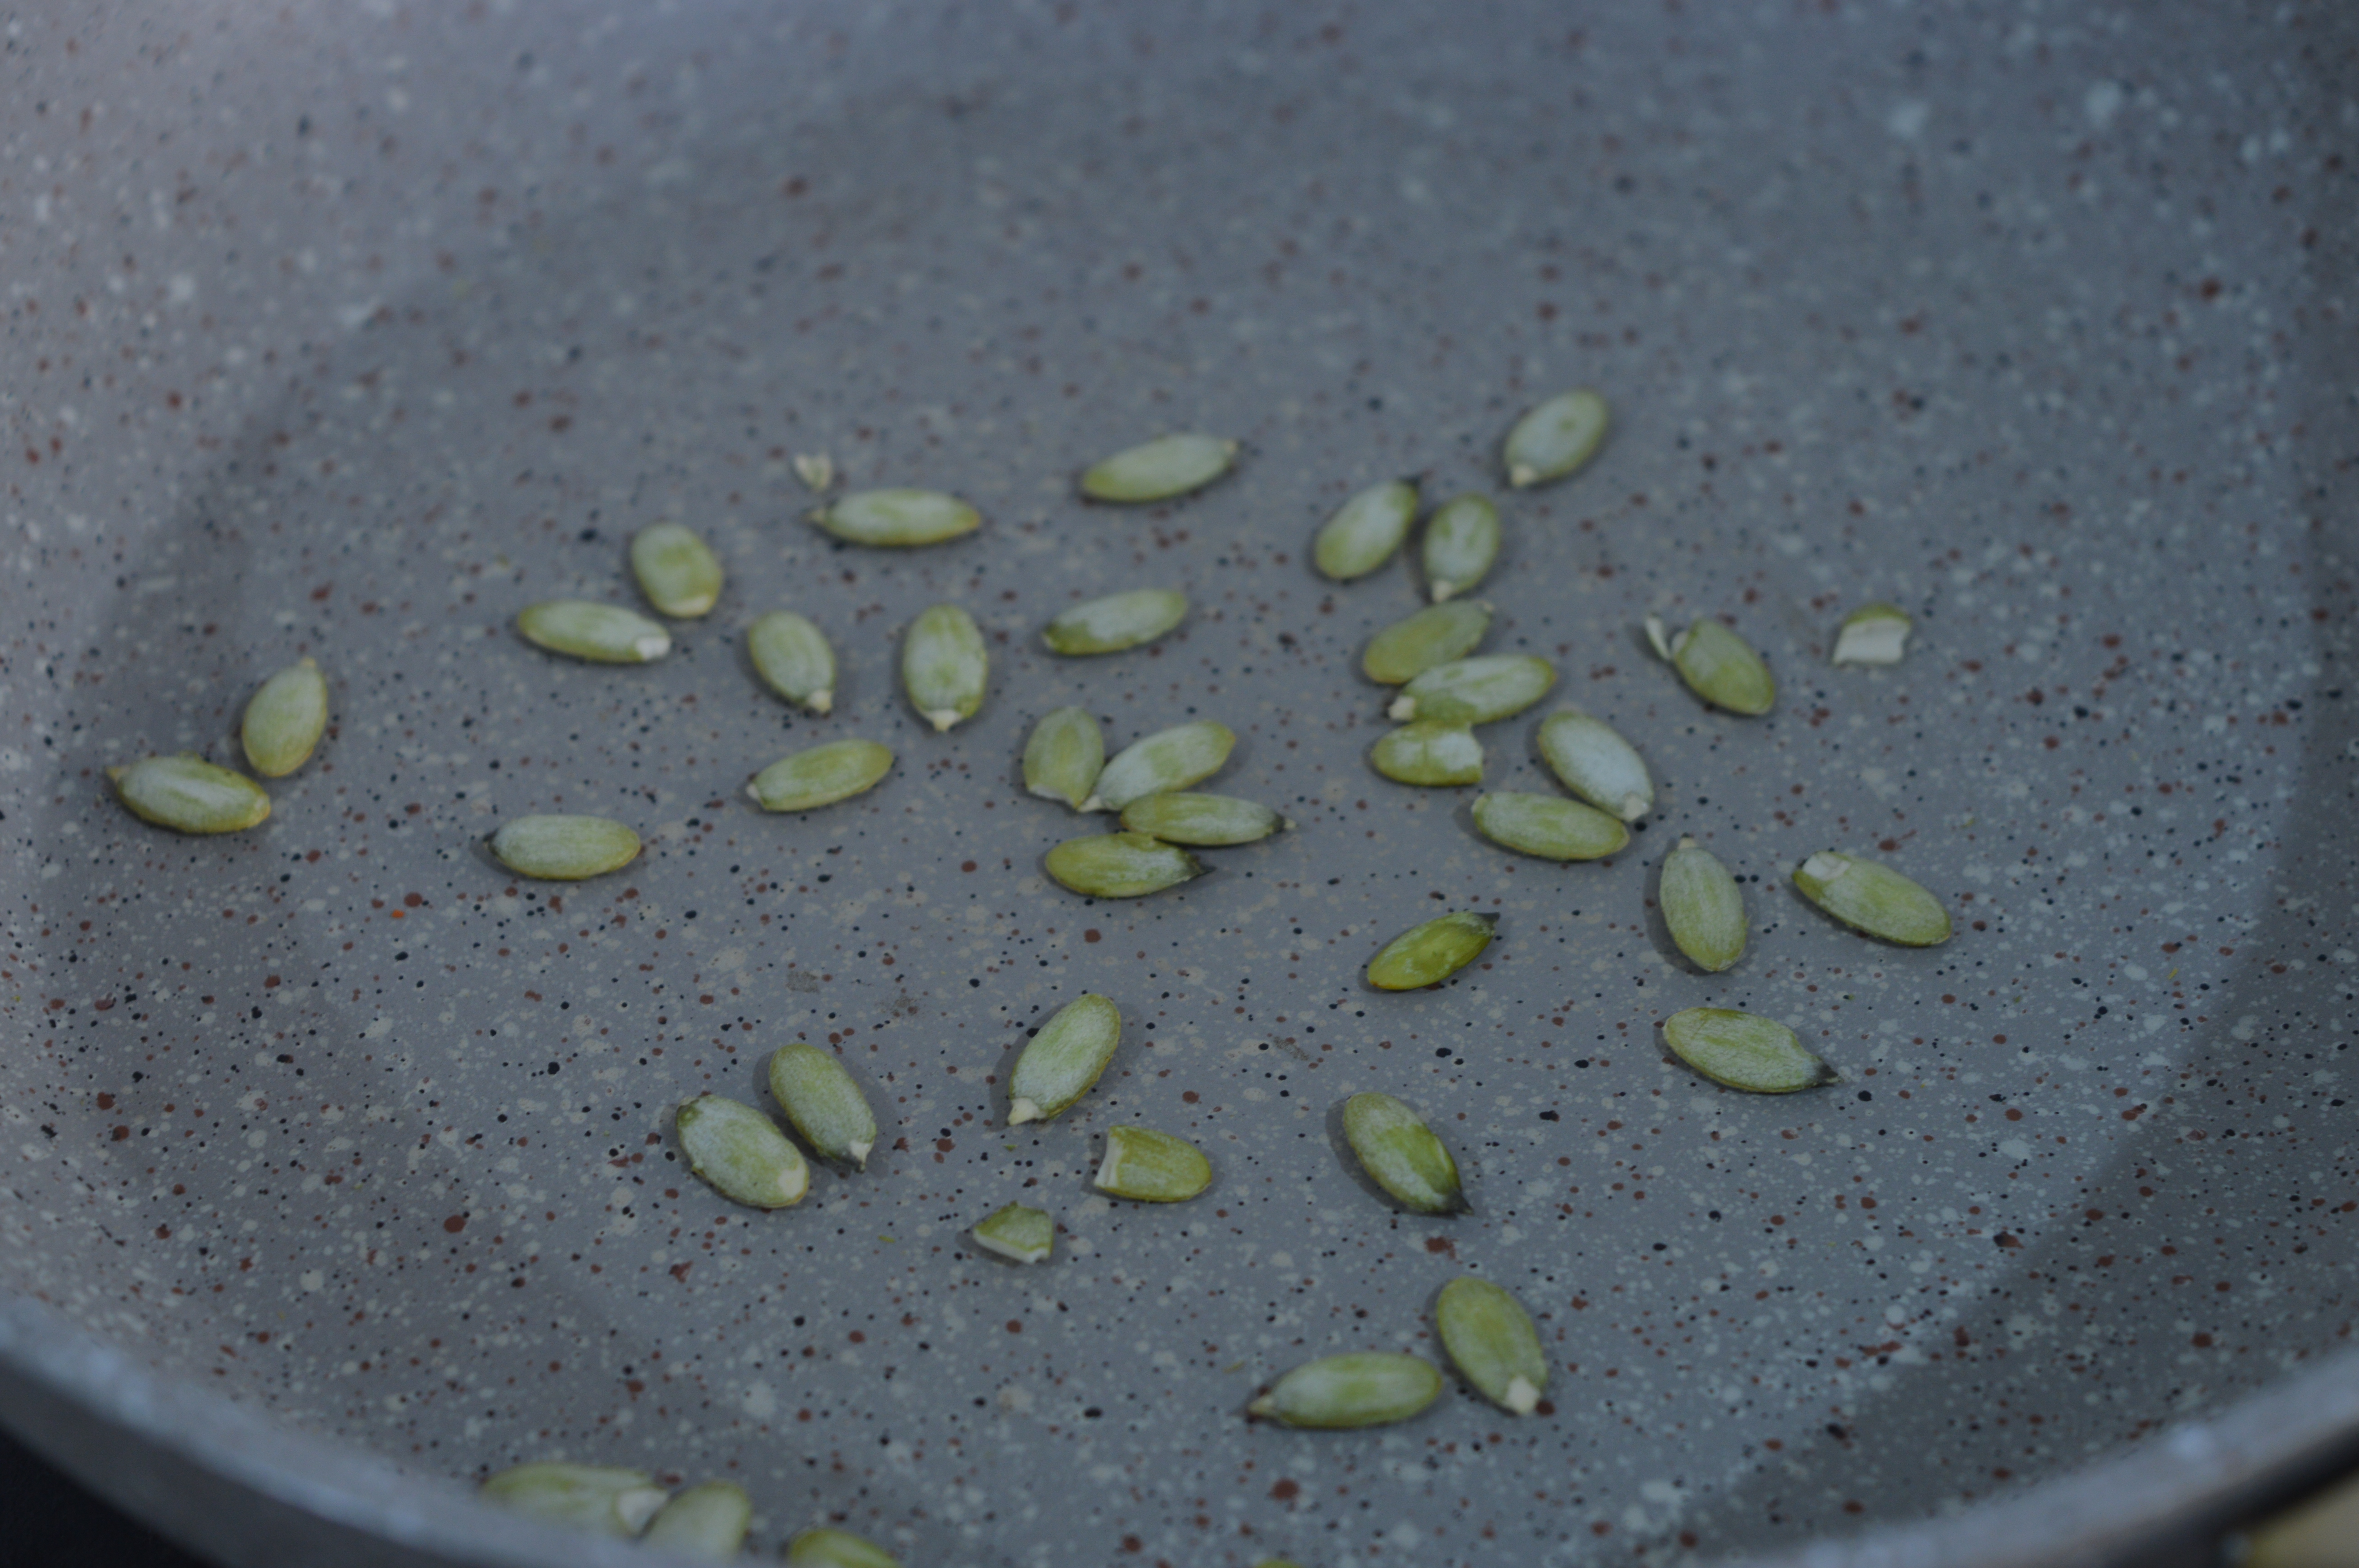
- Peanuts Powder/ Moongfali/ Sing Powder- 1/2 cup
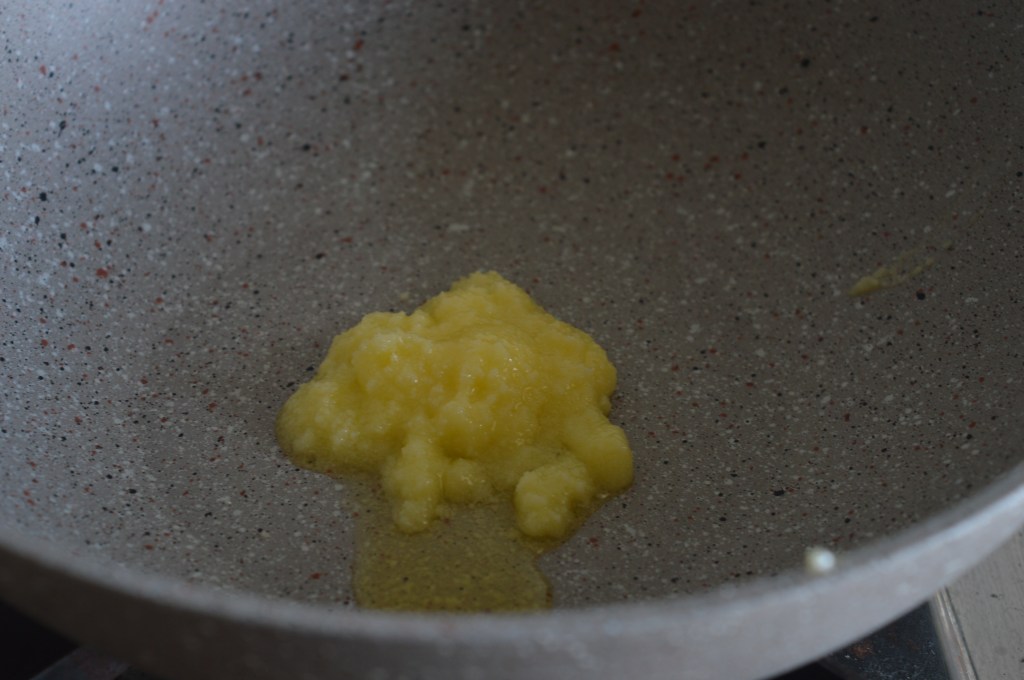
- Oil and water for binding the mixture
- For Cooking:
- Oil
- Cumin/ Jeera
- Tamarind/ Imli
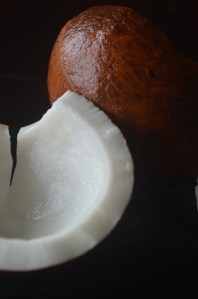
- Desiccated Coconut/ Khopra Bura
Recipe:
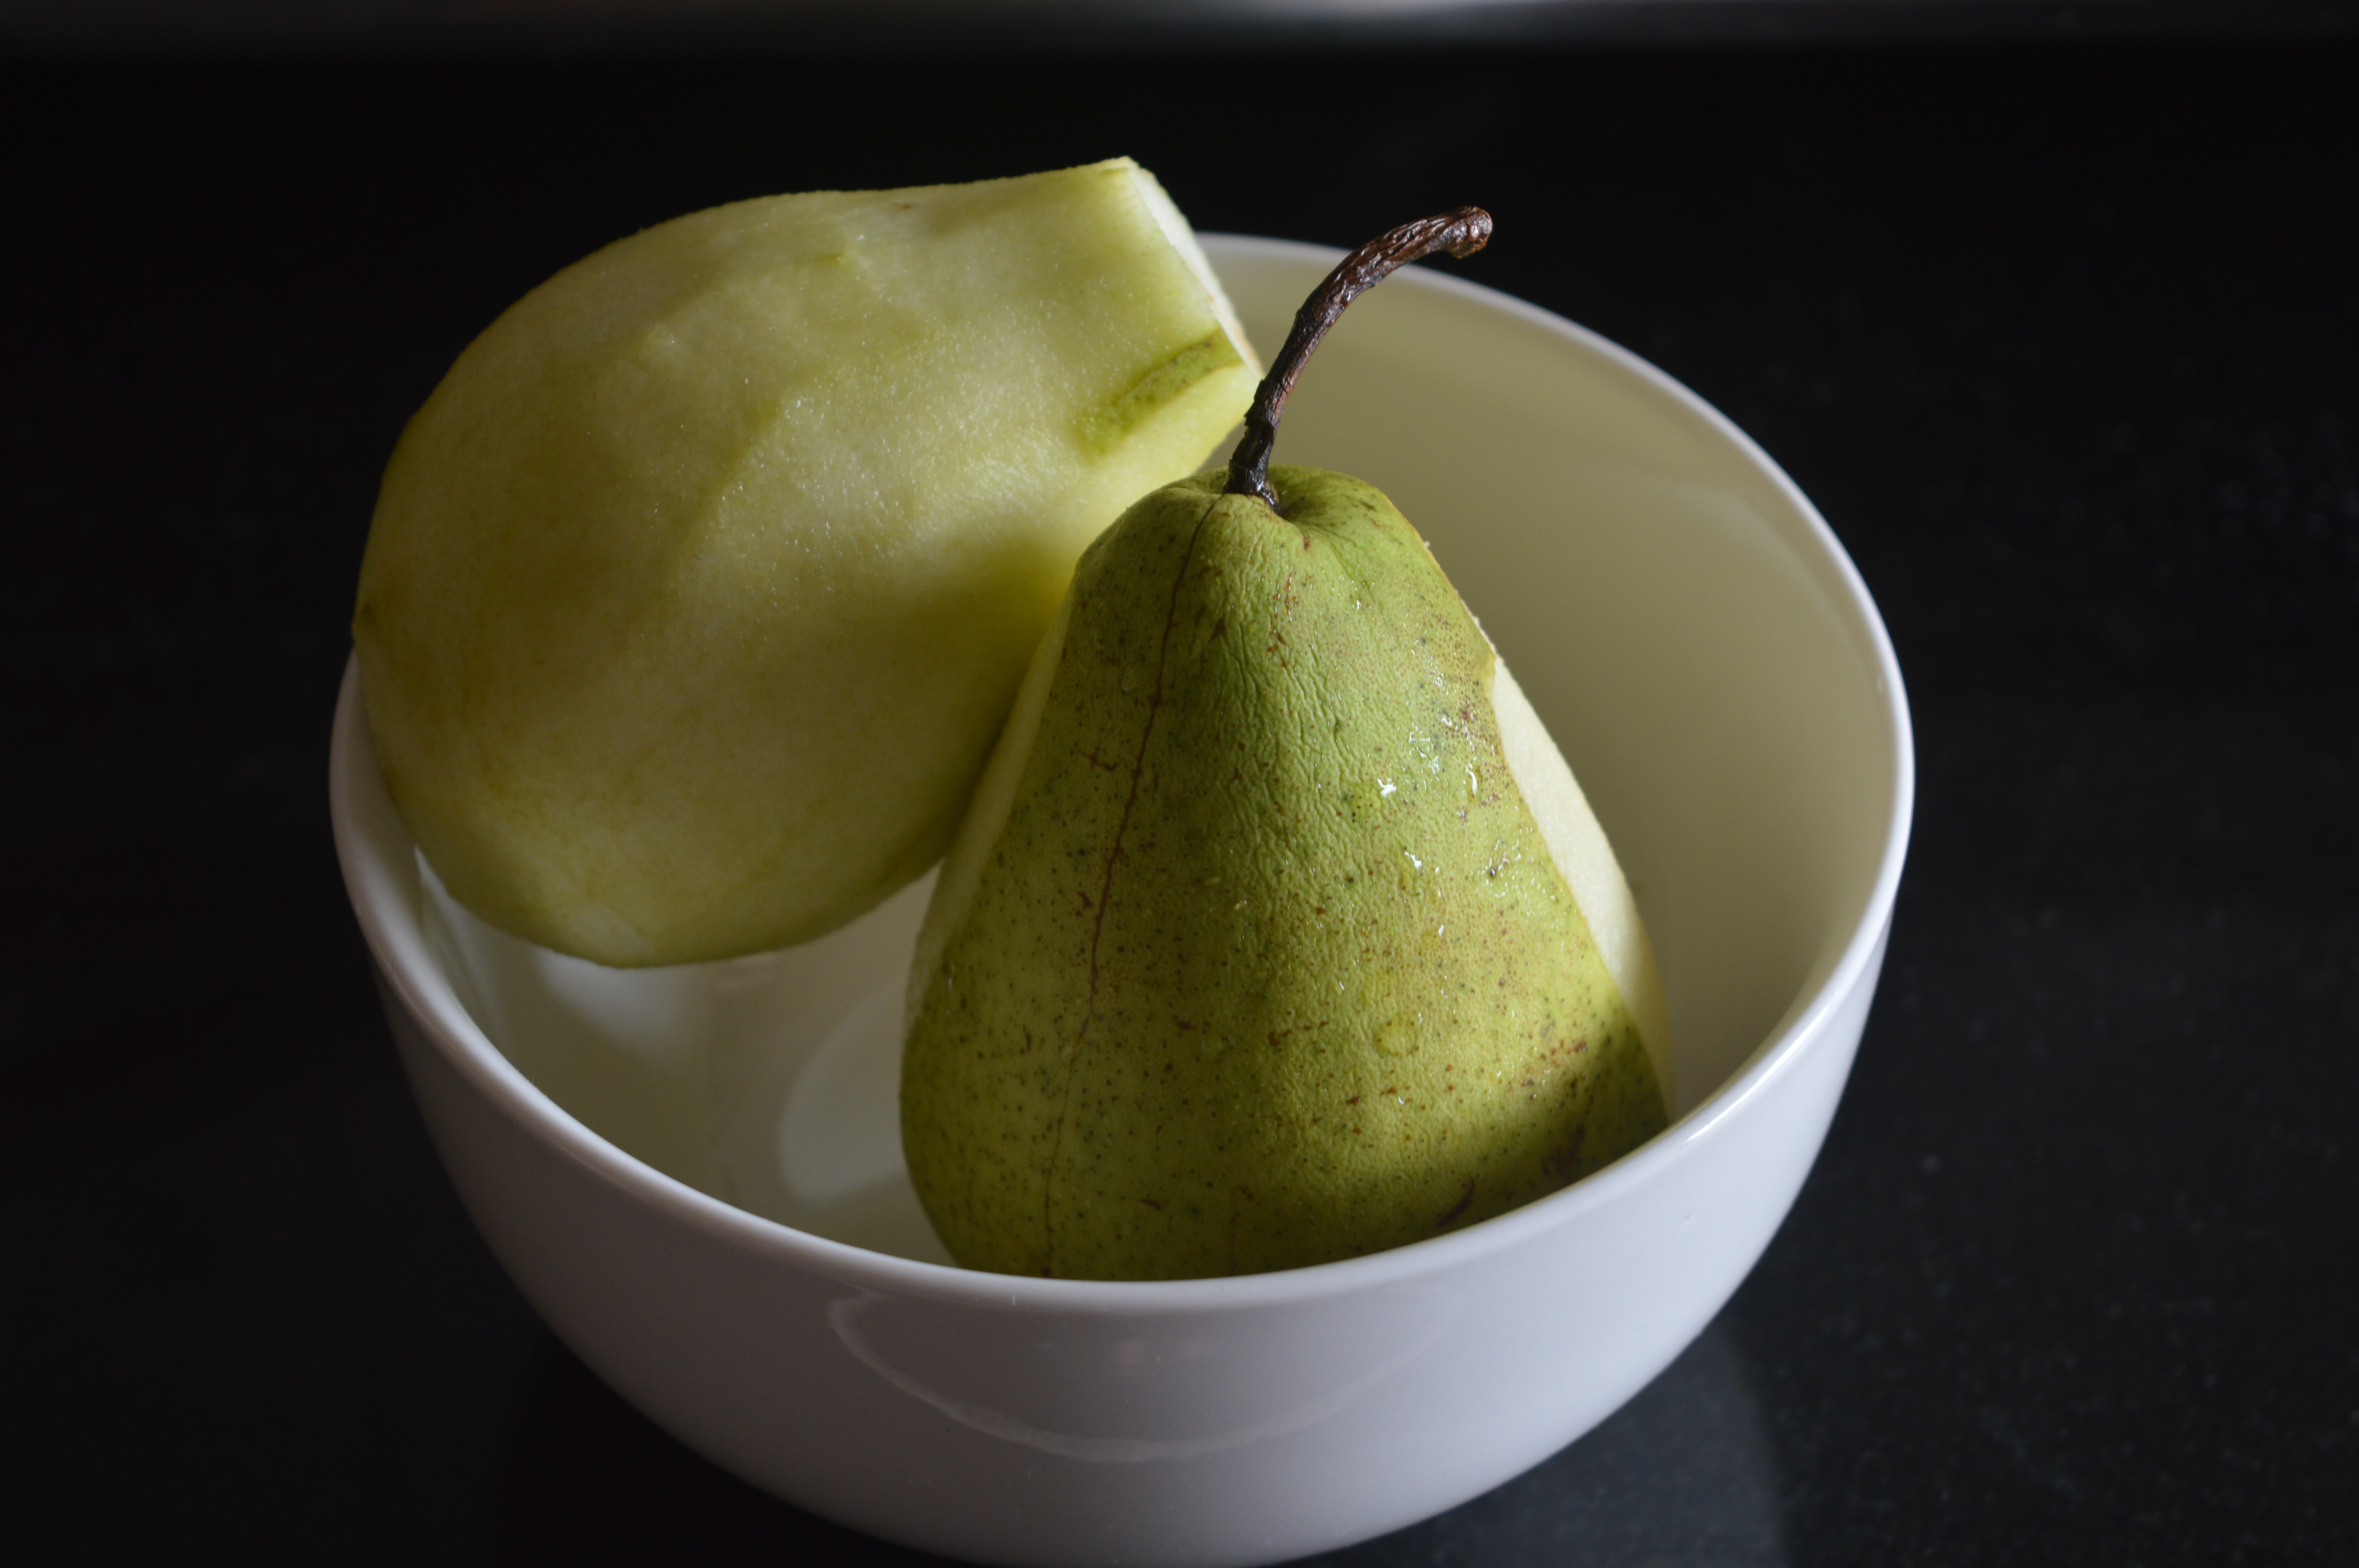
- Wash the bitter gourds under running water.
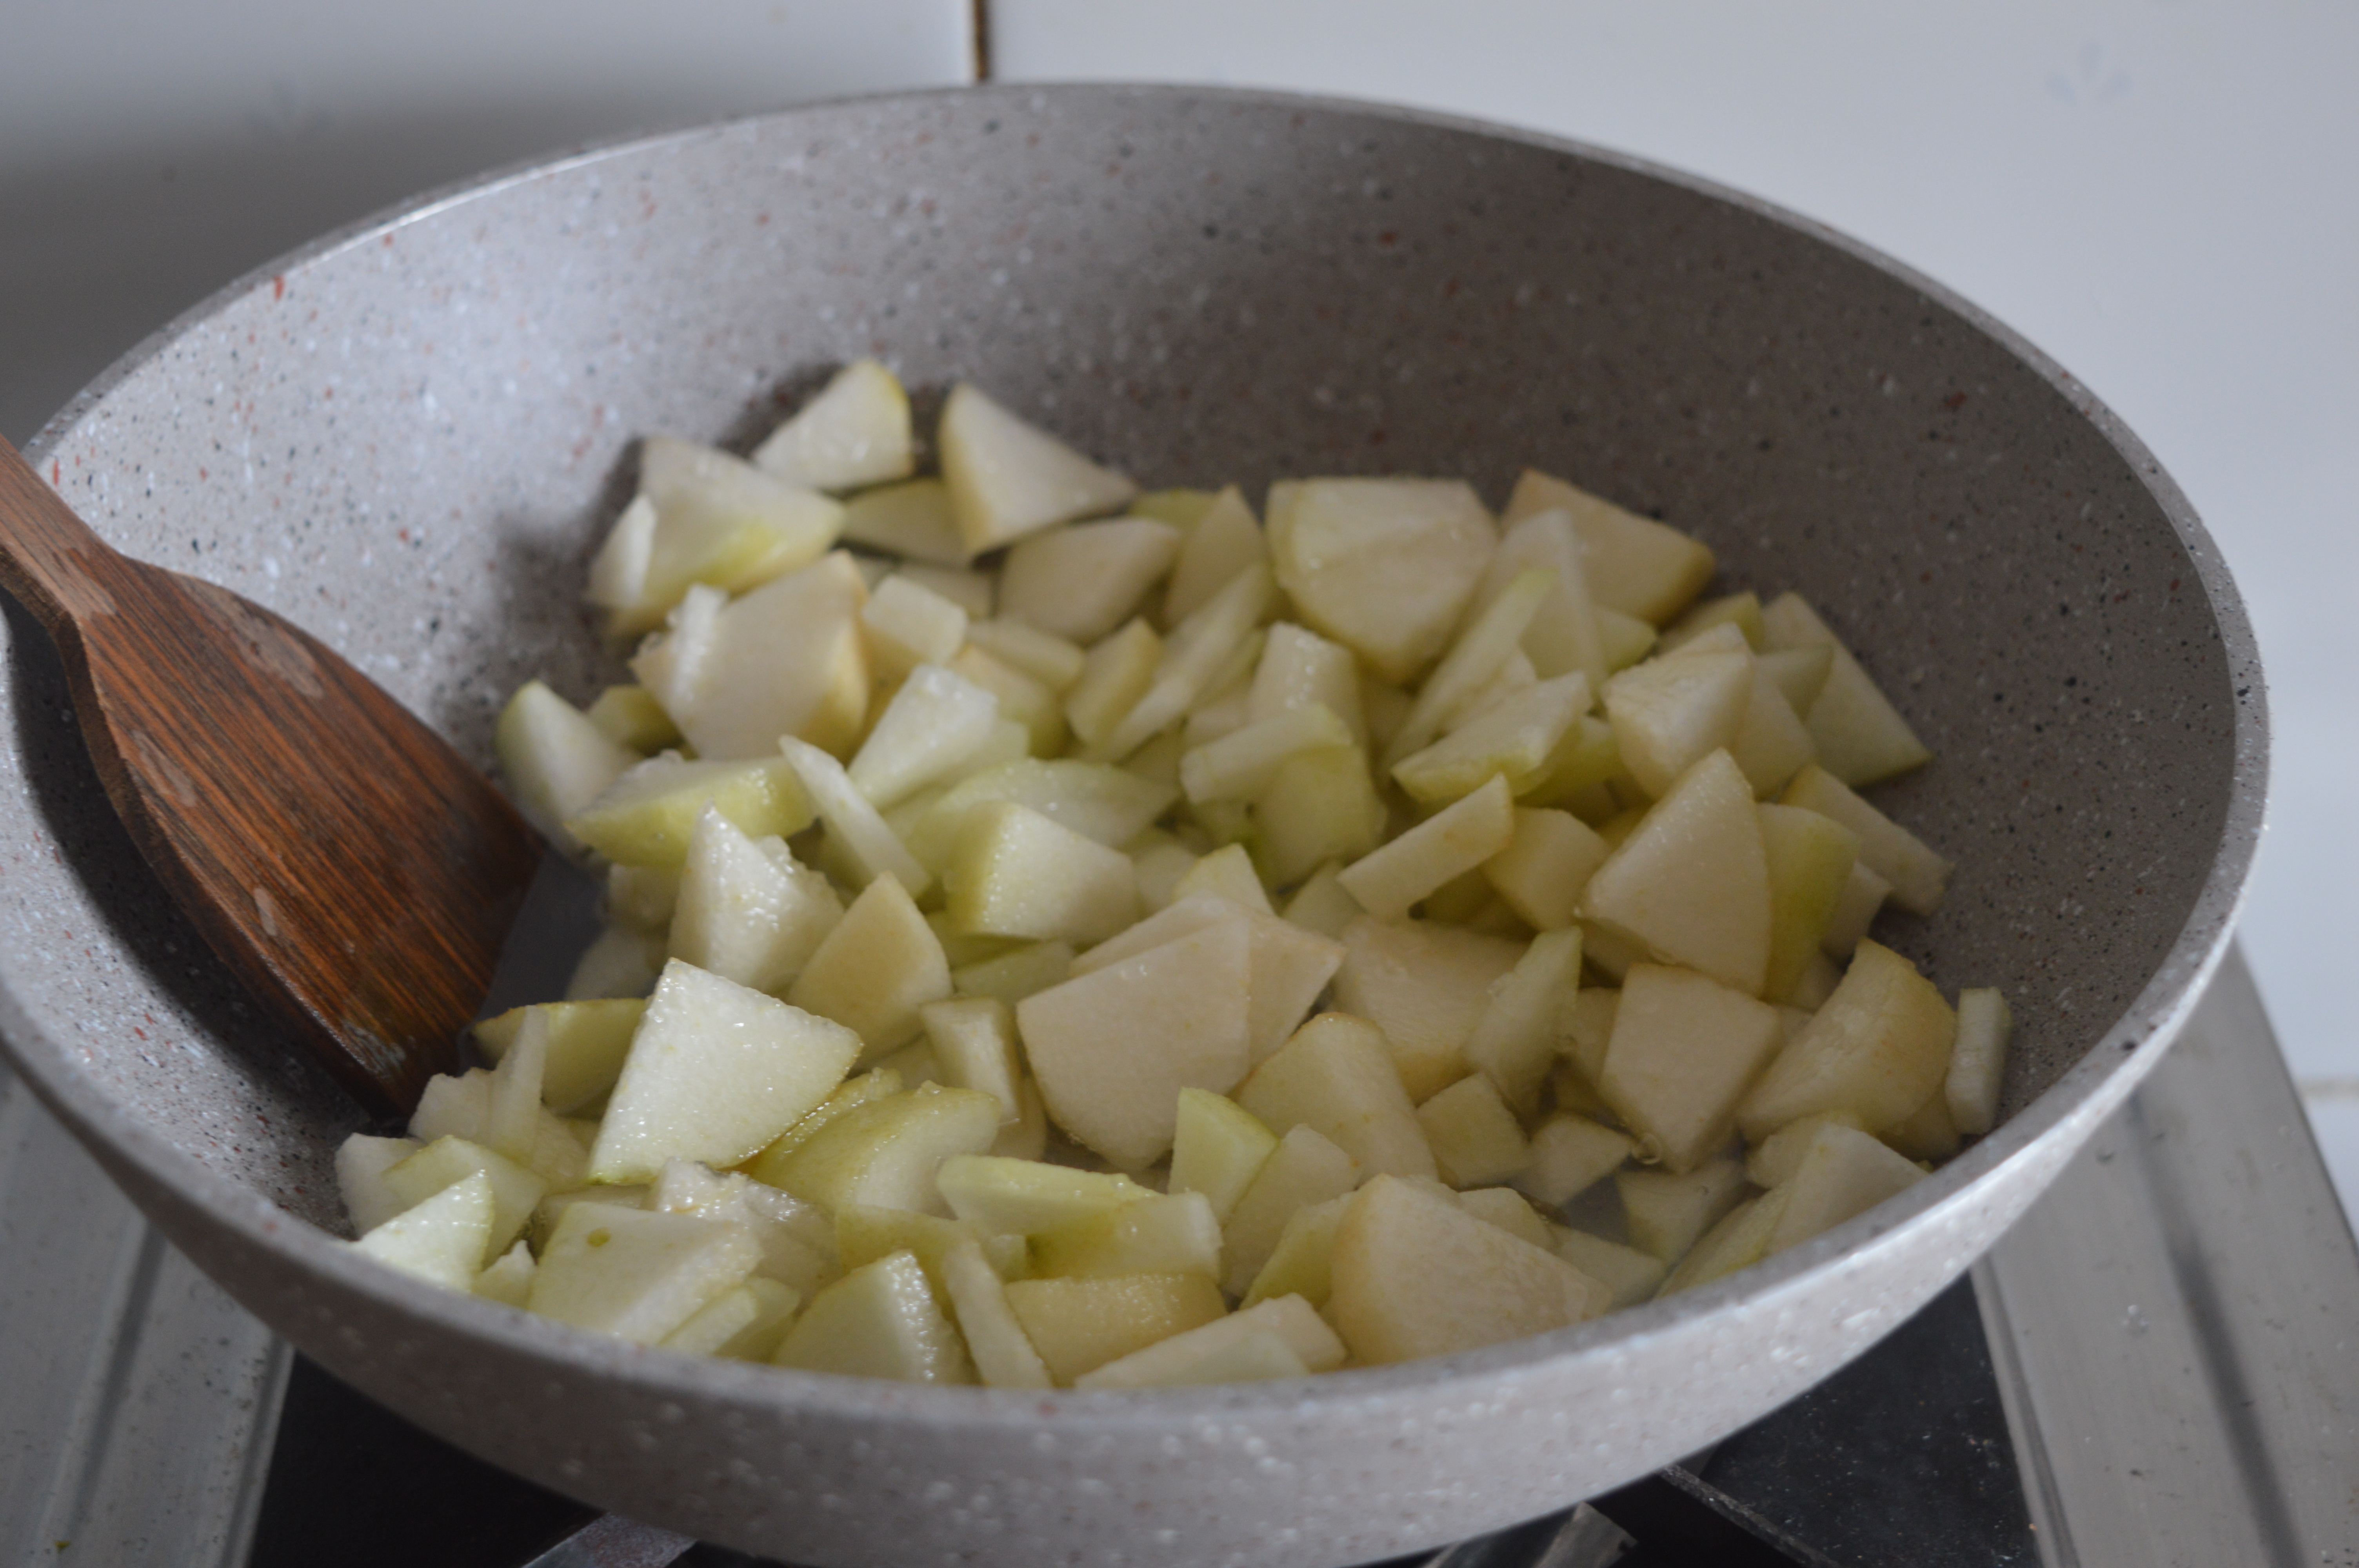
- With the help of a peeler, peel the skin of the bitter gourd. Remember not to throw the skin. Sprinkle some salt and keep it aside for later.
- Wash the peeled gourds and sprinkle some salt and leave it for 5-10 minutes. Salt will reduce the bitterness.
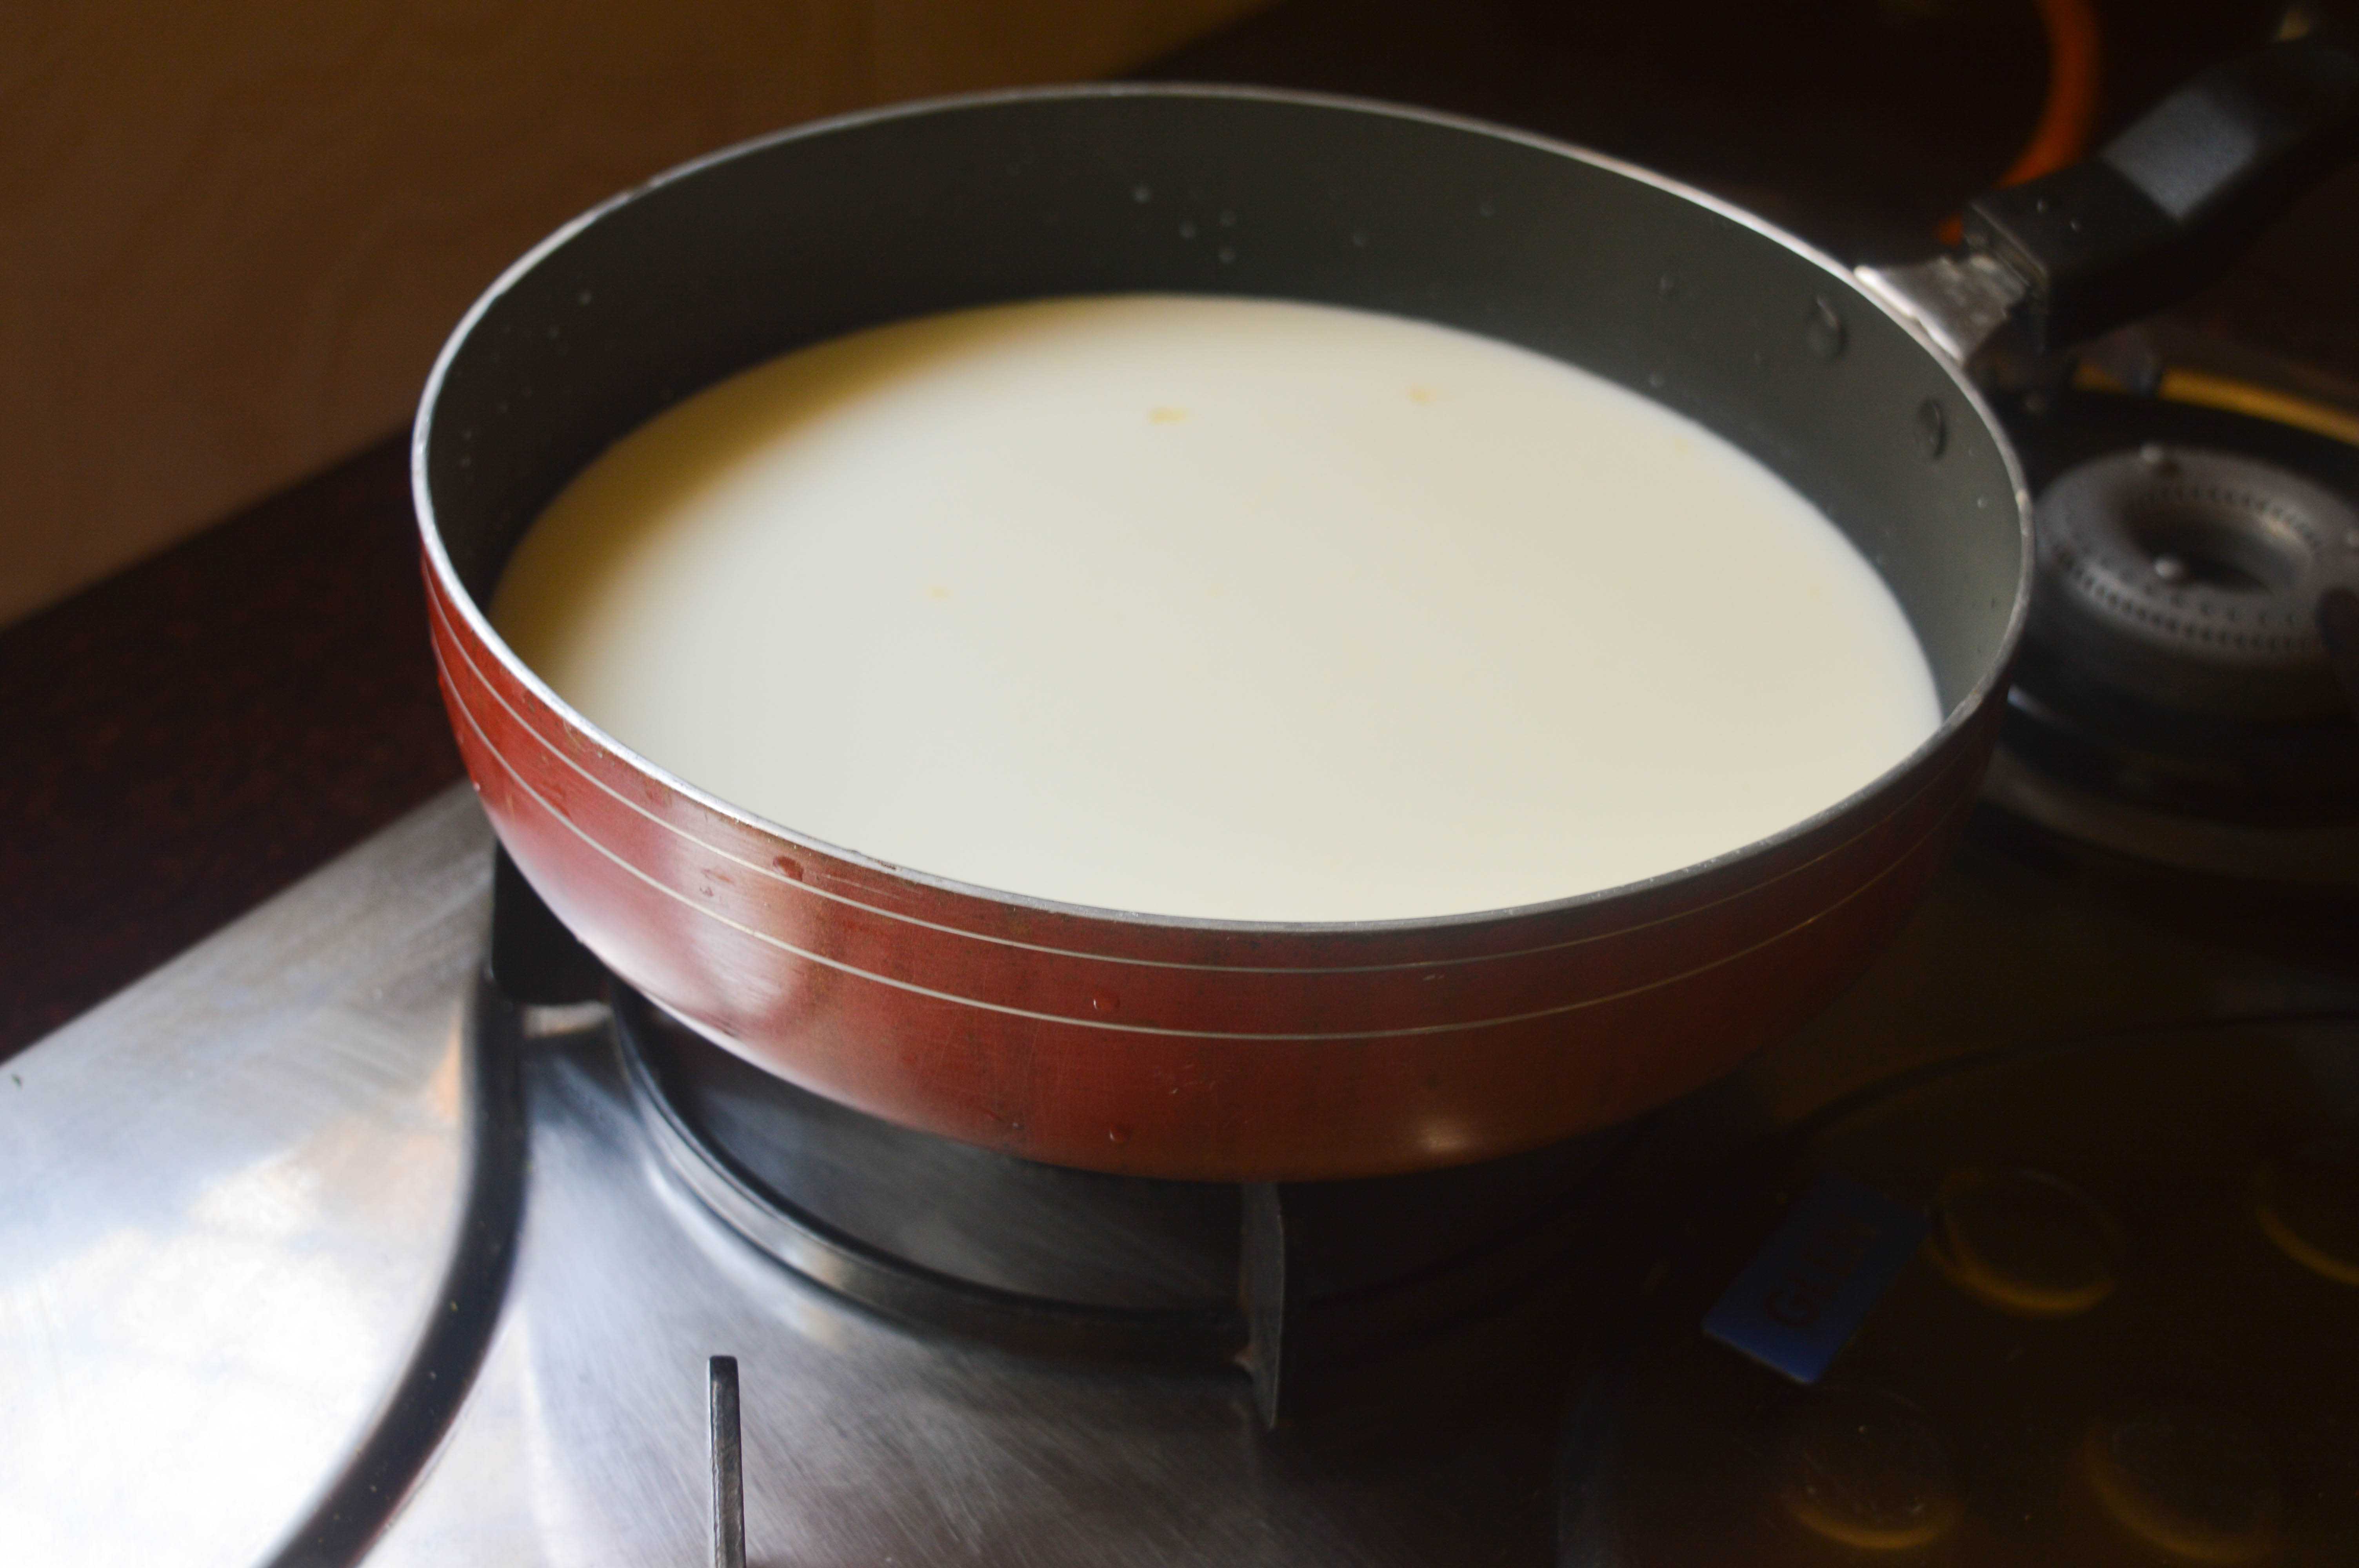
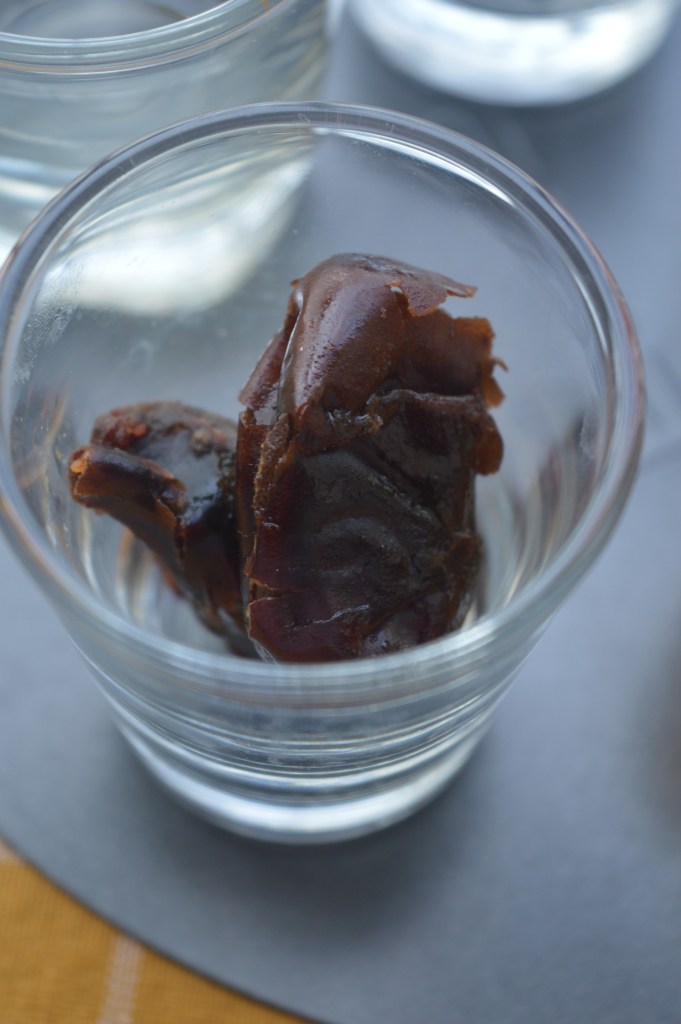
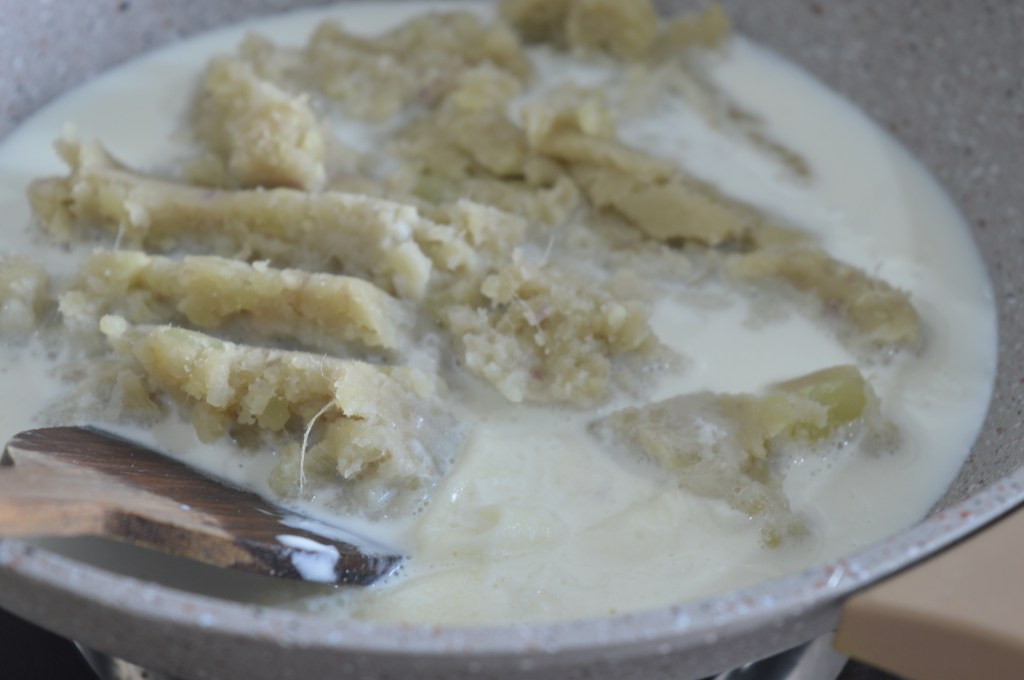
- Soak some tamarind in water.
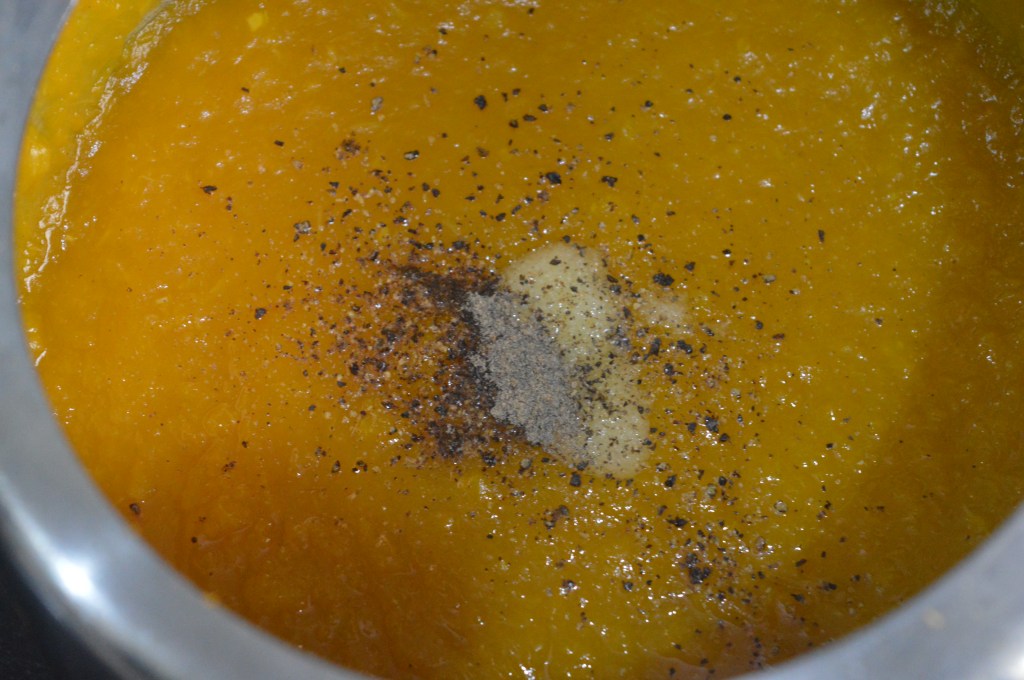
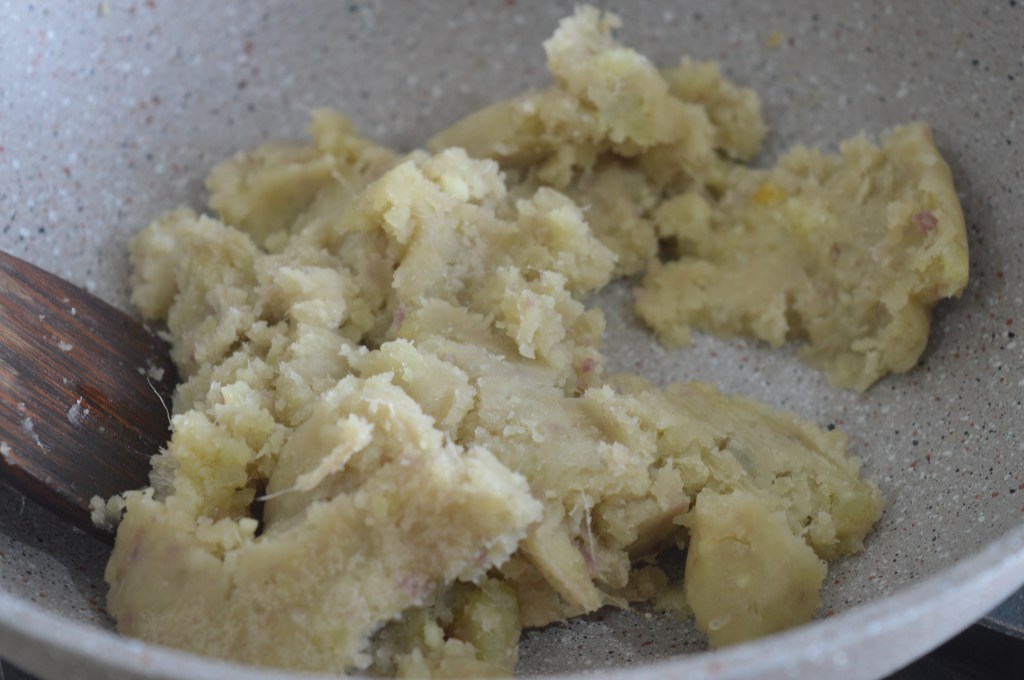
- Meanwhile in a plate prepare the stuffing. Mix all the dry ingredients and a little oil and water so as to bind the mixture.
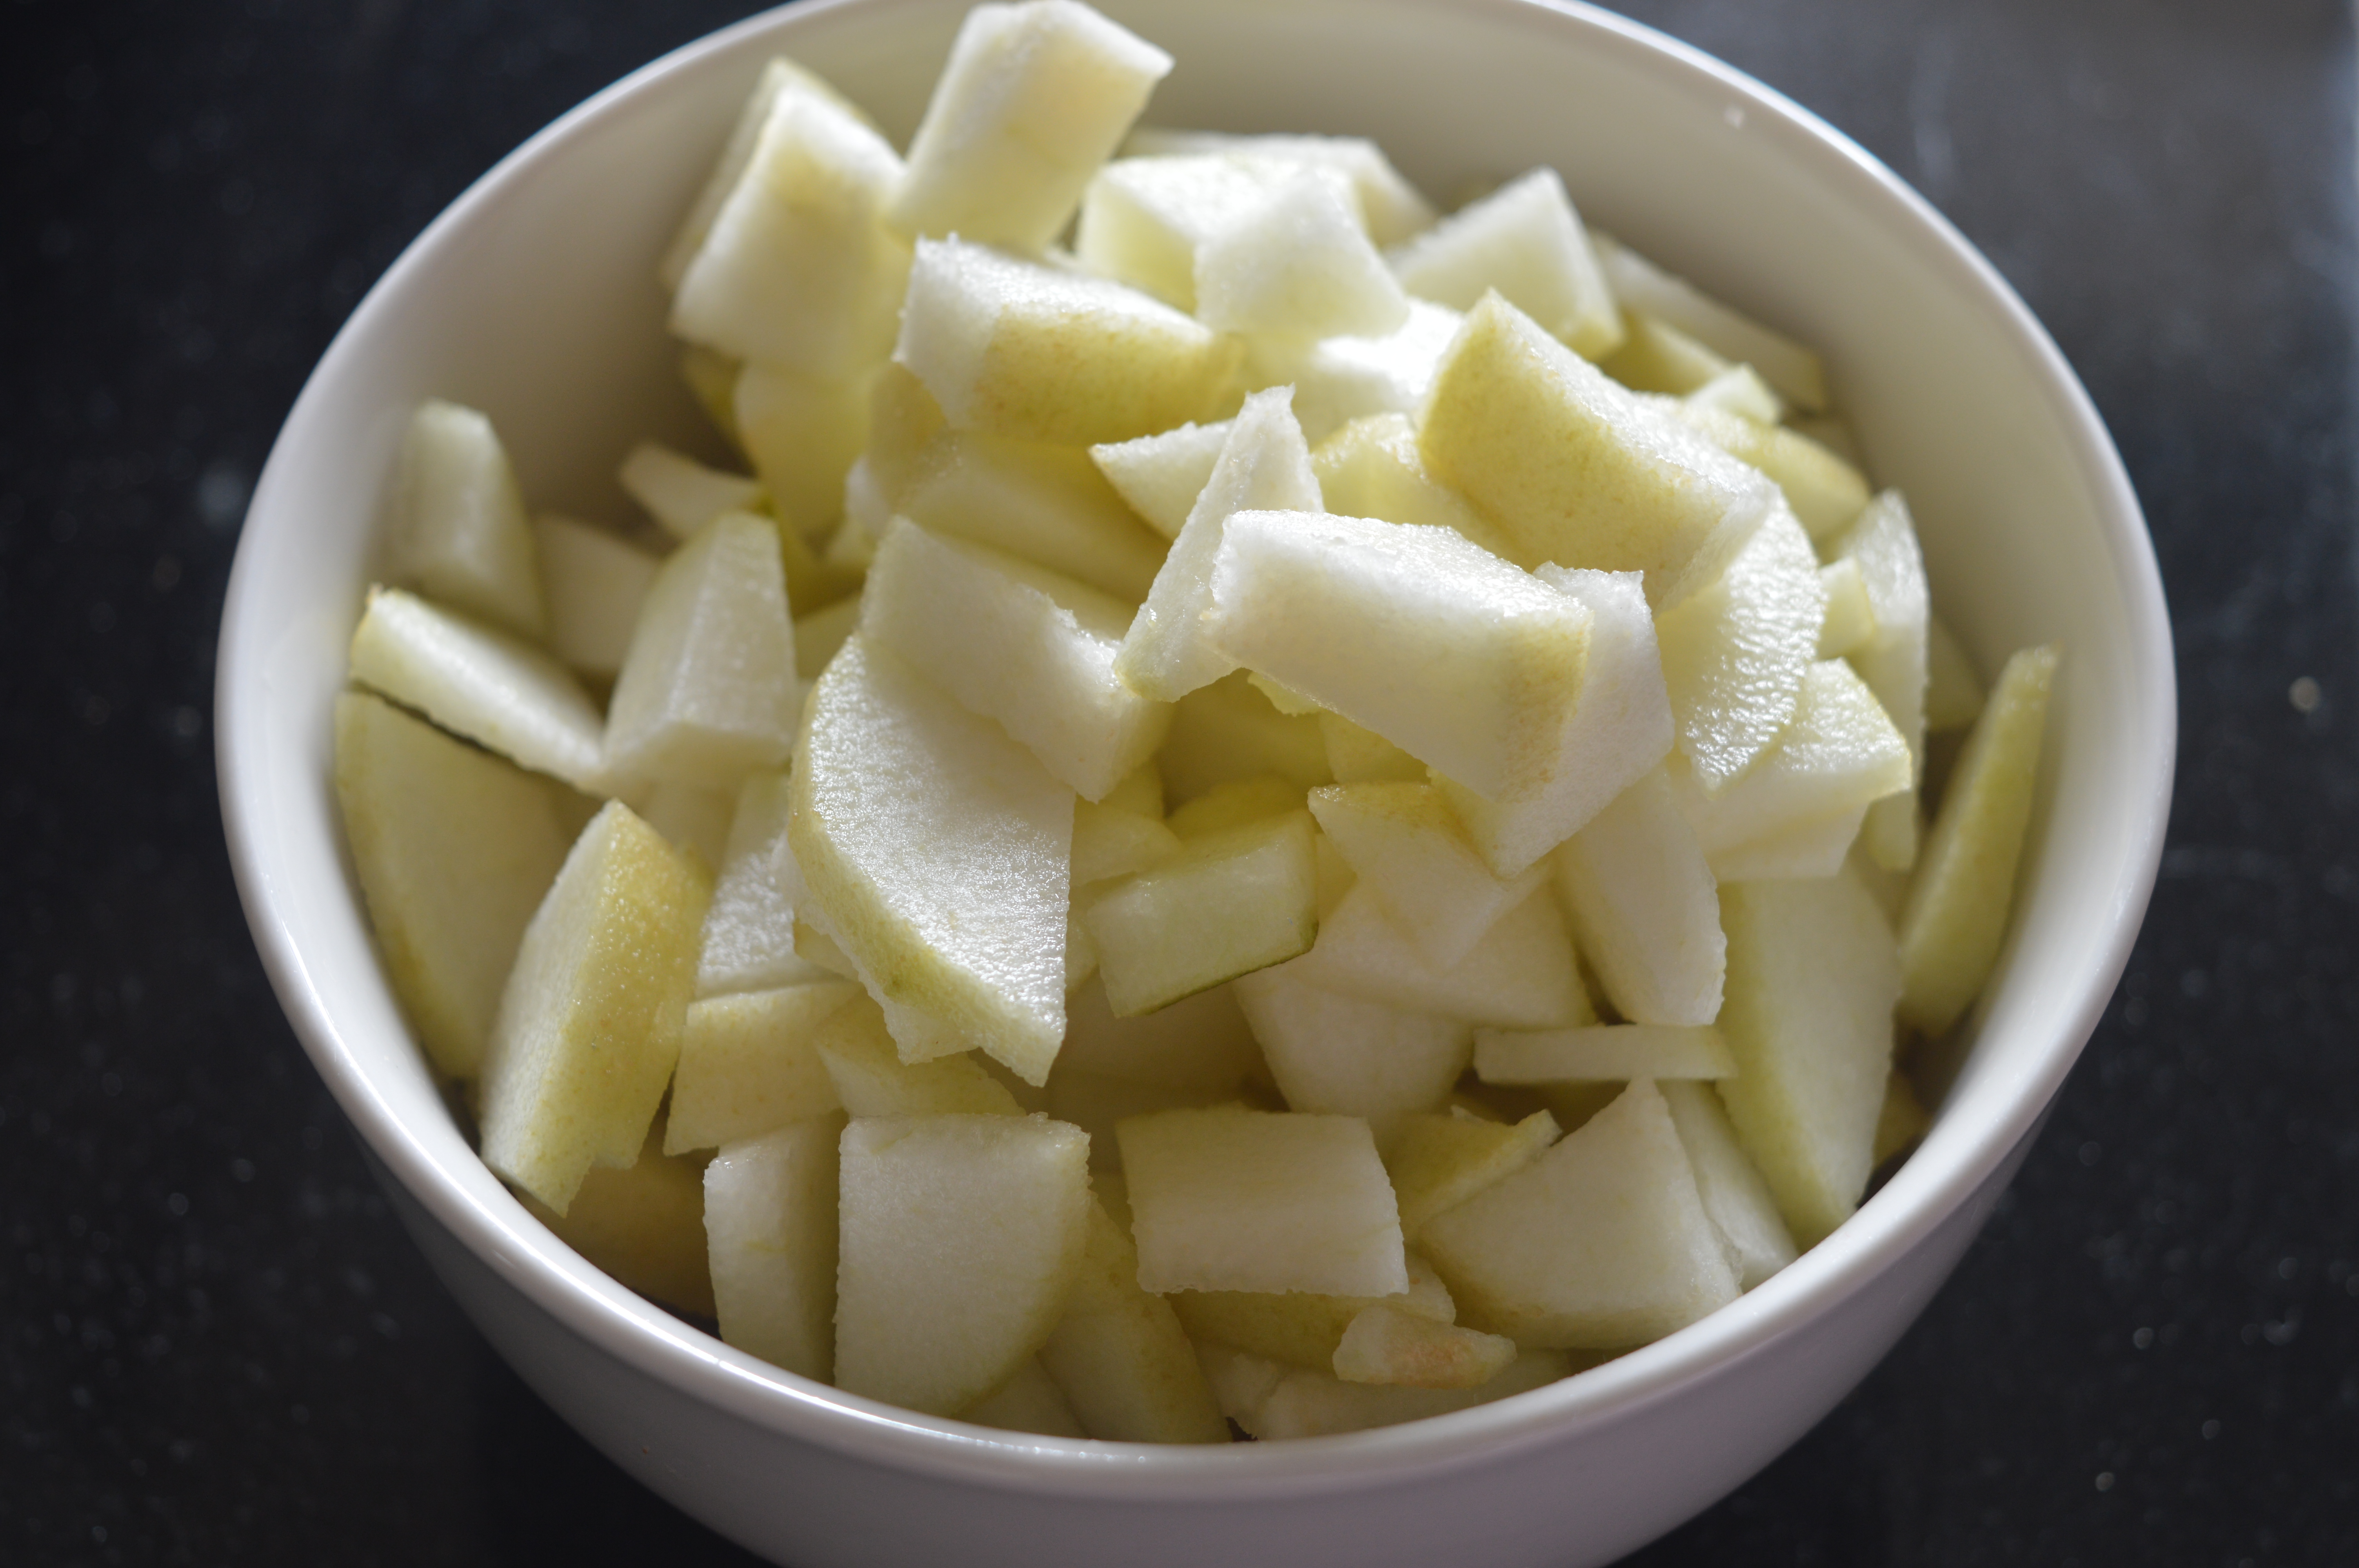
- Take the peeled skin in a sieve and wash in water. Add this to the stuffing mixture prepared.
- Wash the gourds and now make a slit vertically through it. Slightly open it and remove the seeds.
- Stuff the mixture into the gourds gently with your hands.
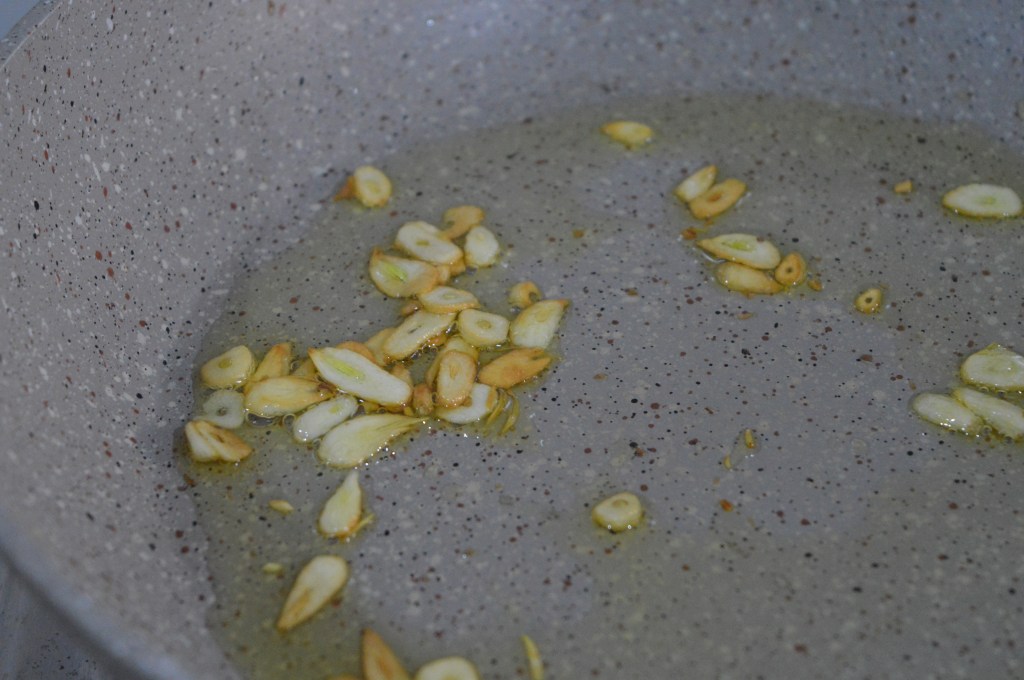
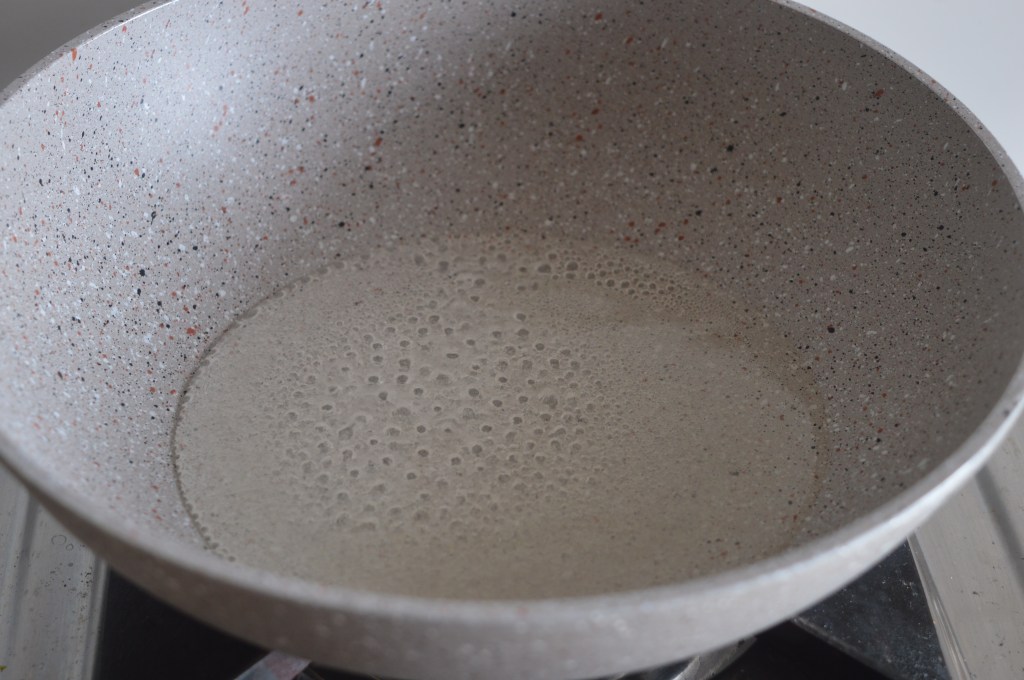
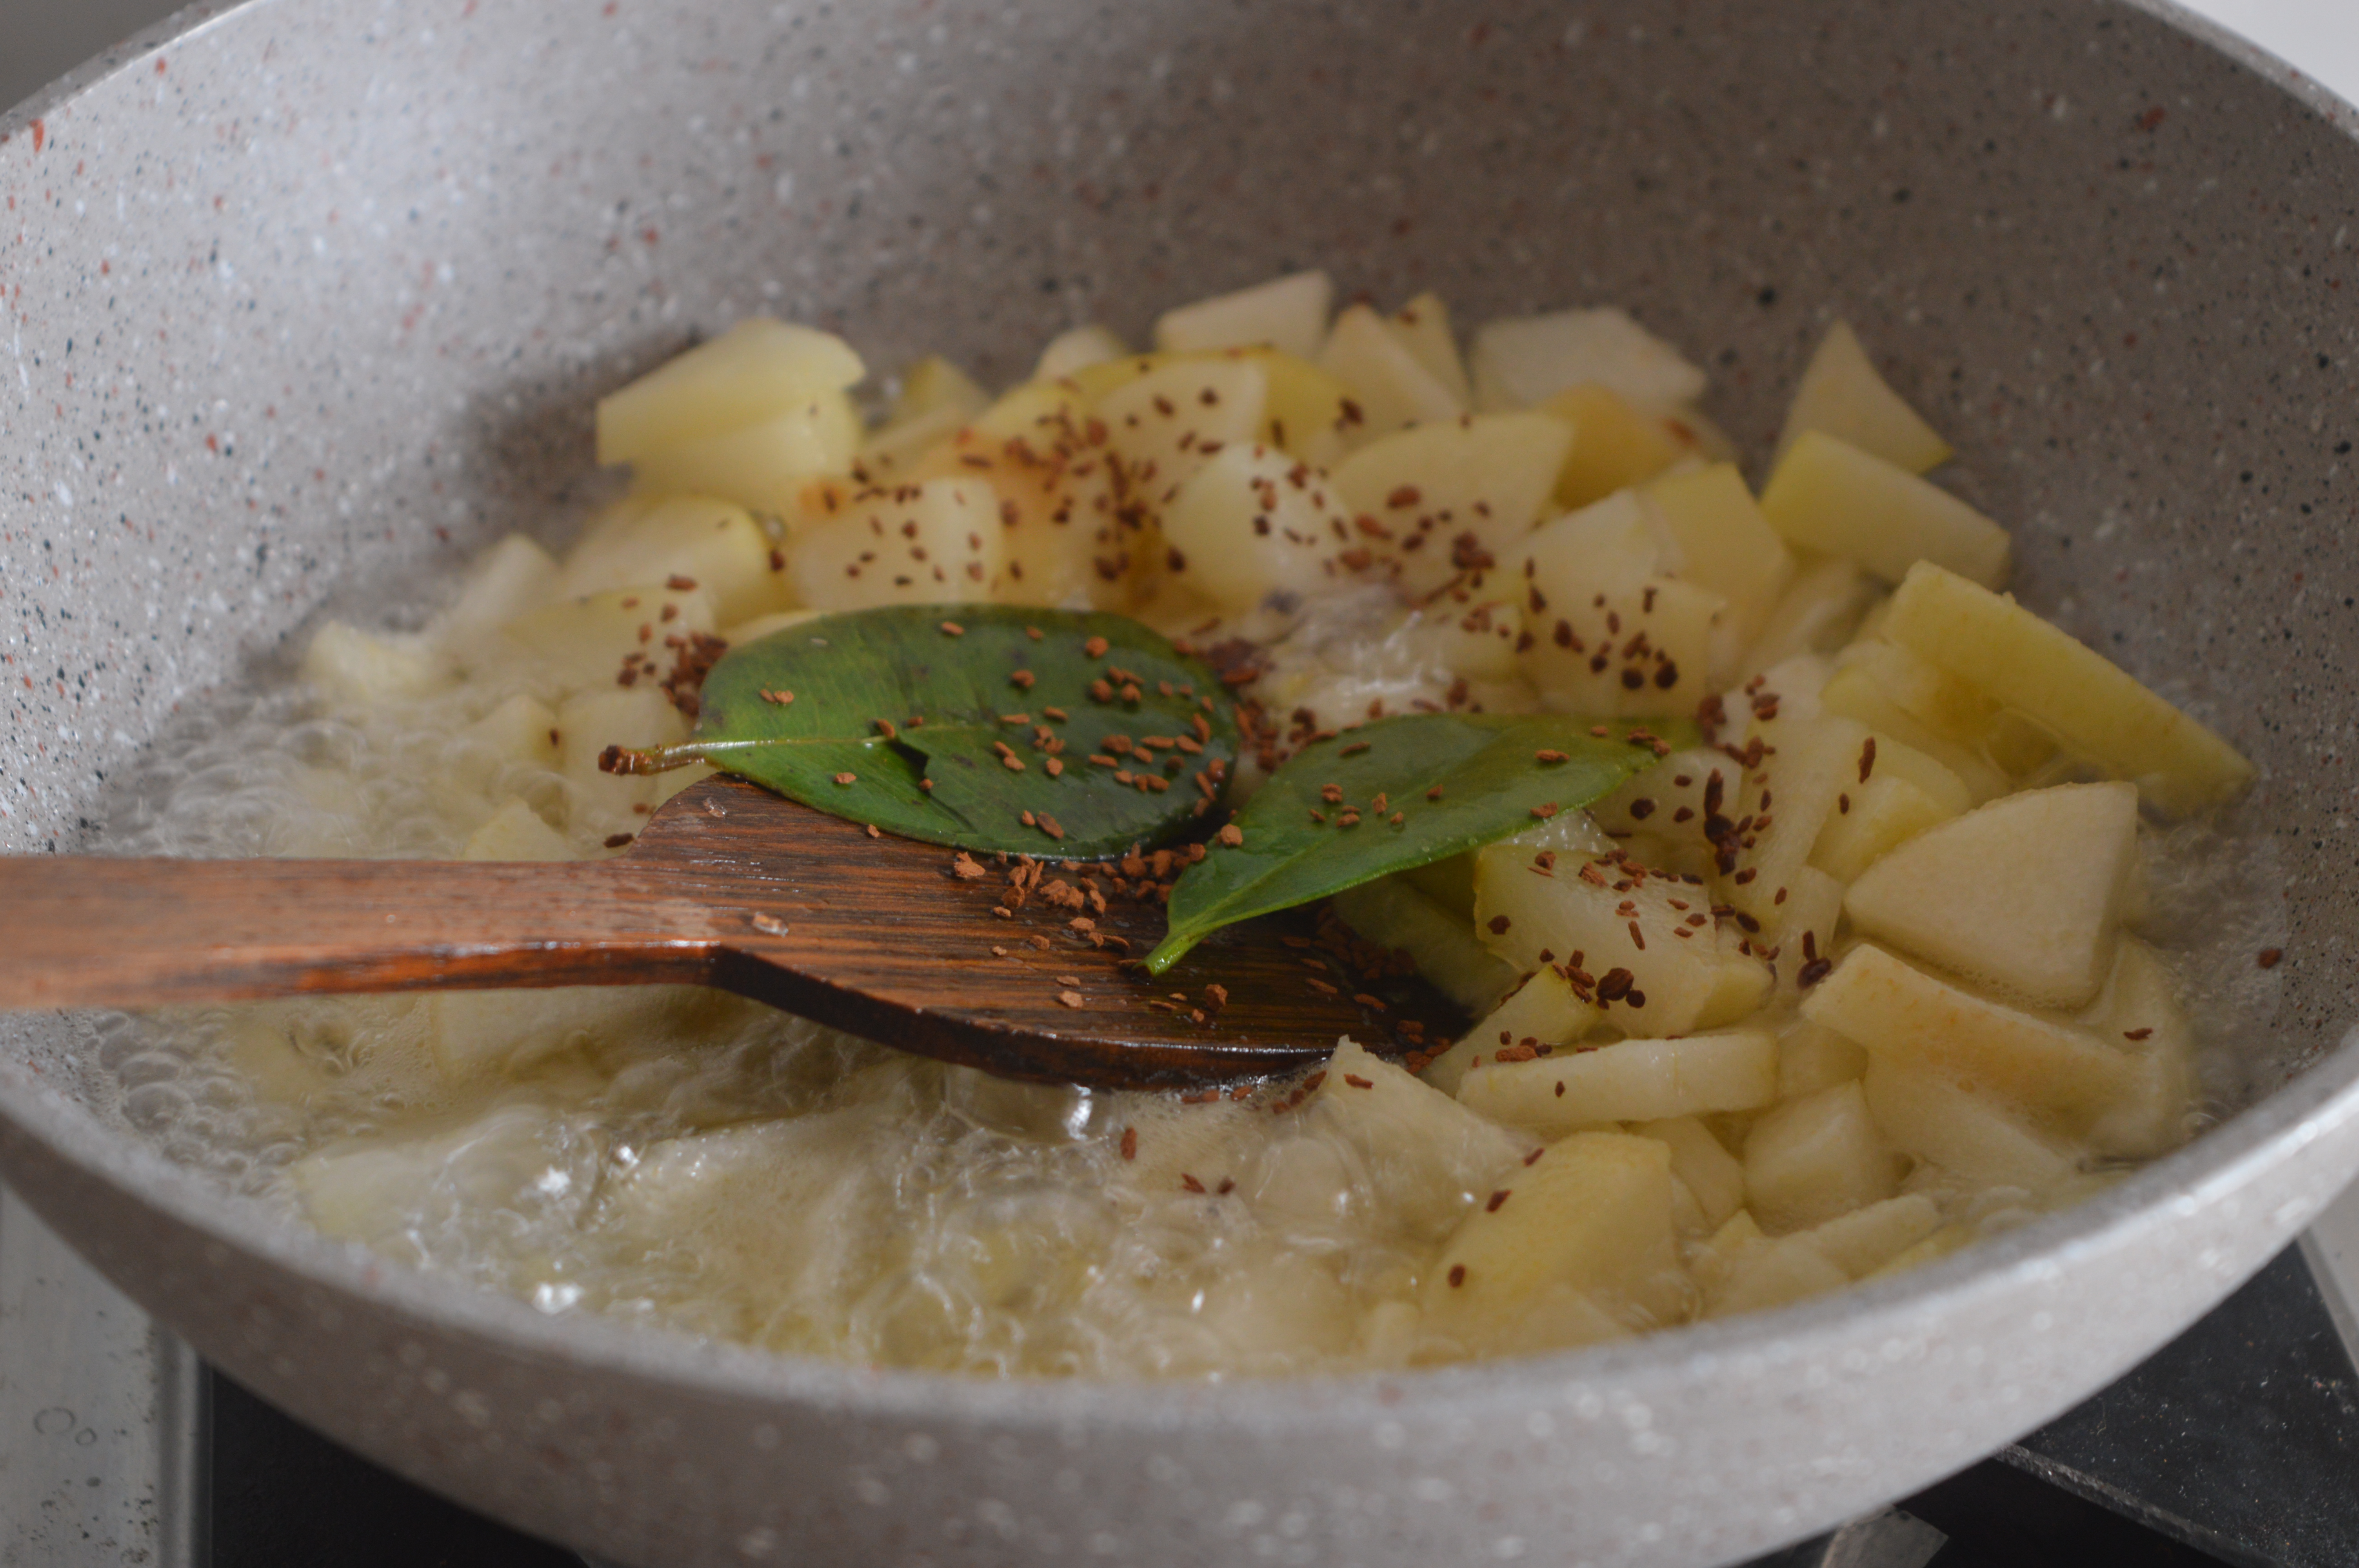
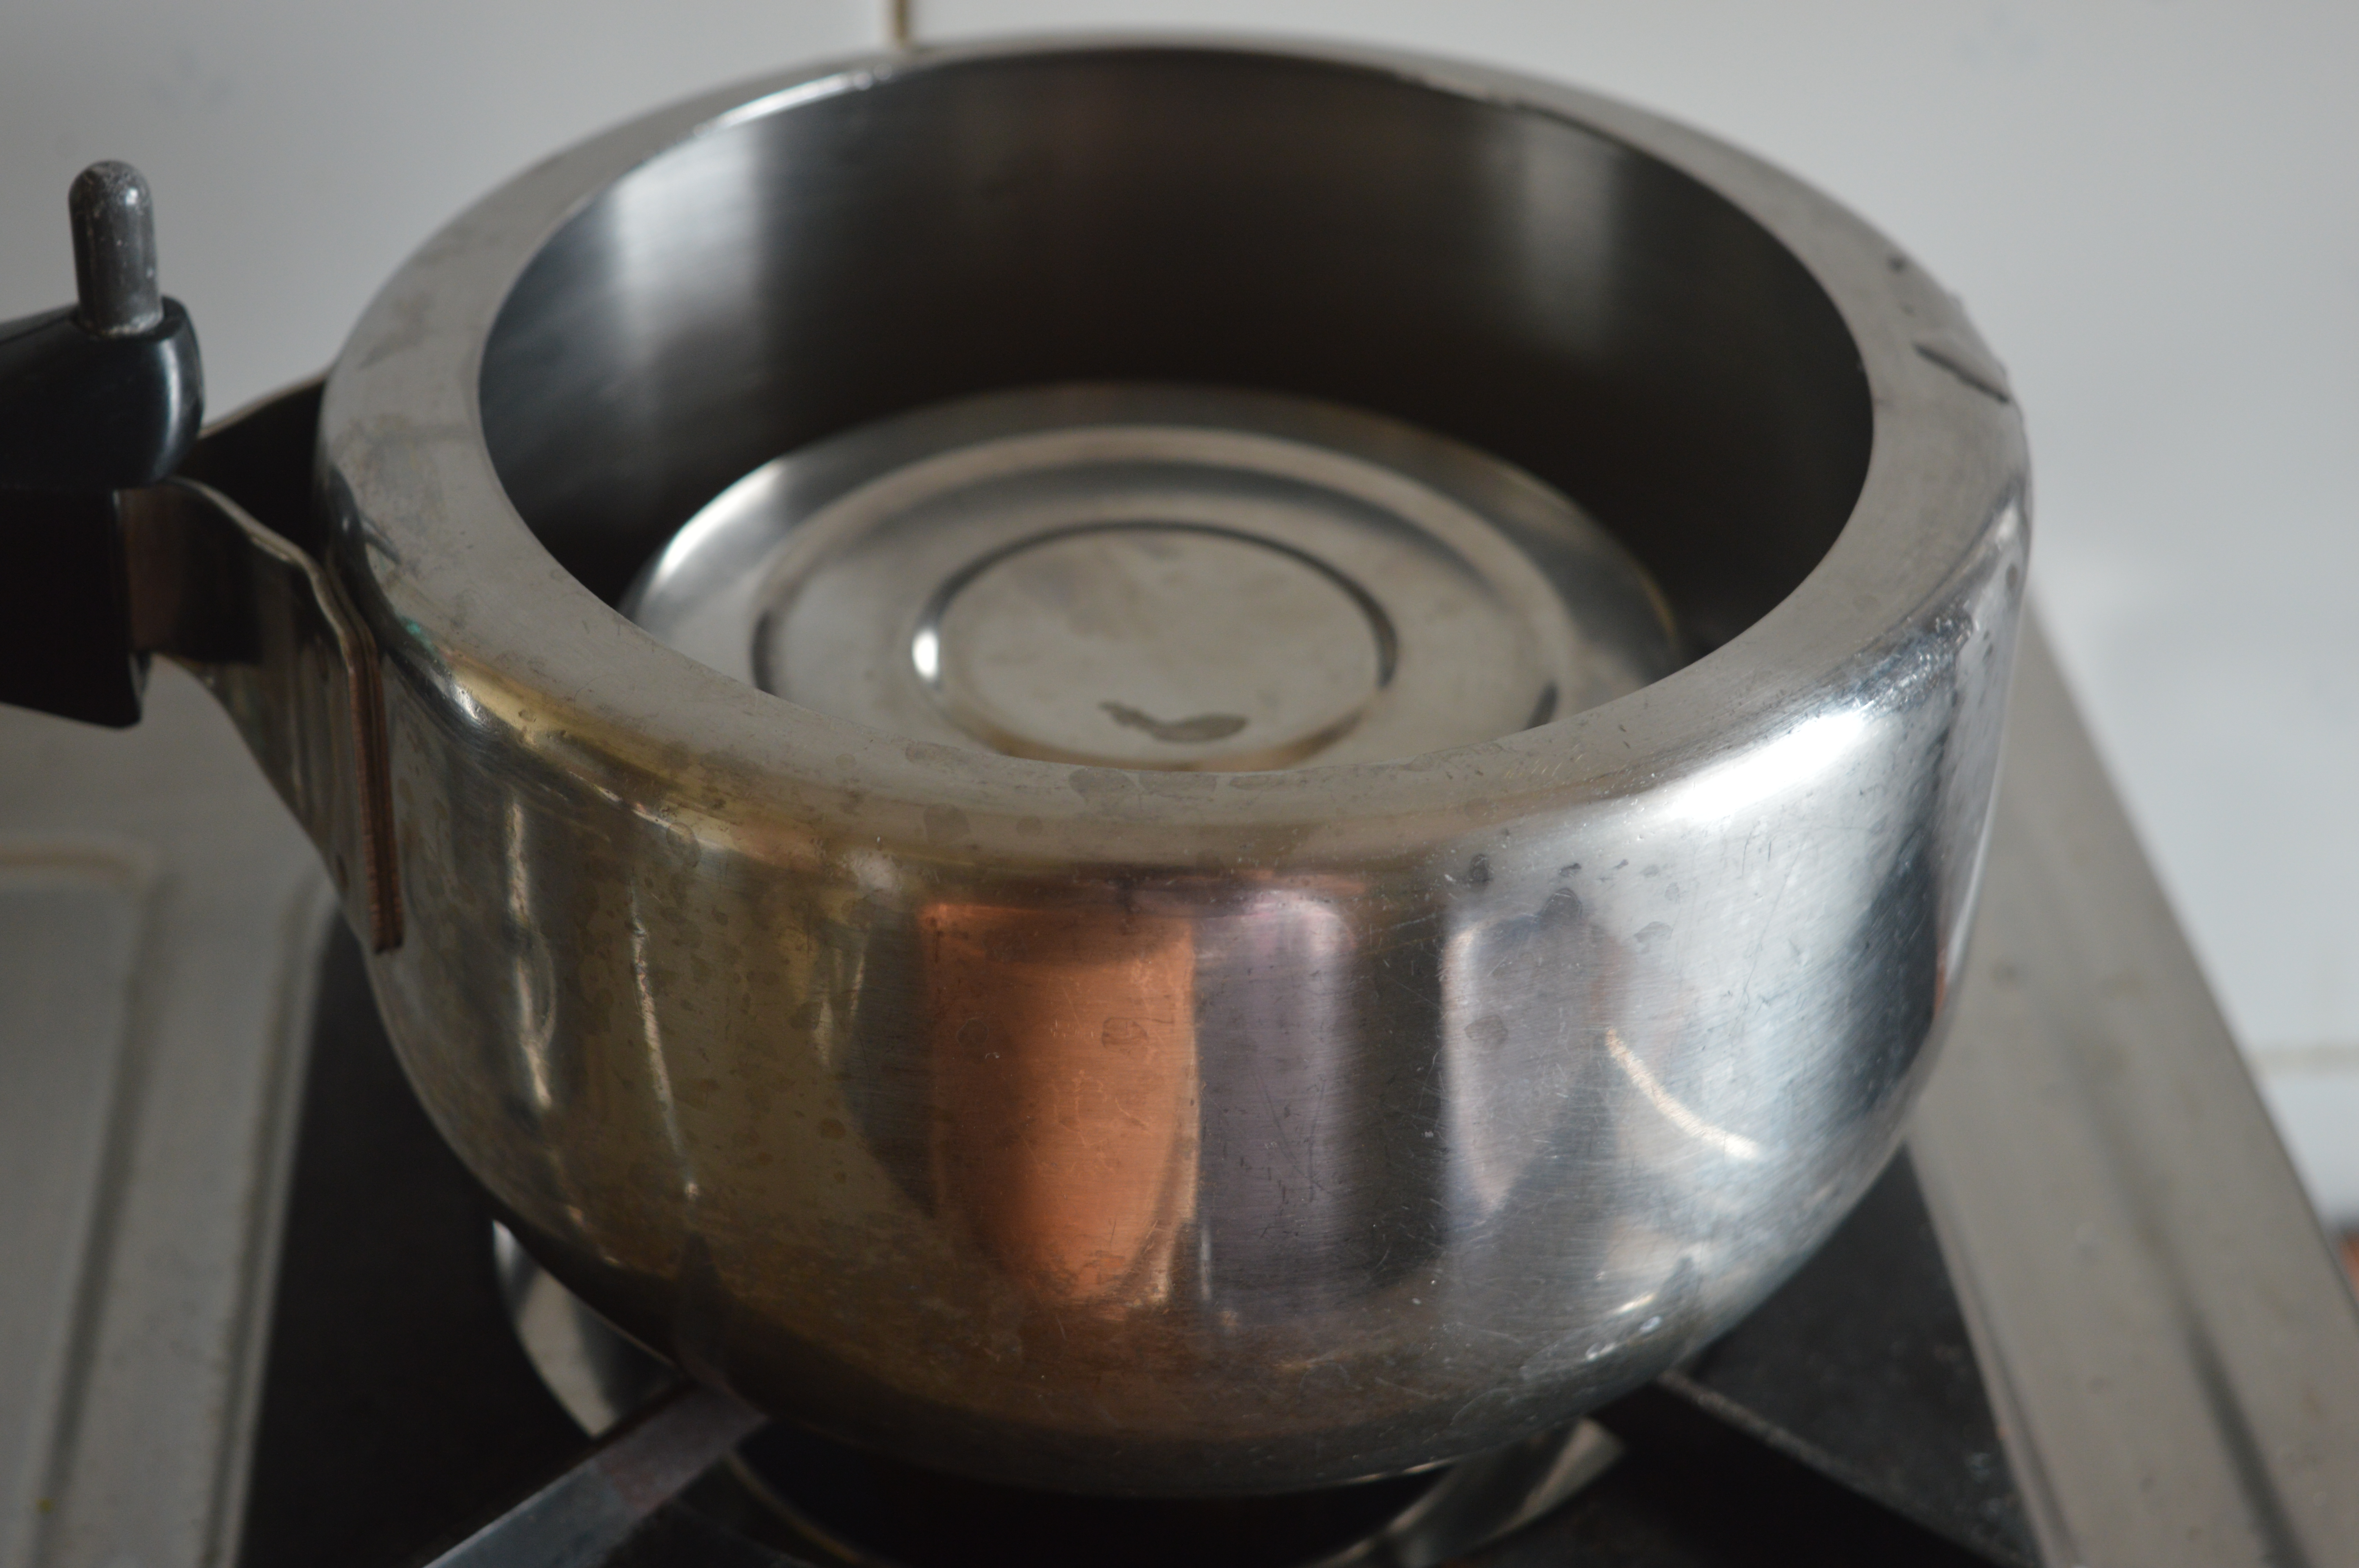
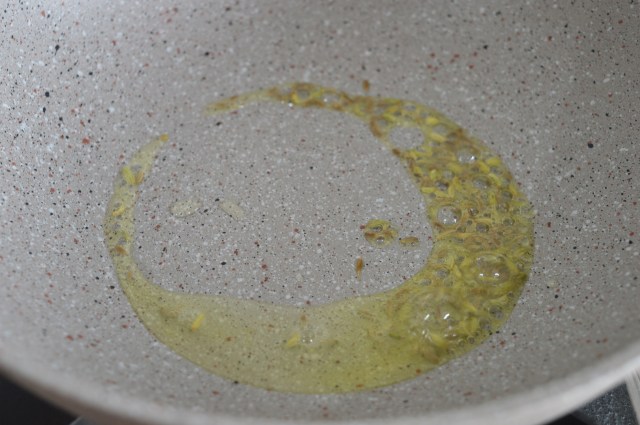
- In a pan/ wok pour some oil generously and let it heat.
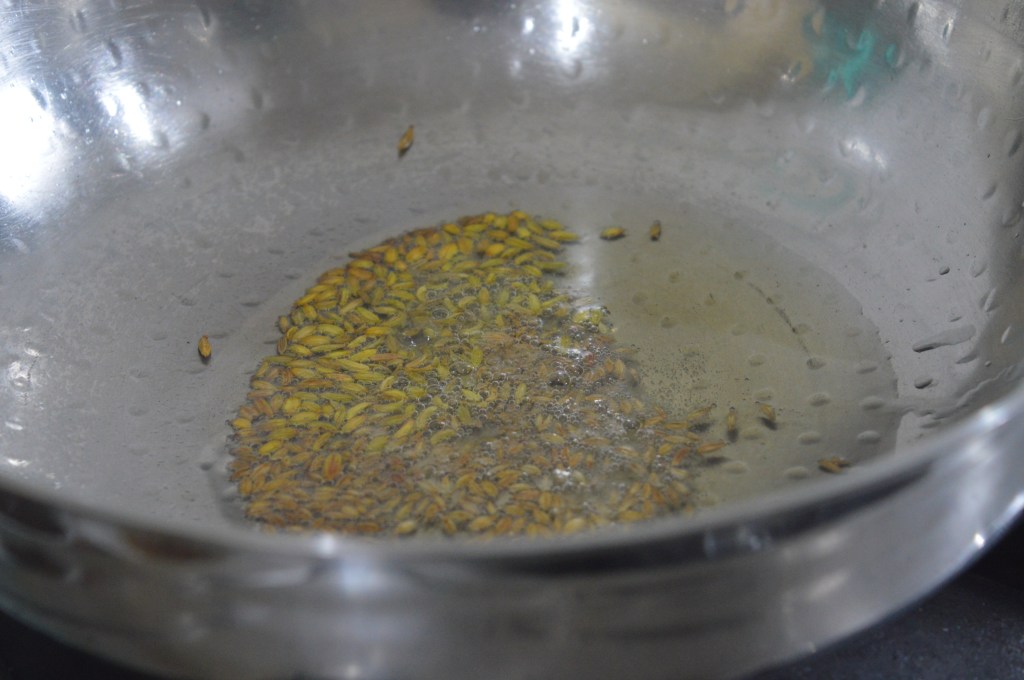
- Add cumin seeds and once they crackle add the gourds one by one.
- Lower the flame, Put the lid on. Relax.
- Keep on checking a few times. Stir the gourds gently so that the mixture doesn’t ooze out of them.
- Check for doneness just as we do for a cake. Use a knife.
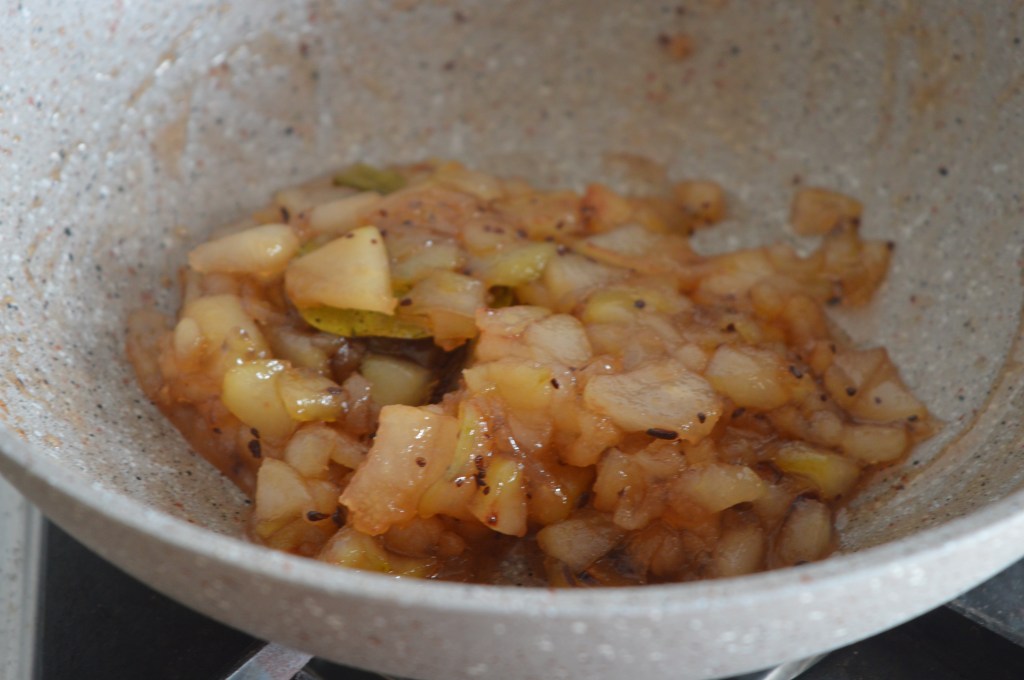
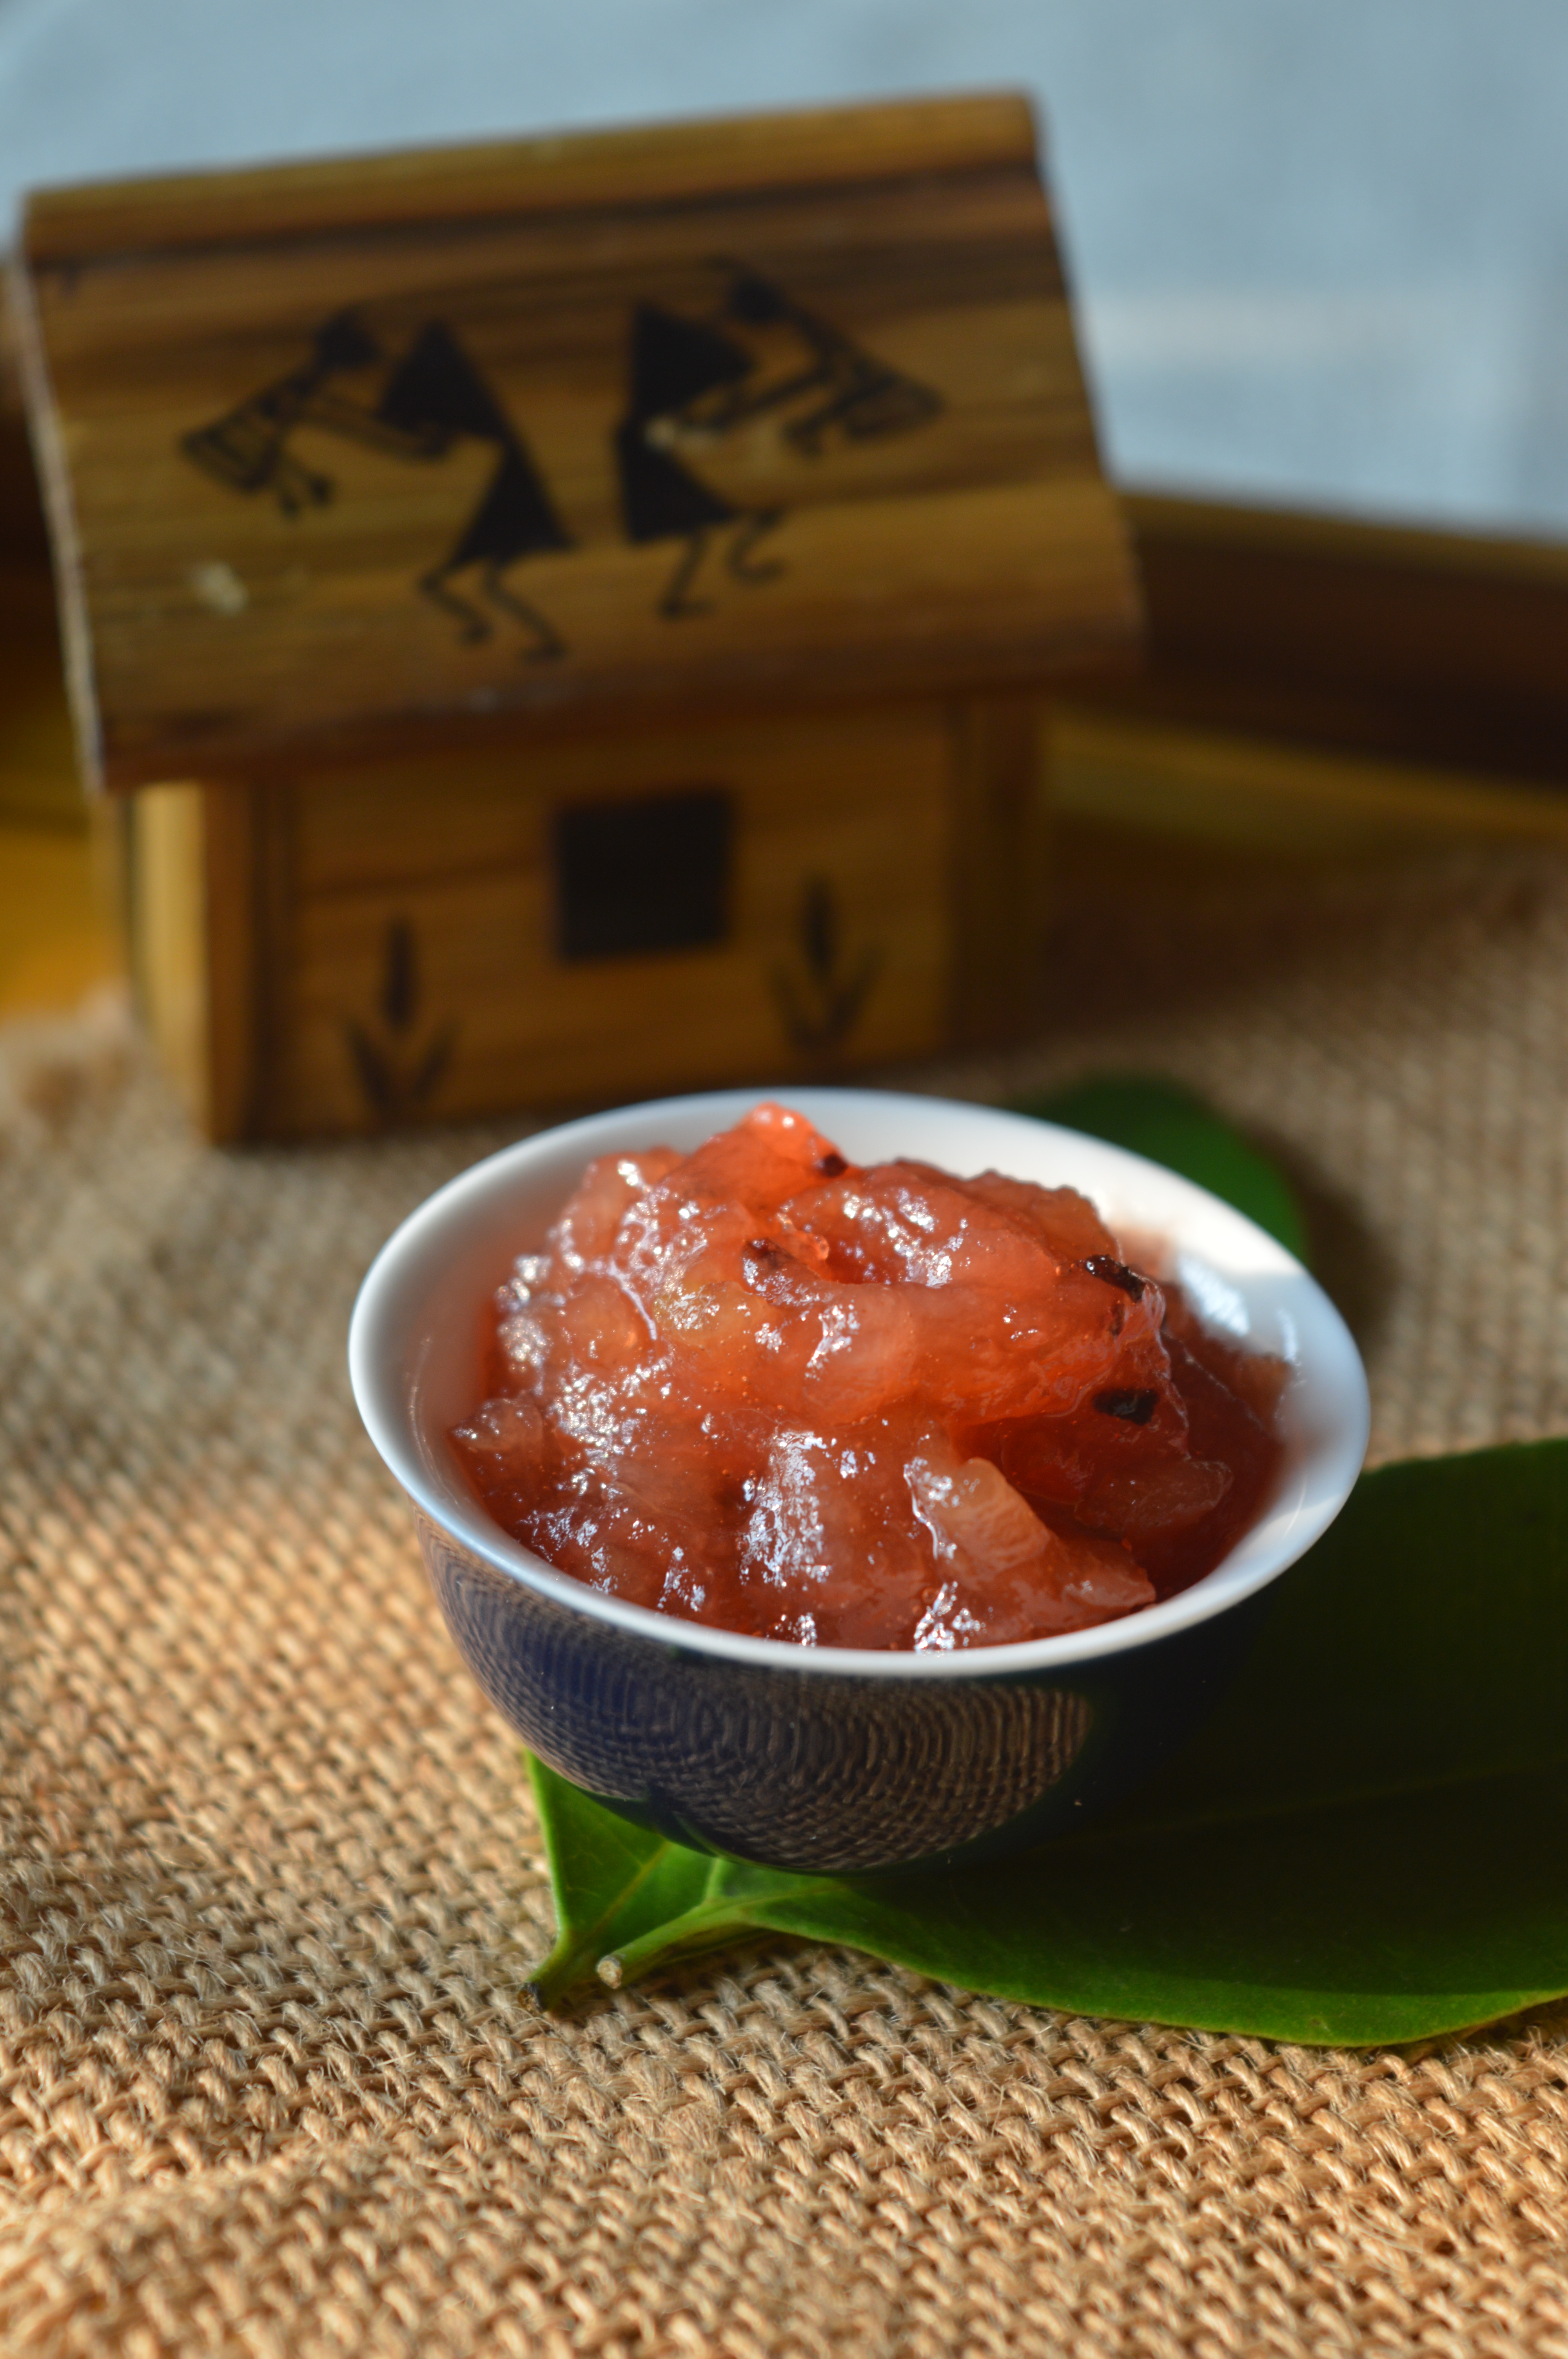
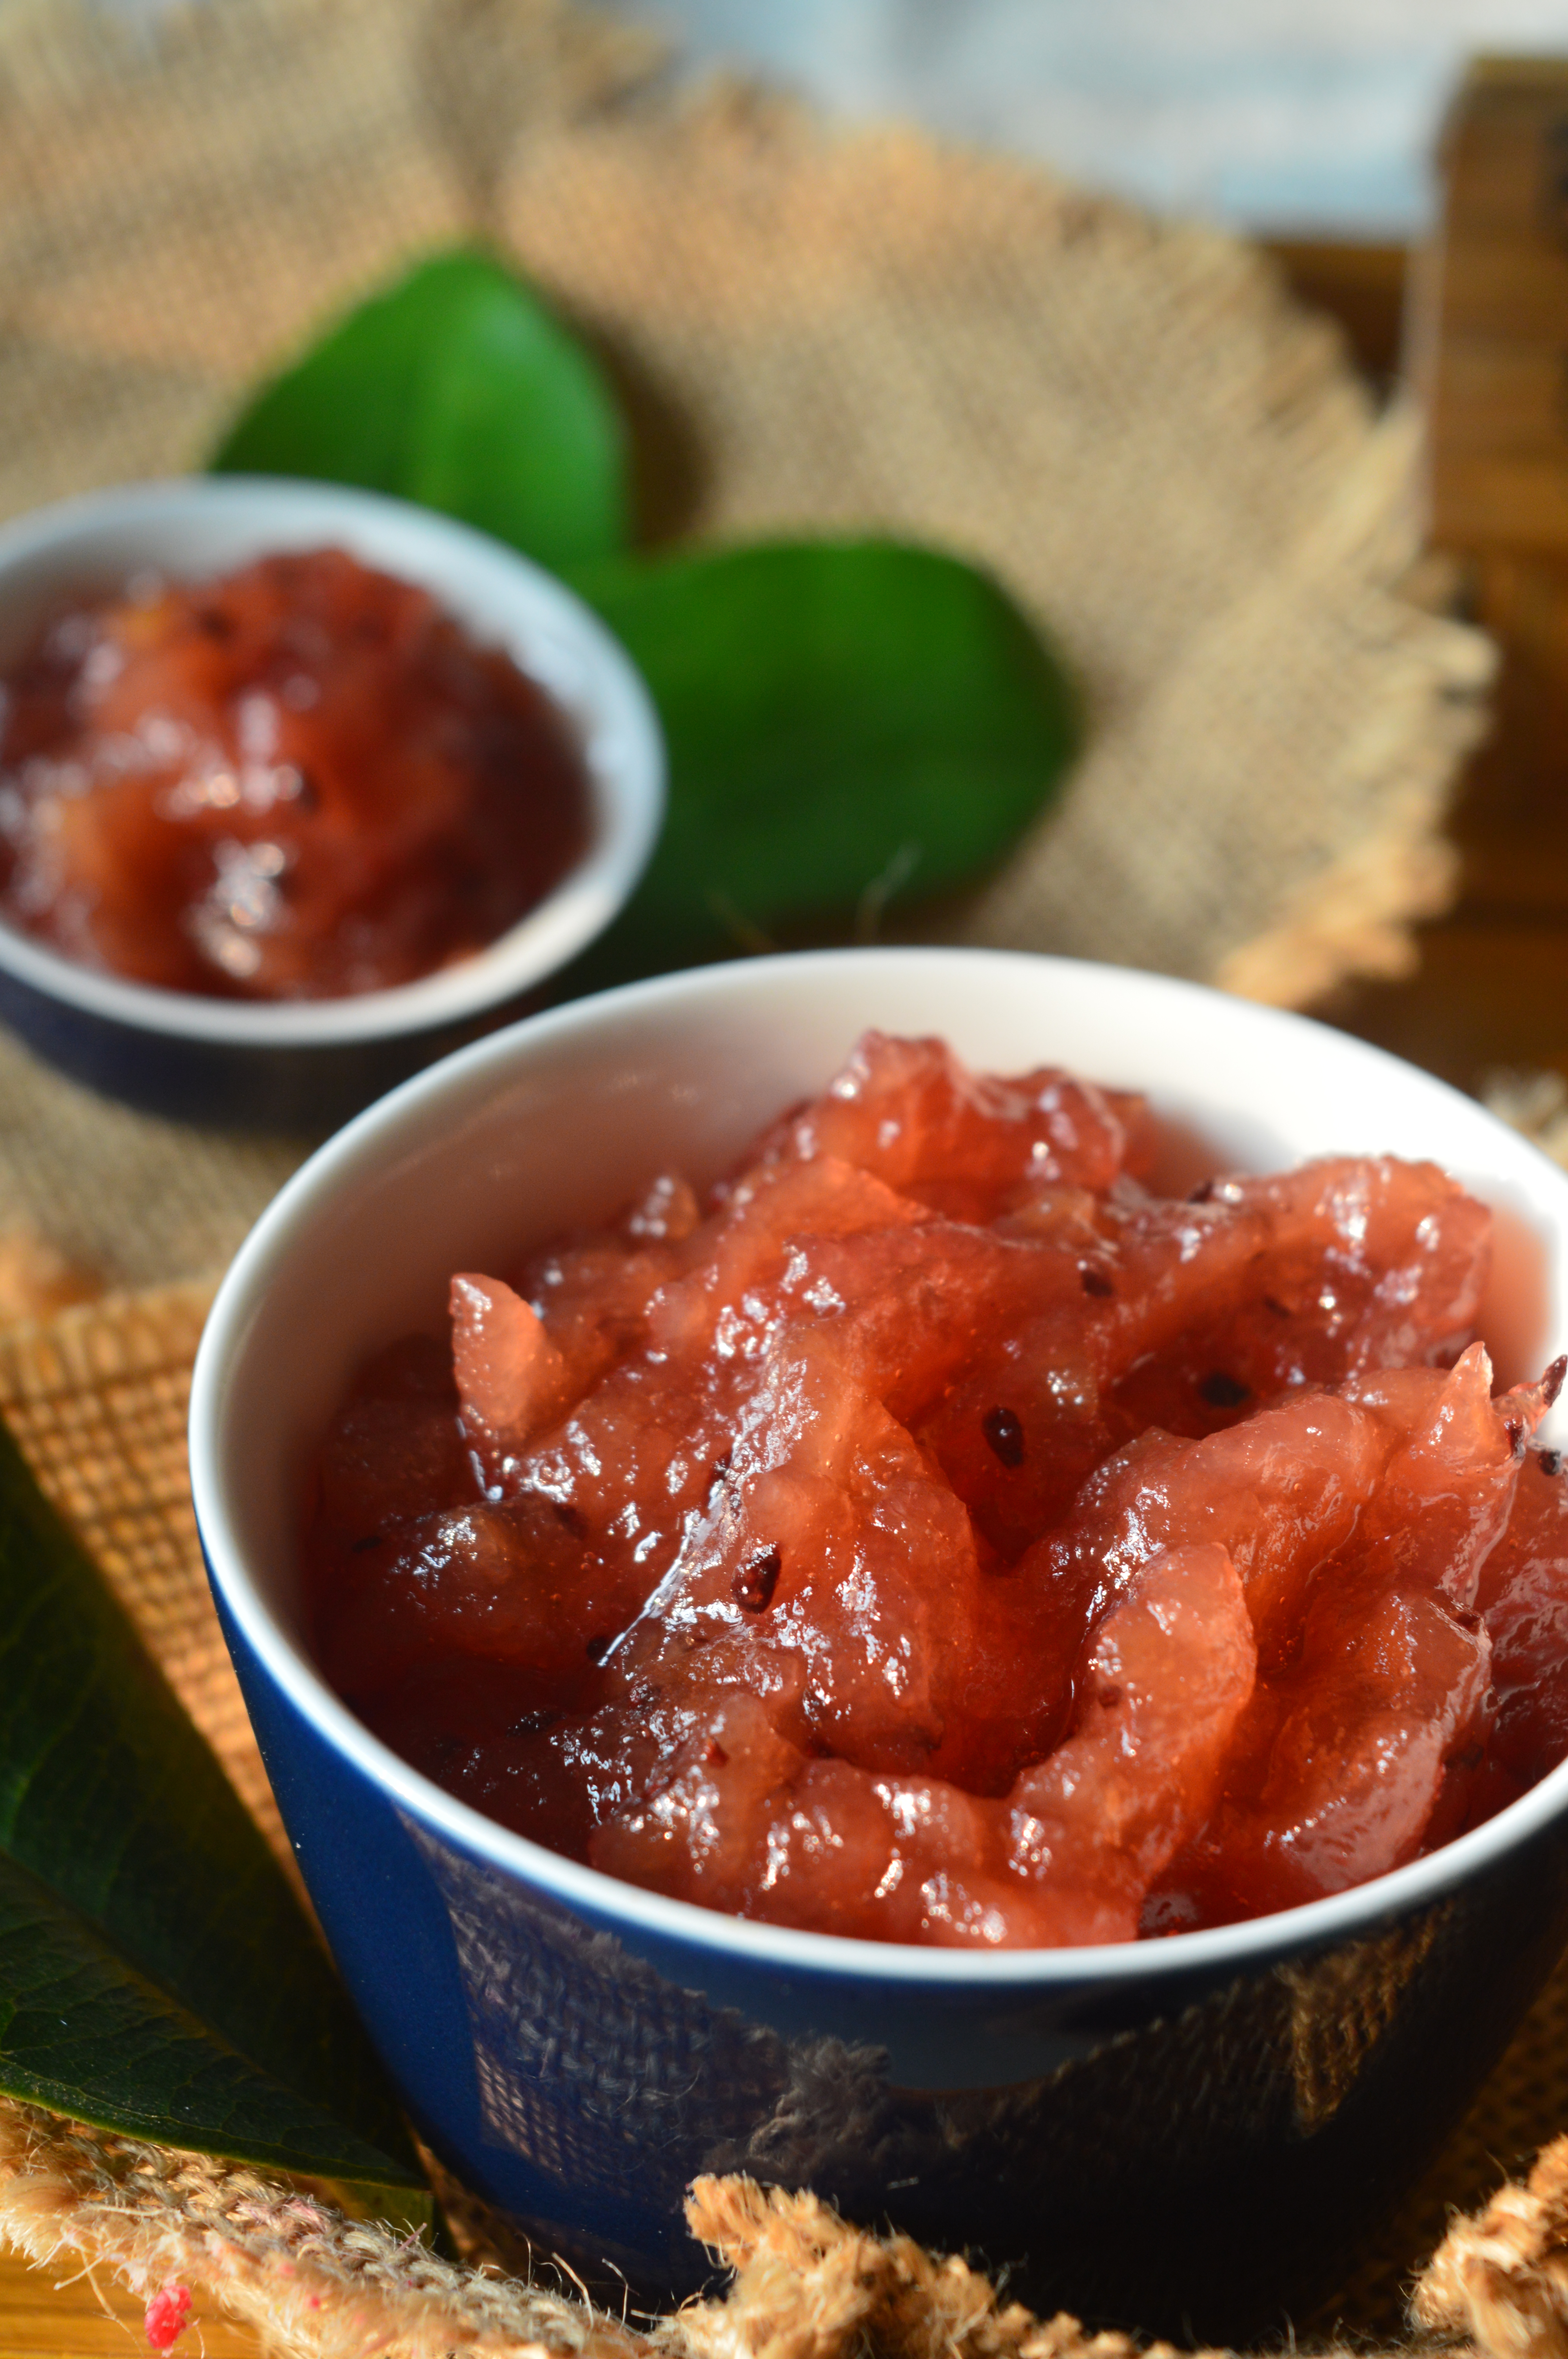
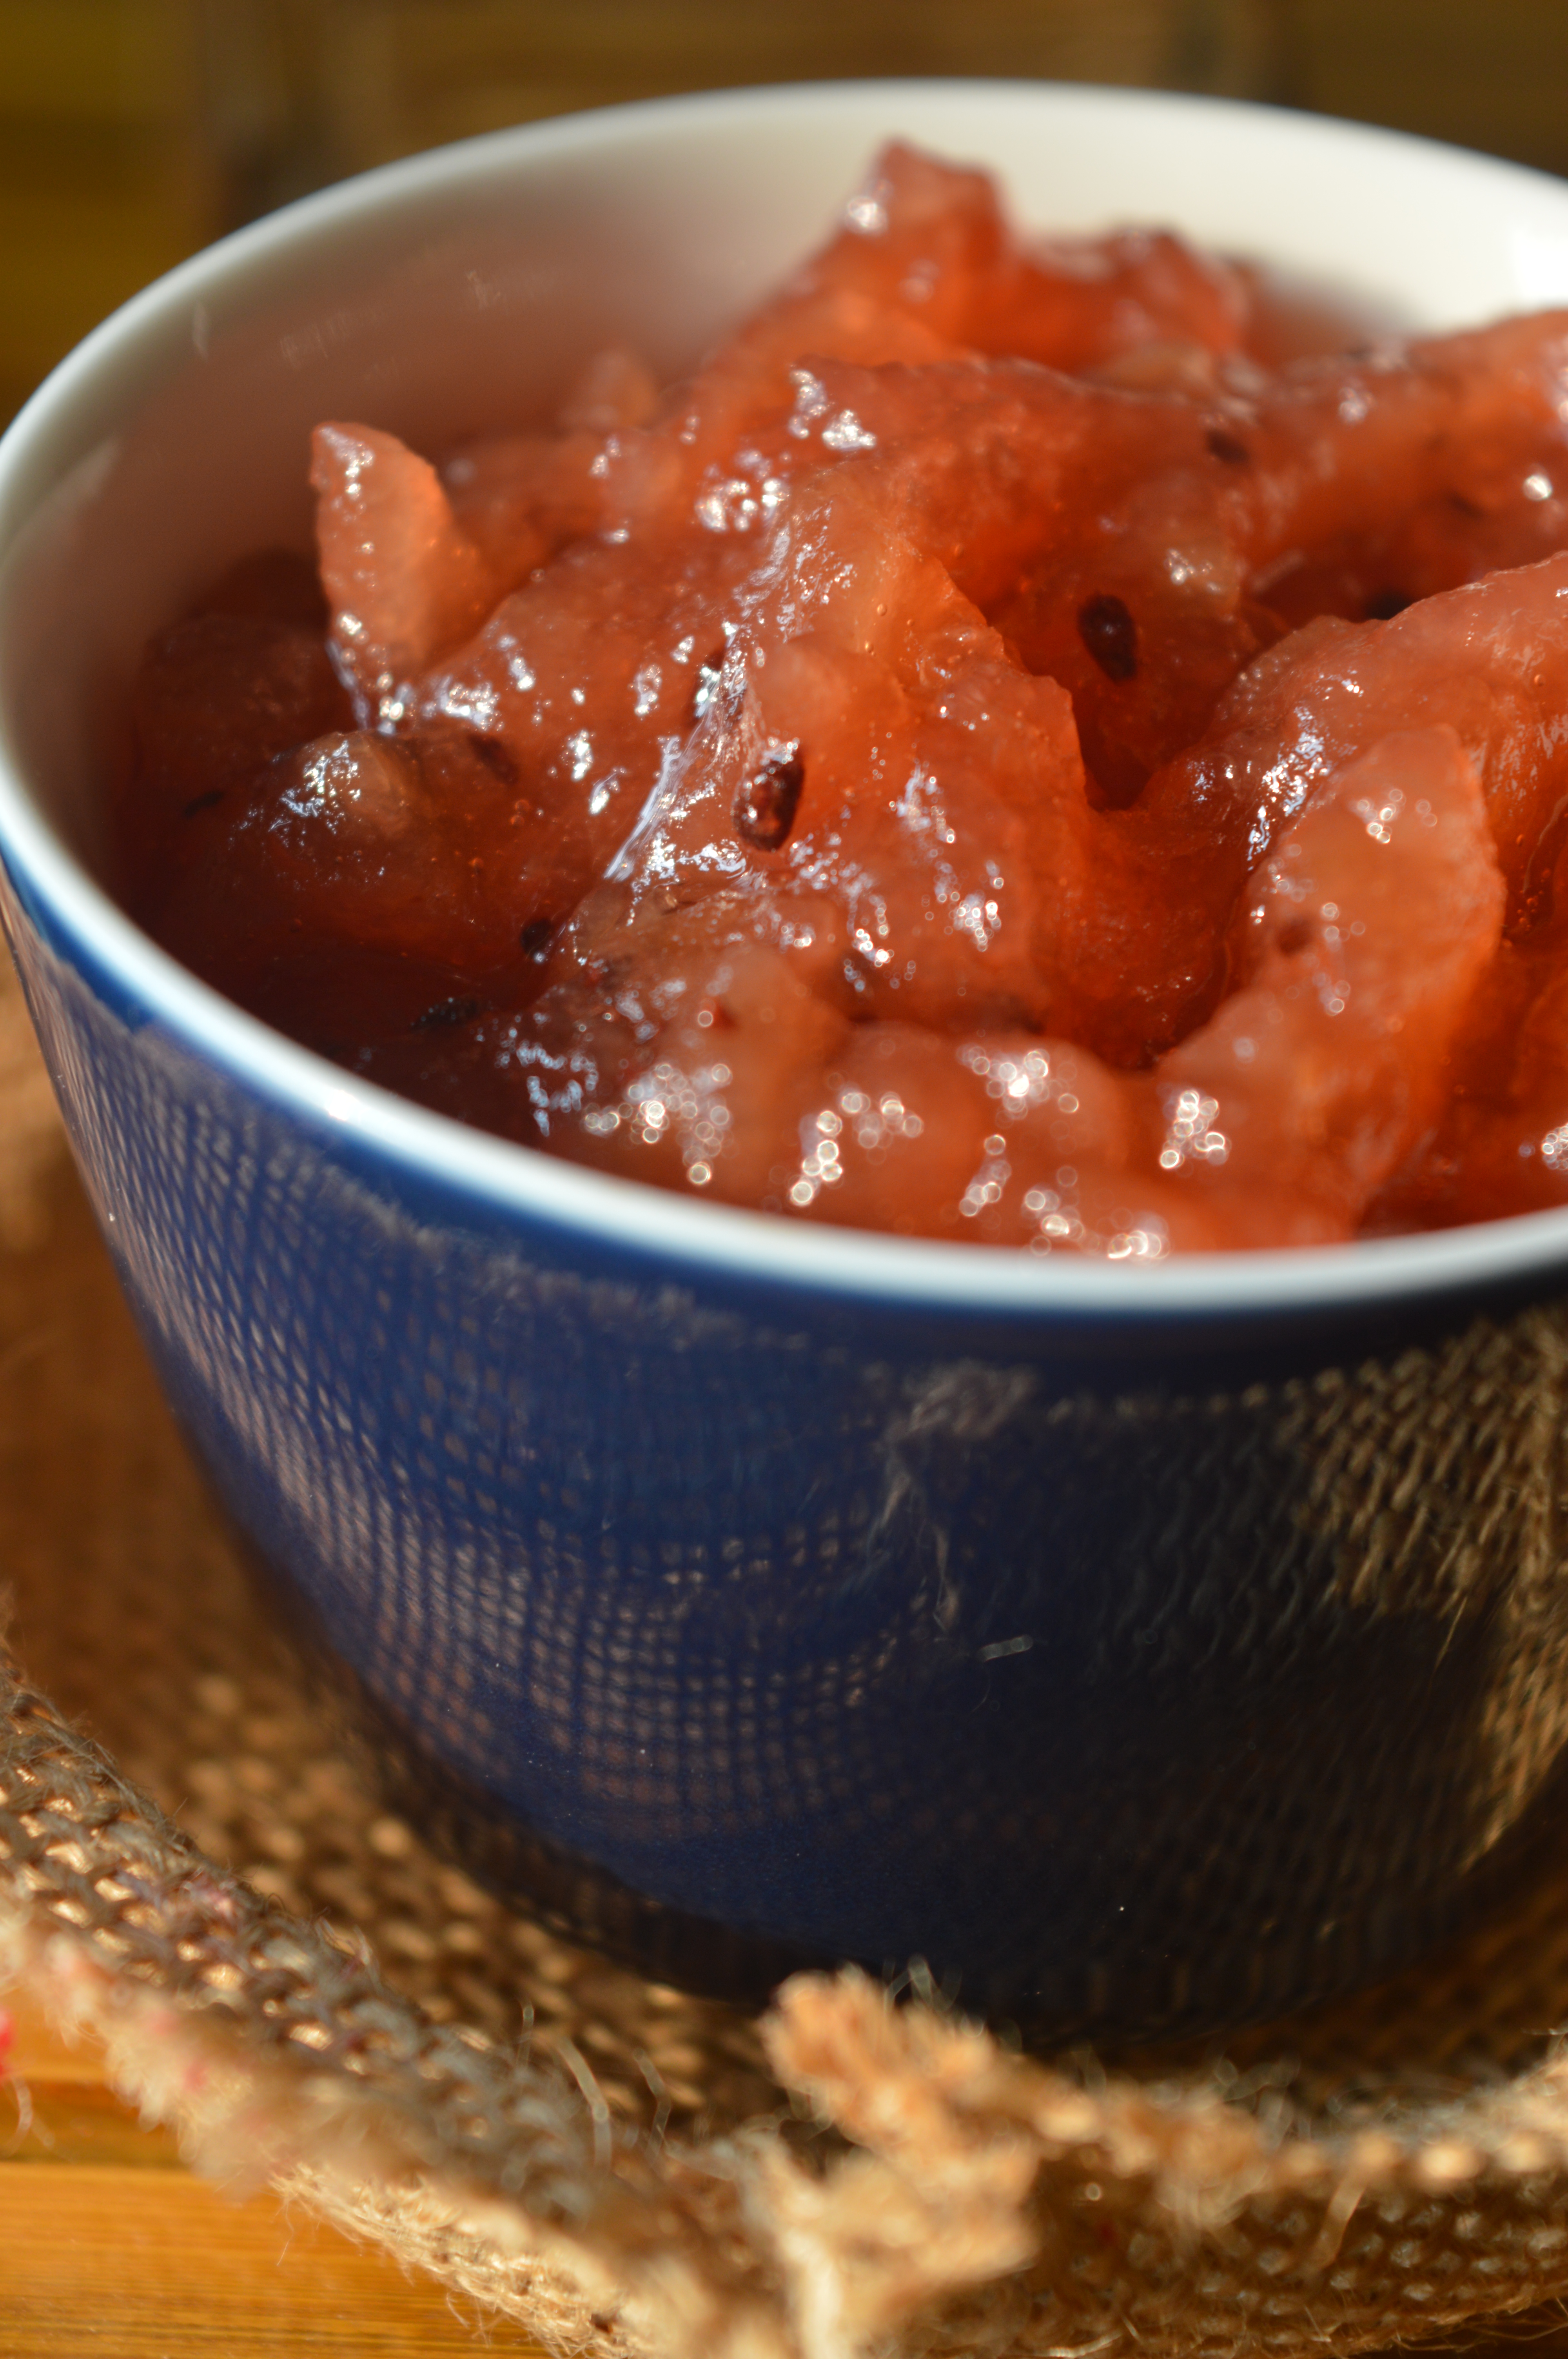
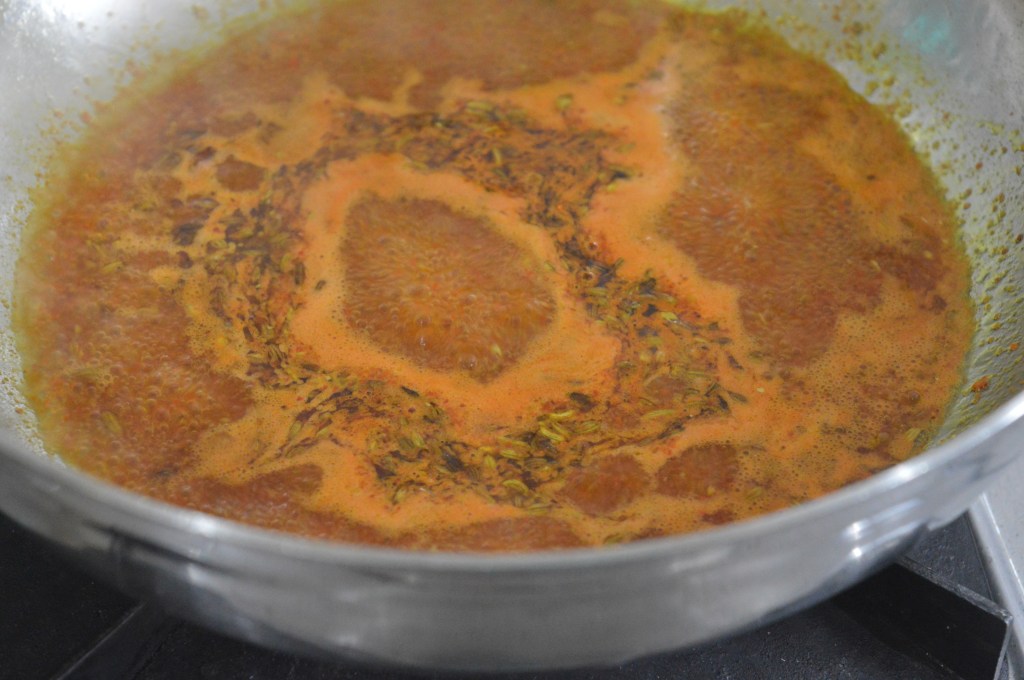
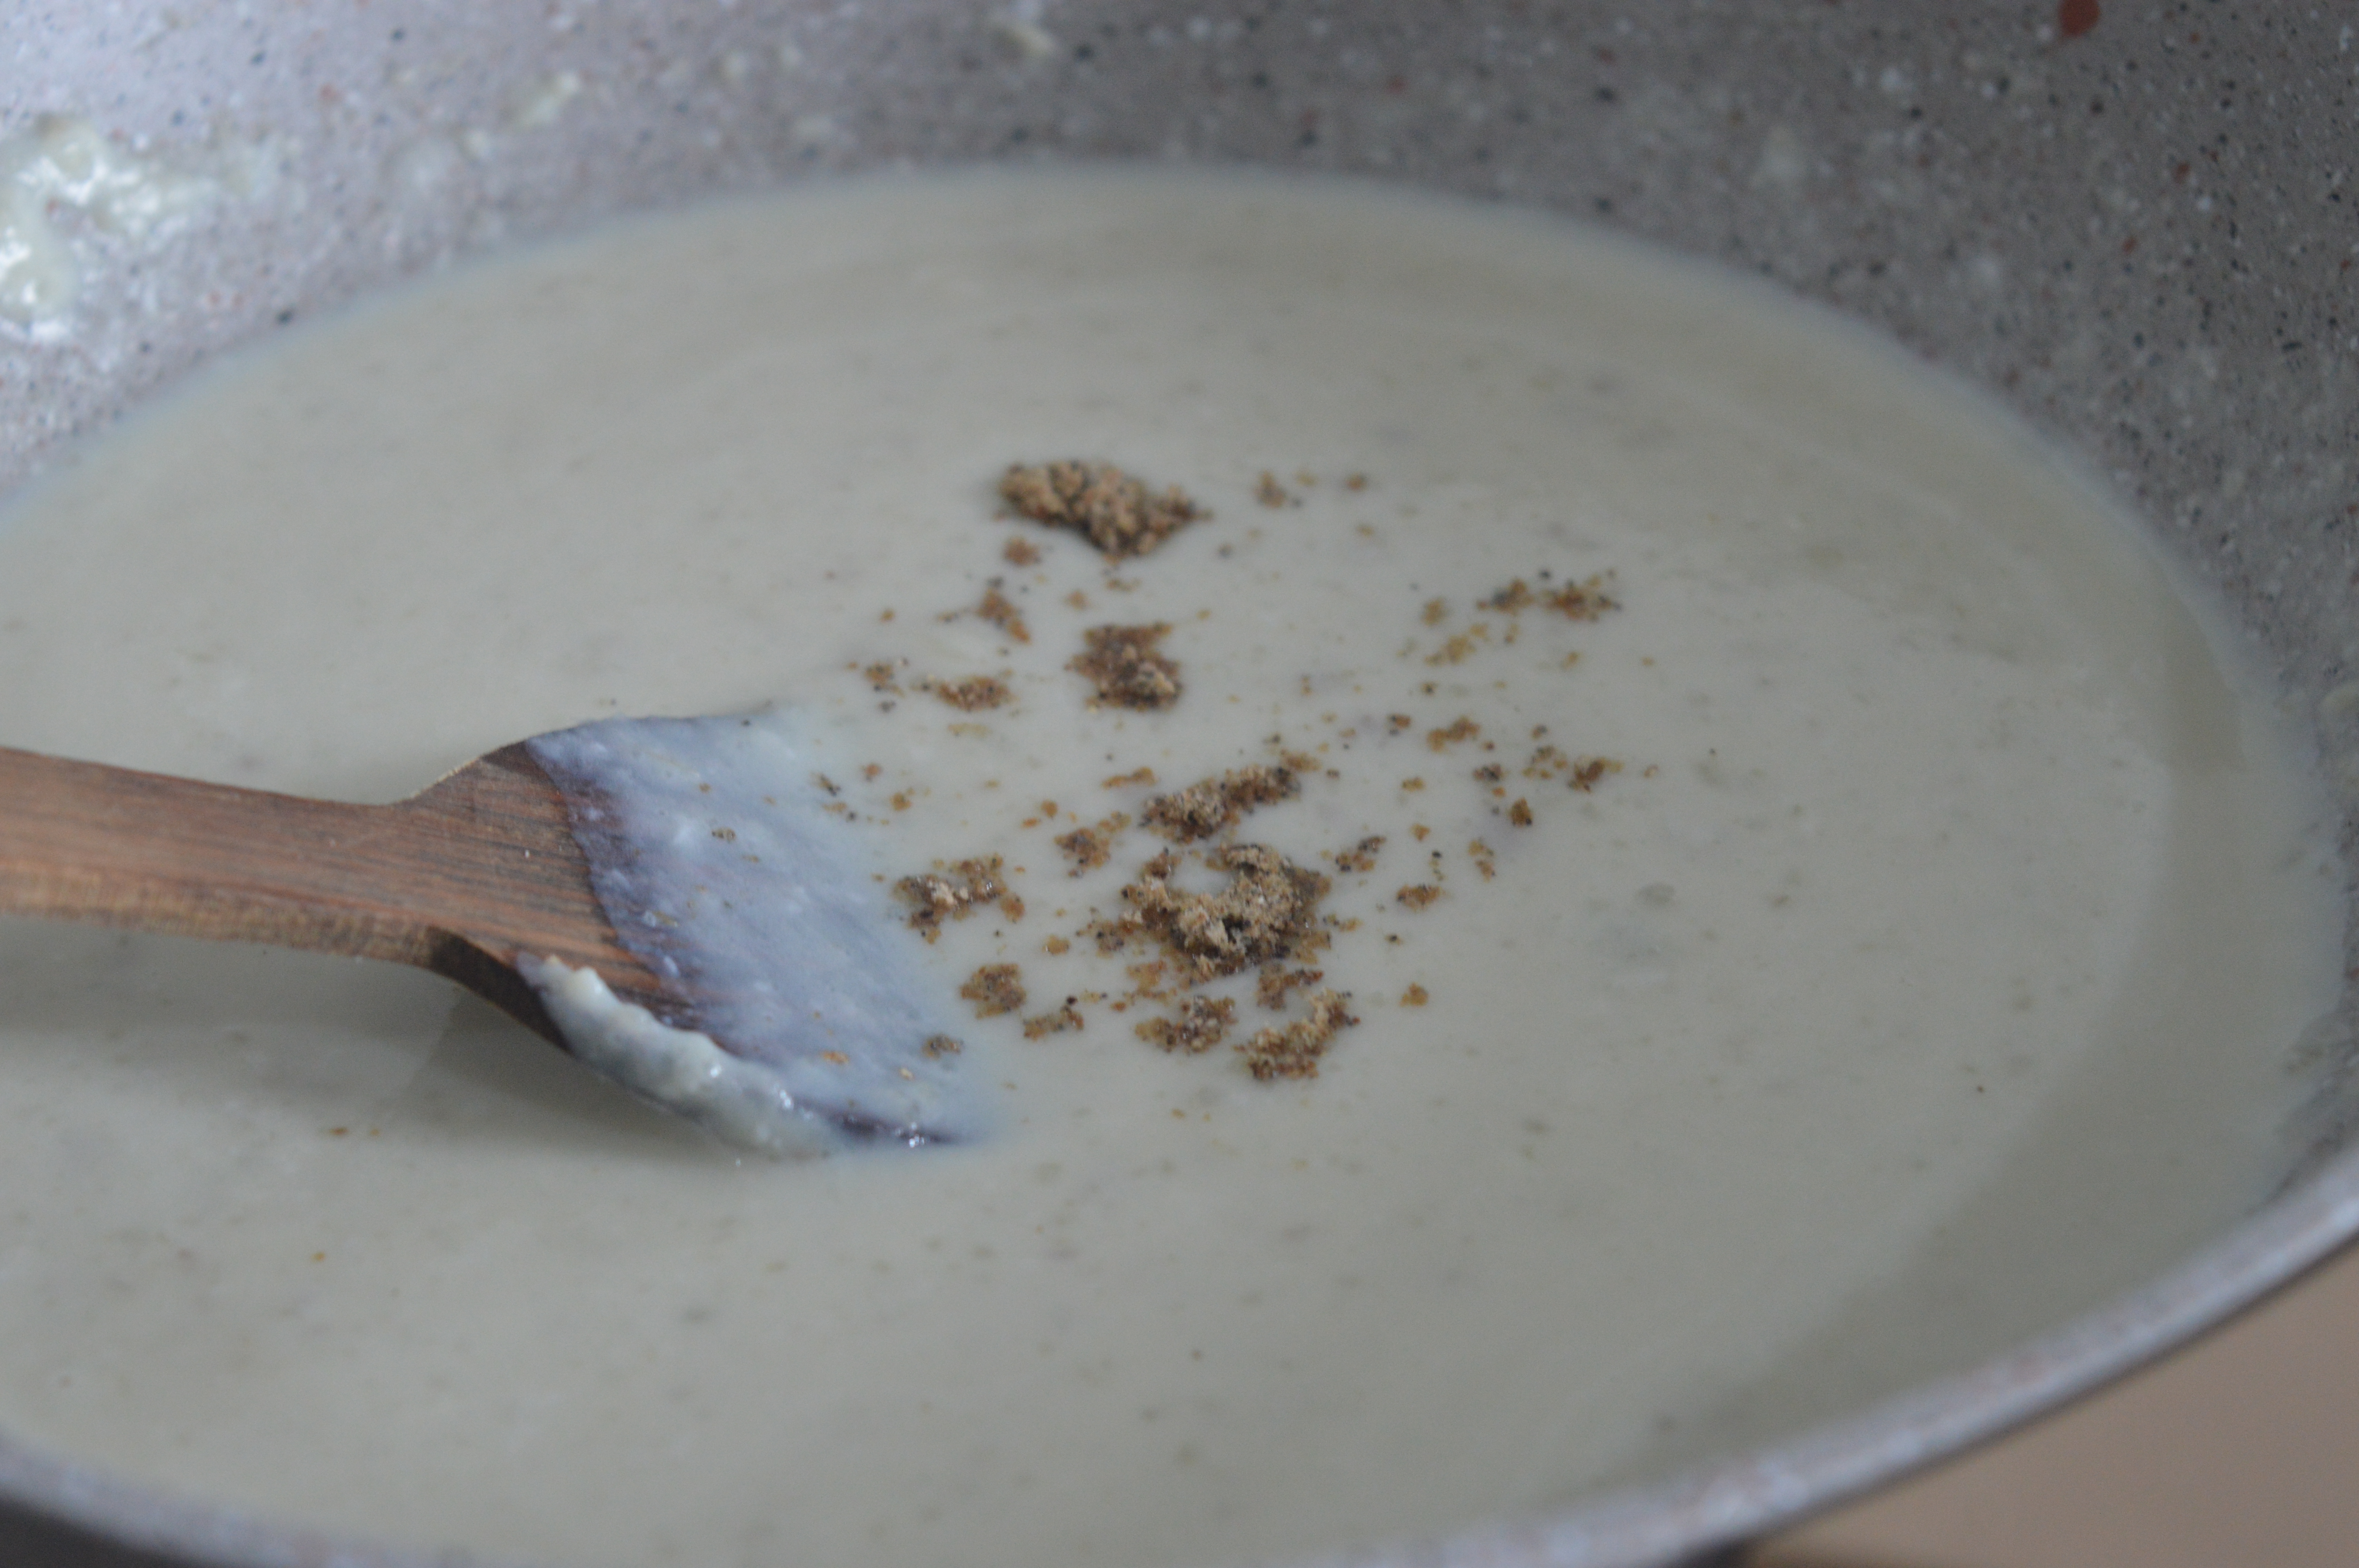
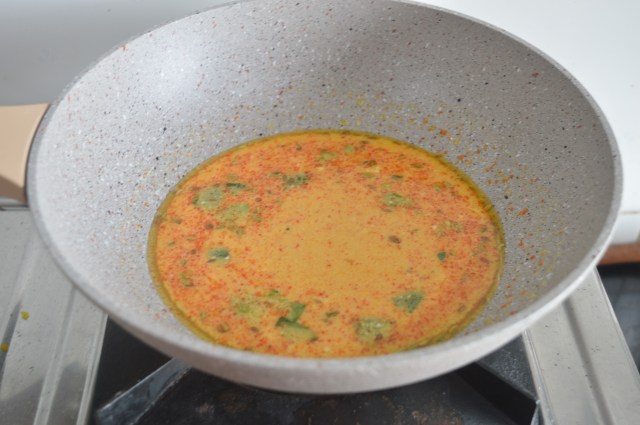
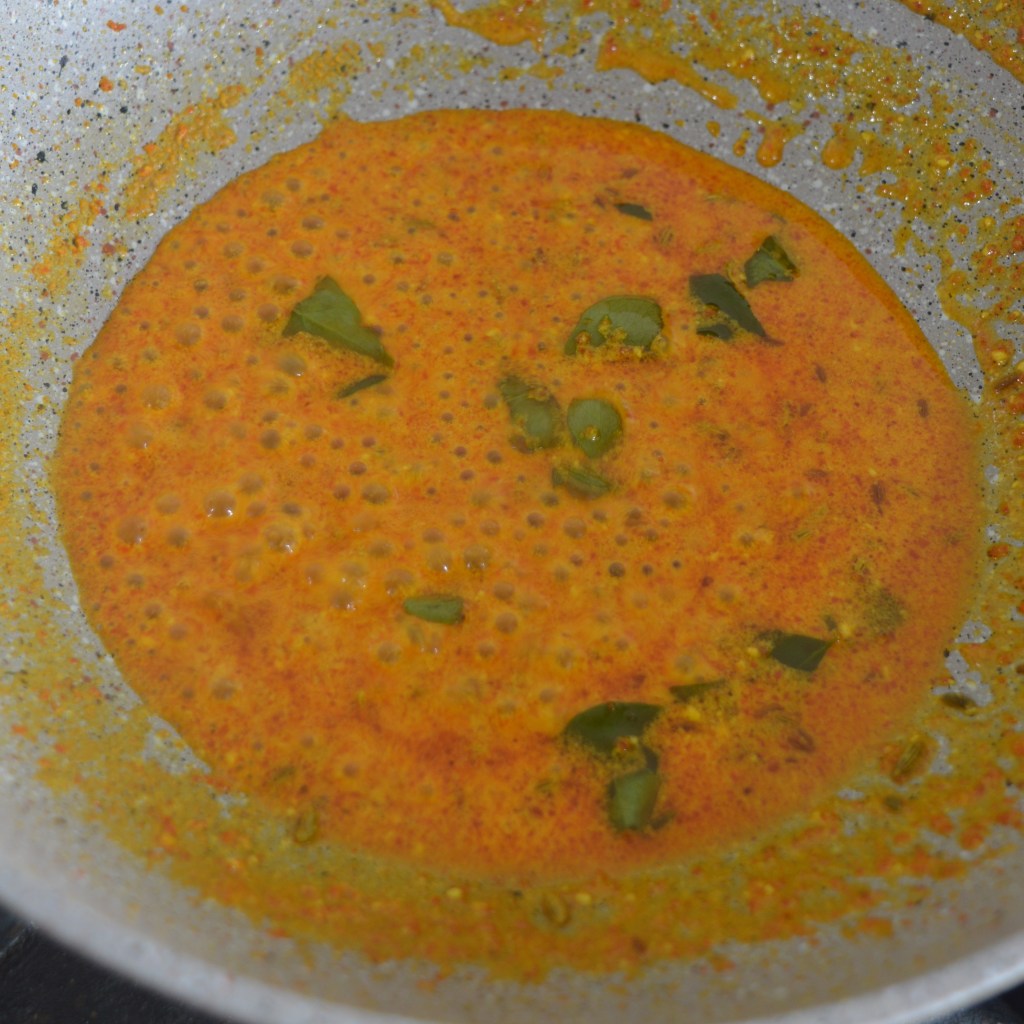
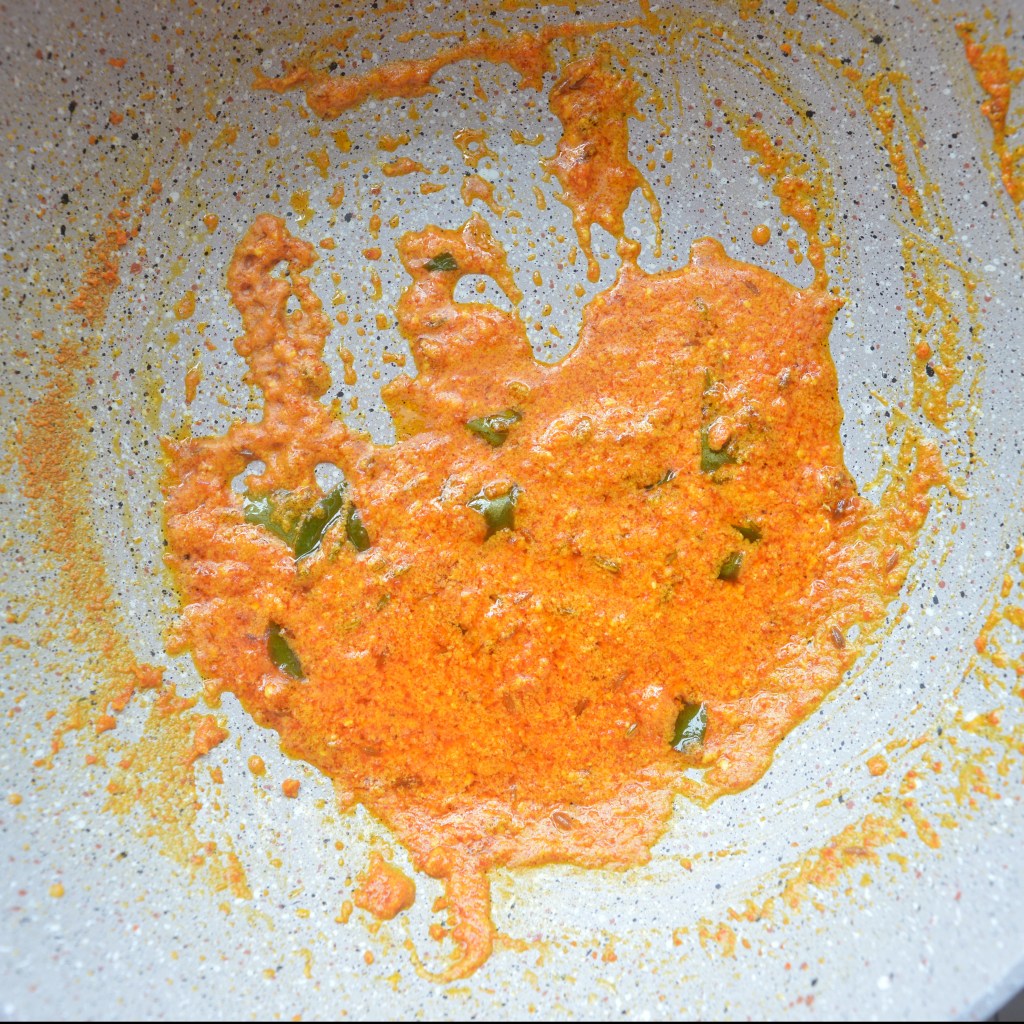
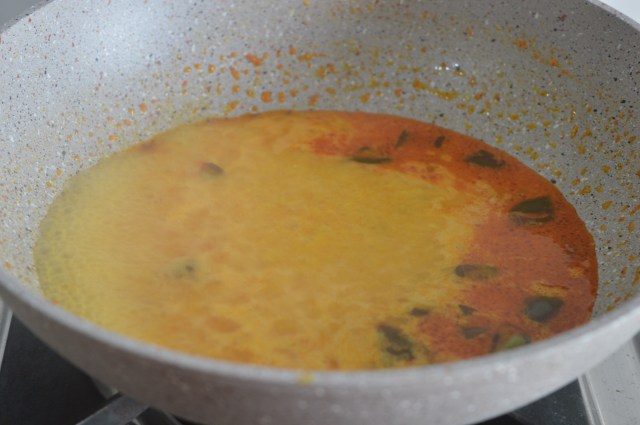
- Once the gourds are cooked add the Tamarind paste. (Pass the soaked tamarind through a sieve to make a paste). Mix it well and cover the lid for a minute.
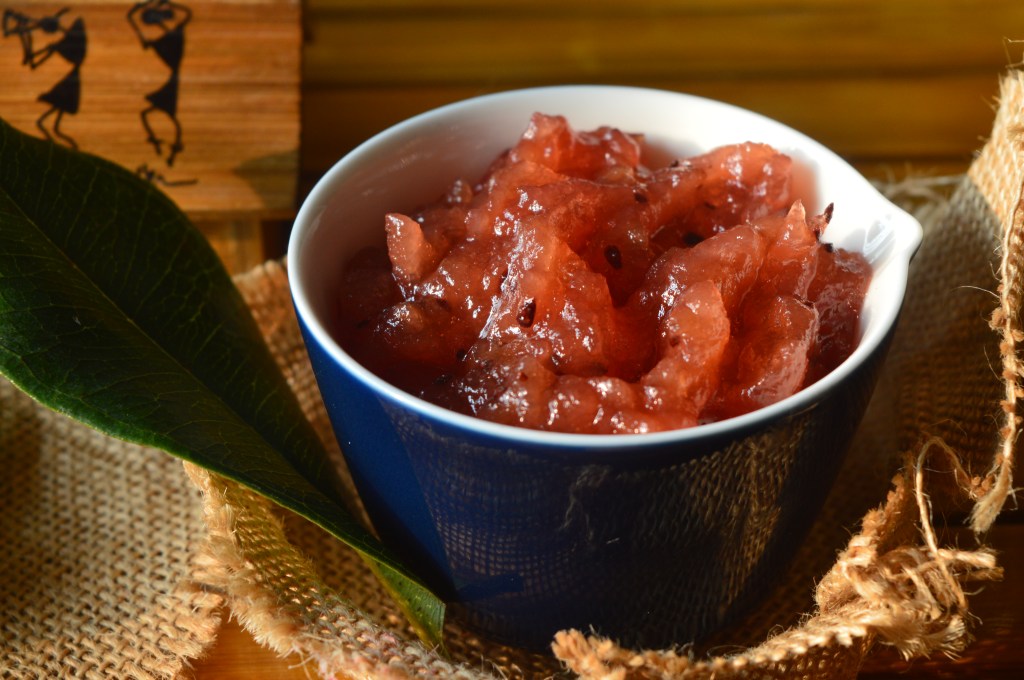
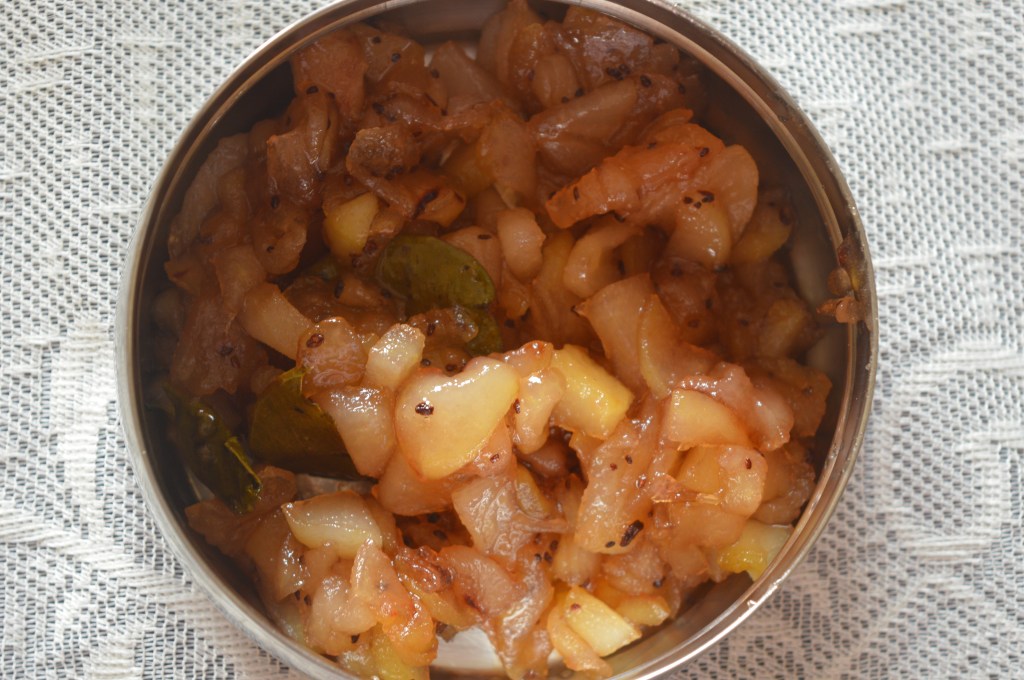
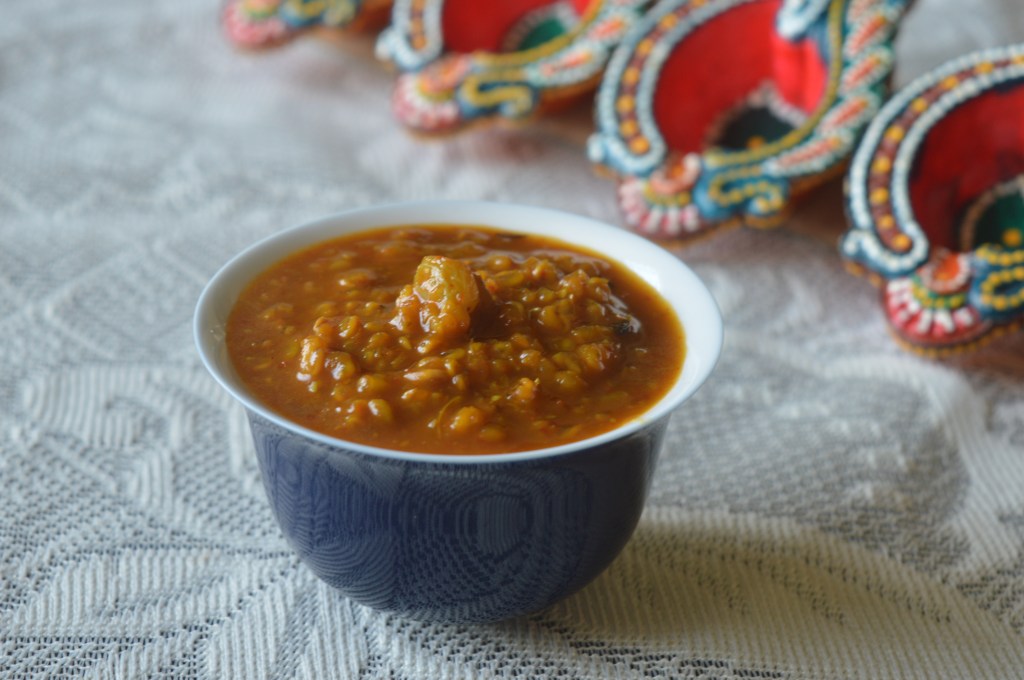
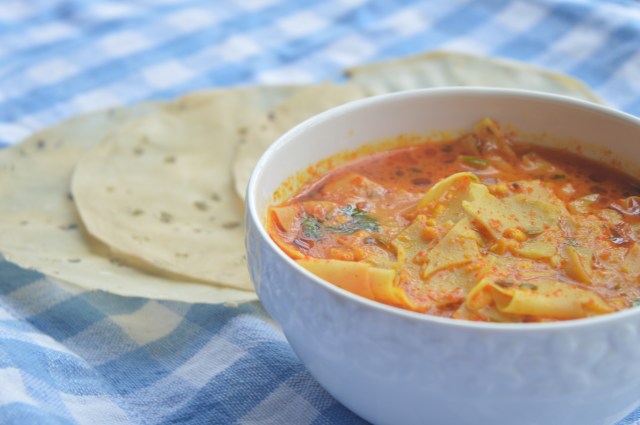
- The Bitter gourds are ready to be served. Garnish it with desiccated coconut.
- Serve with Love!
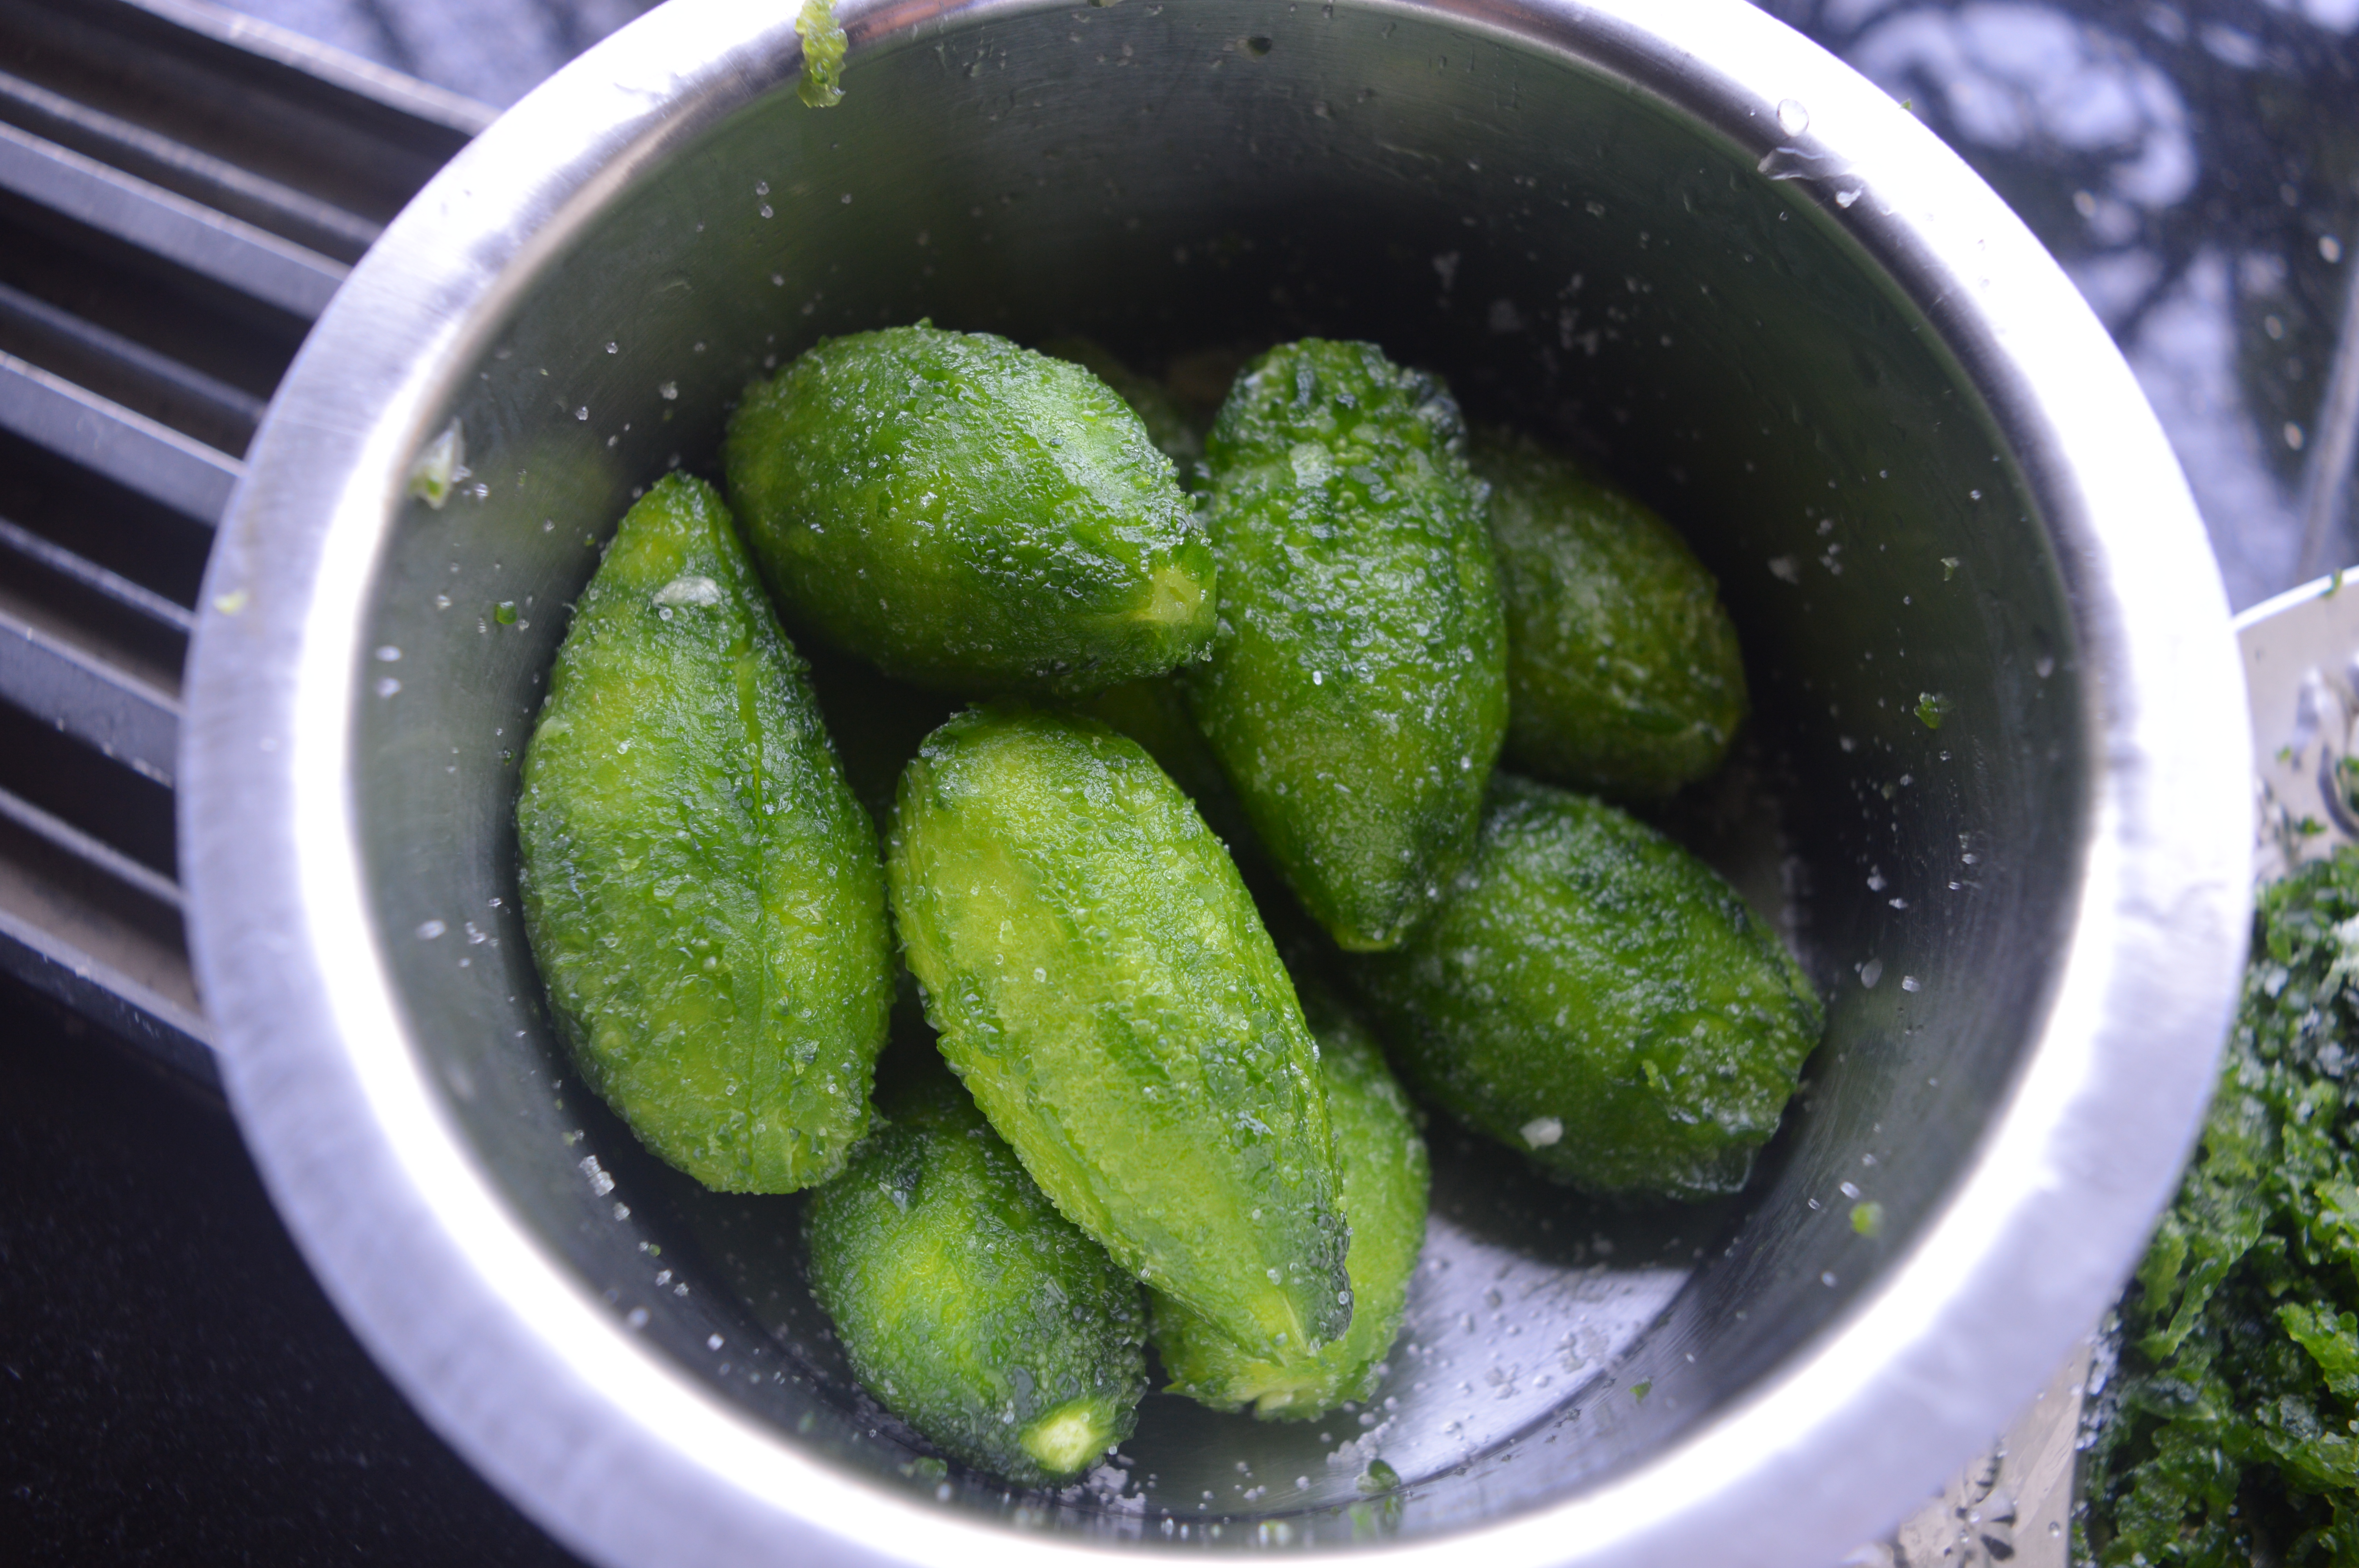
Peeled and washed Gourds 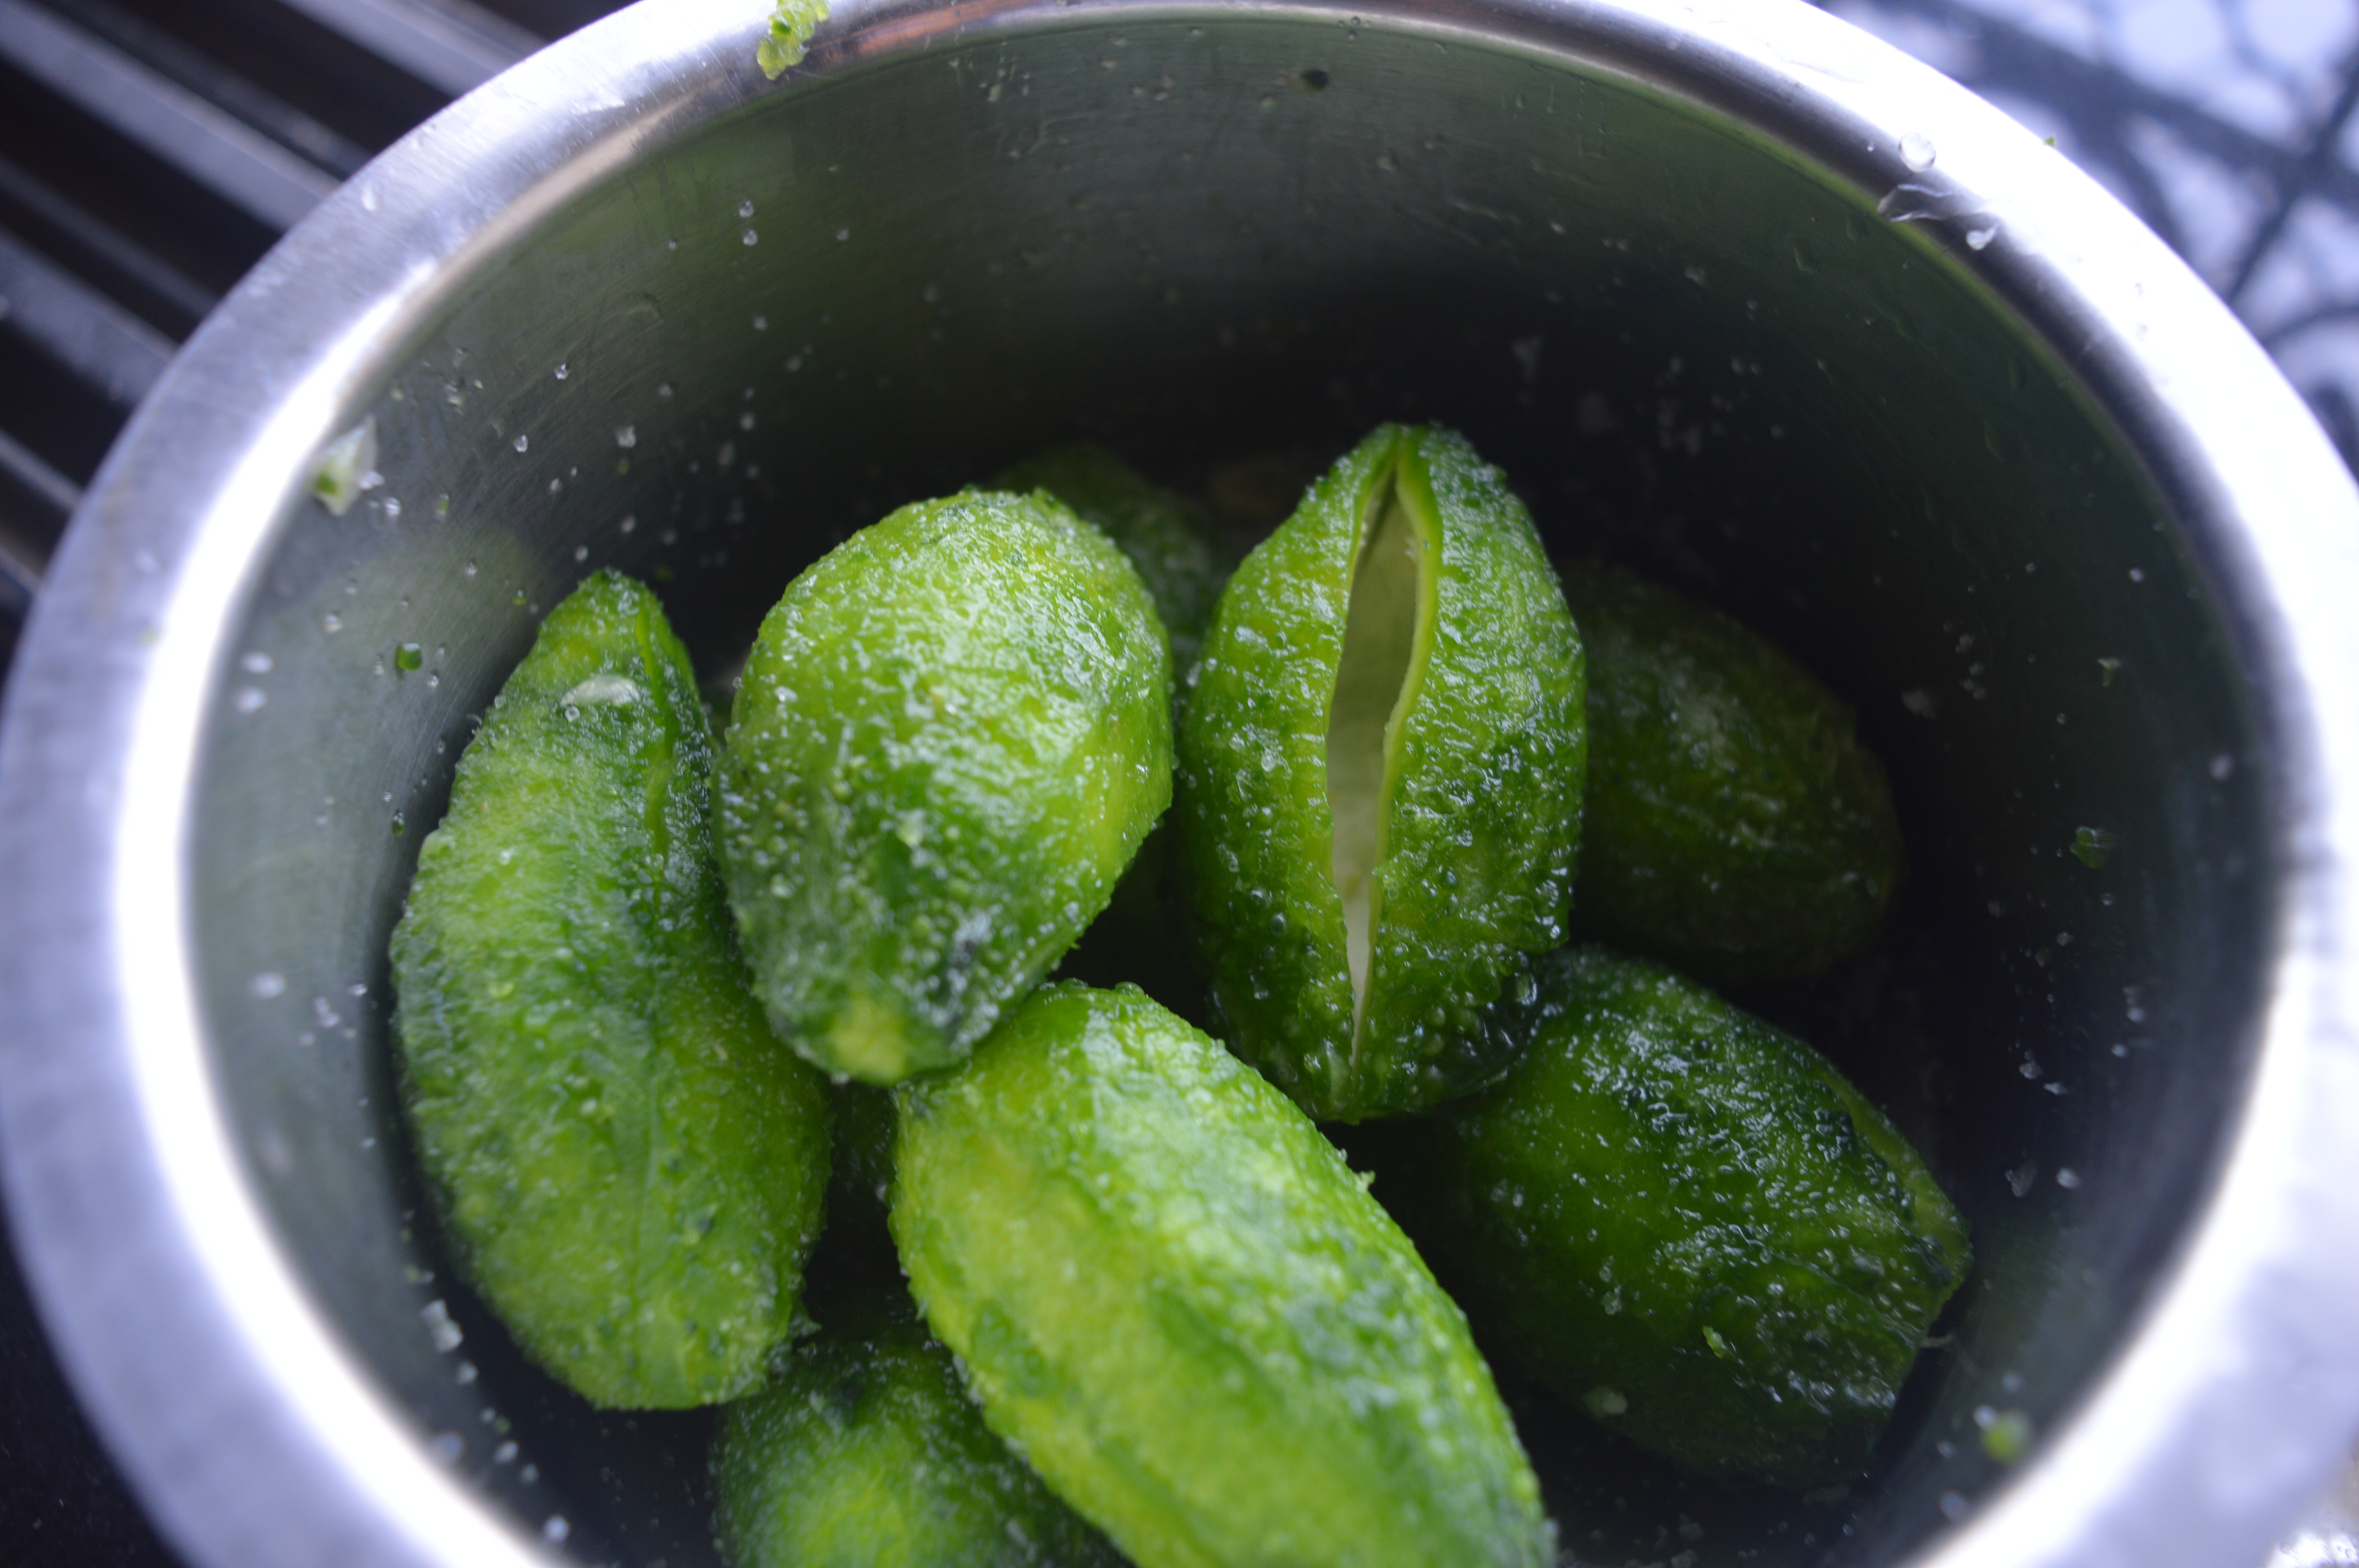
Slit 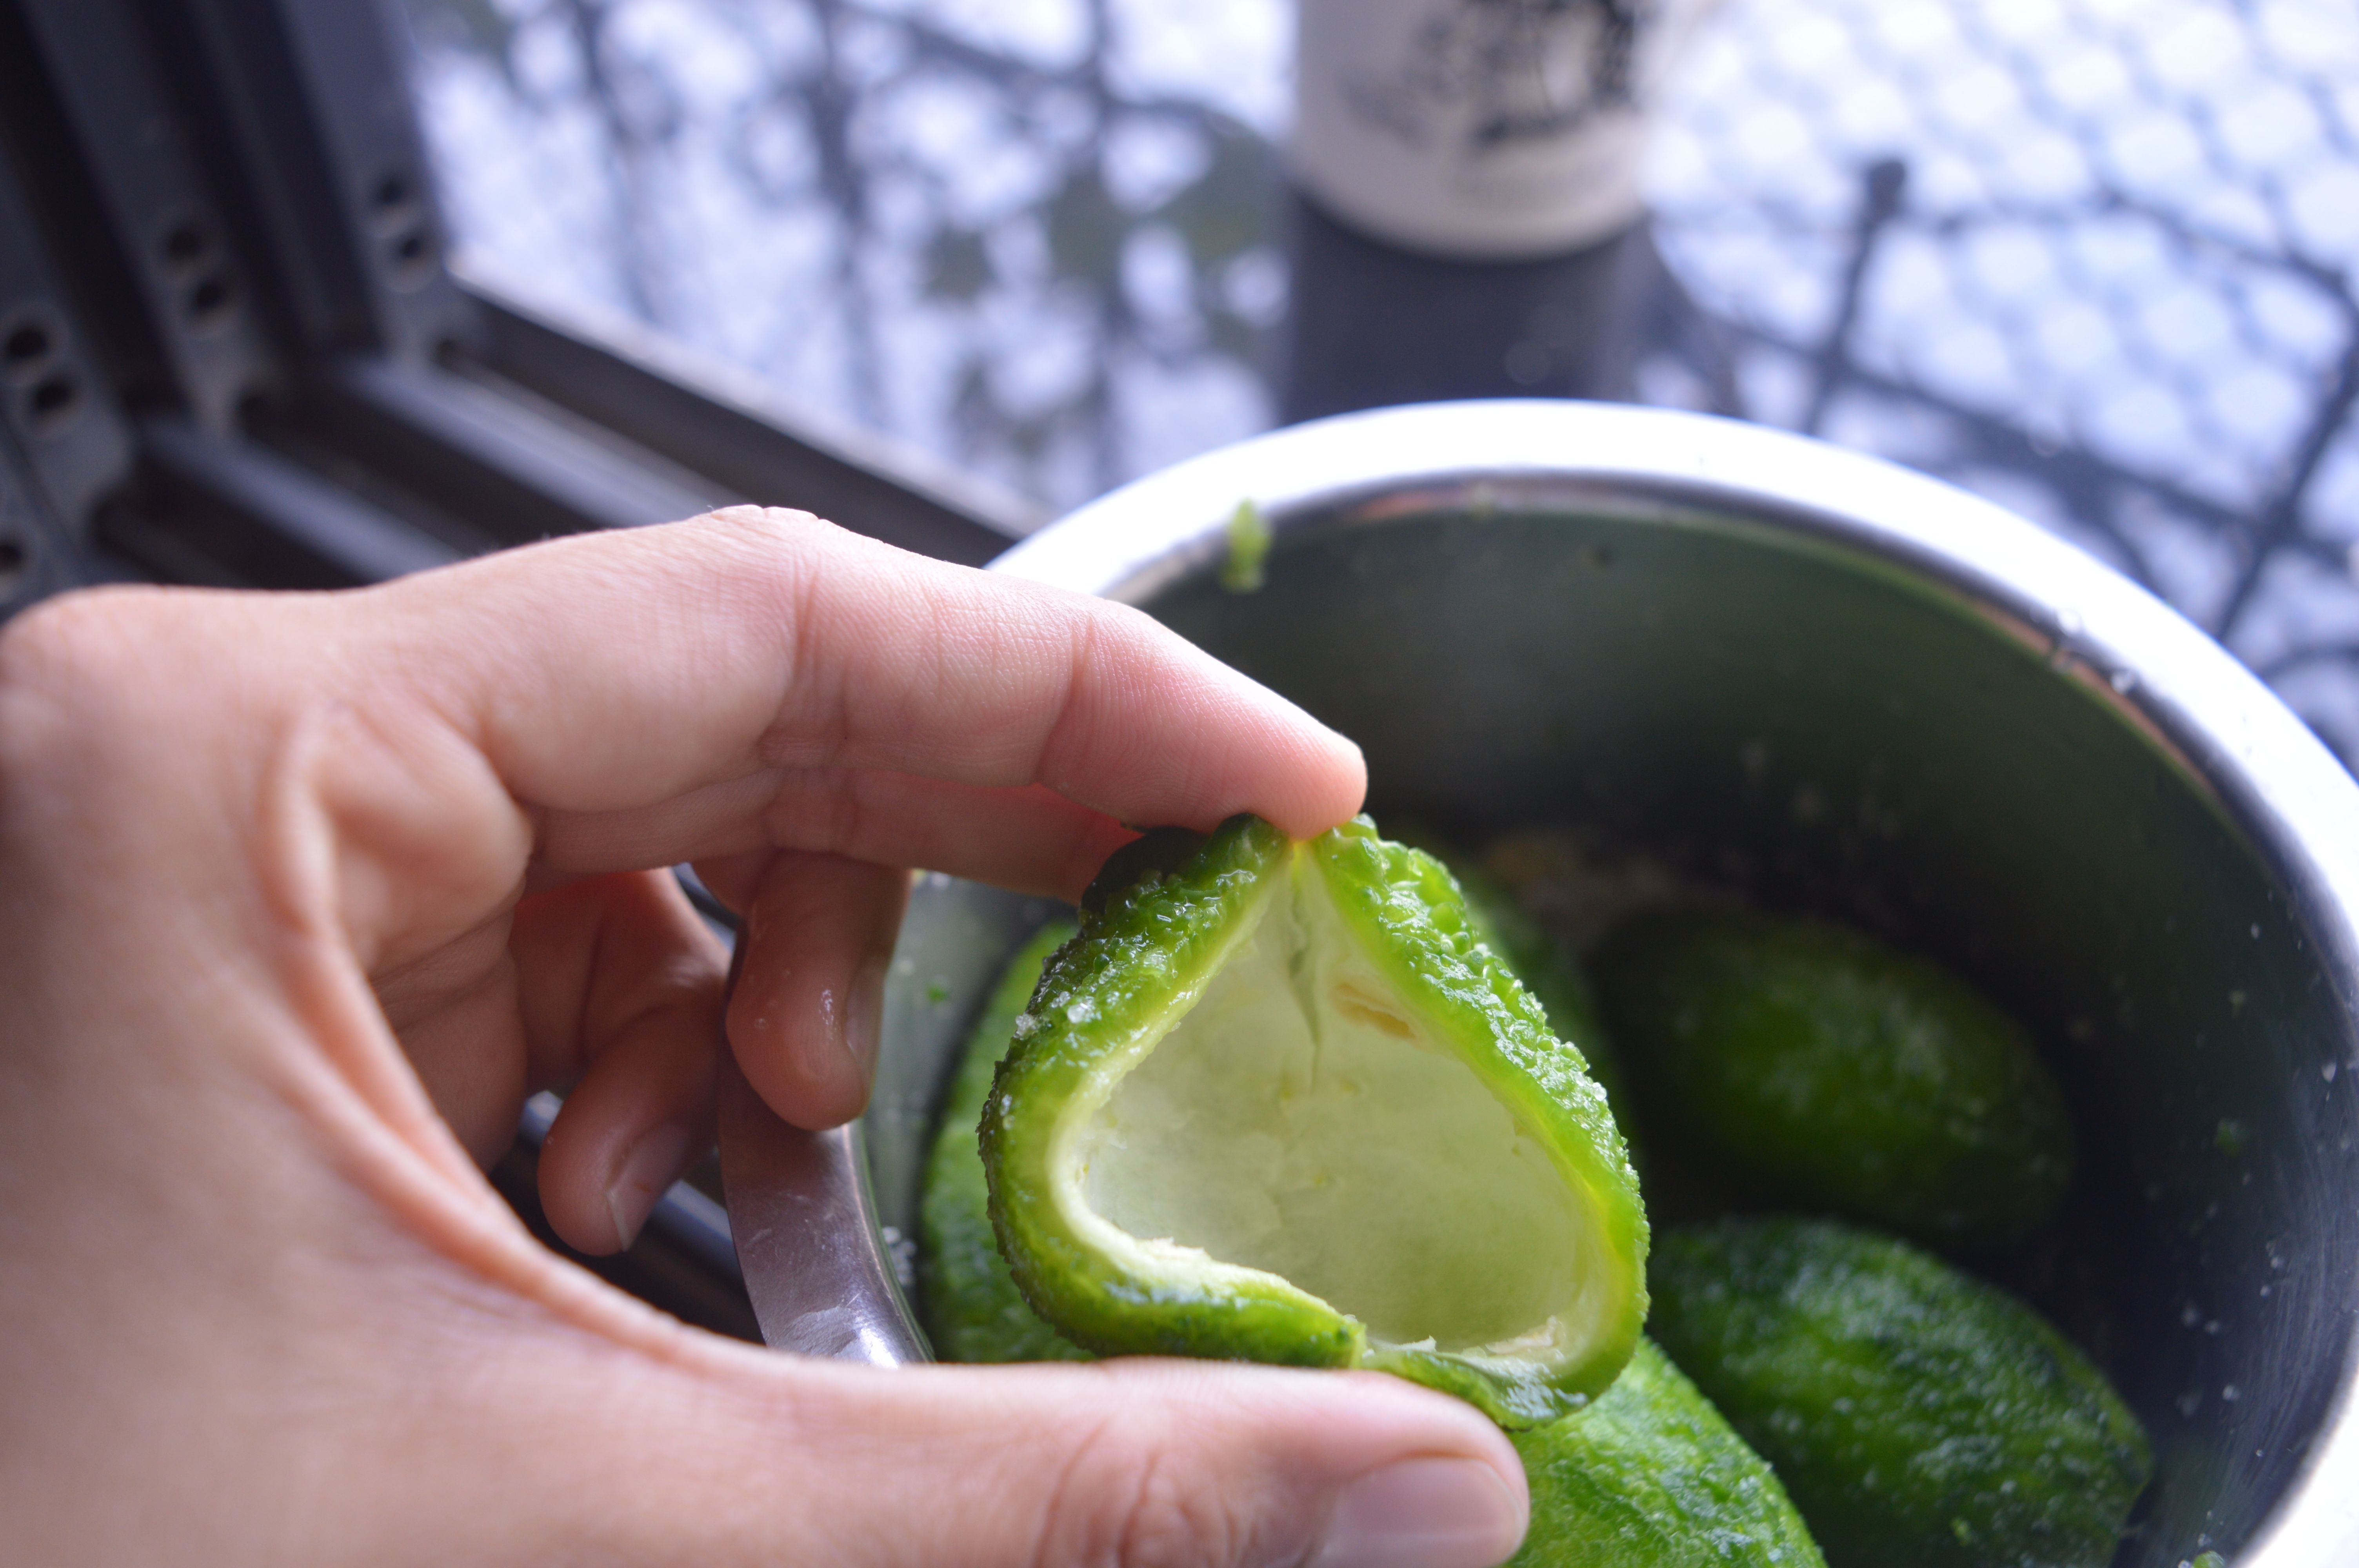
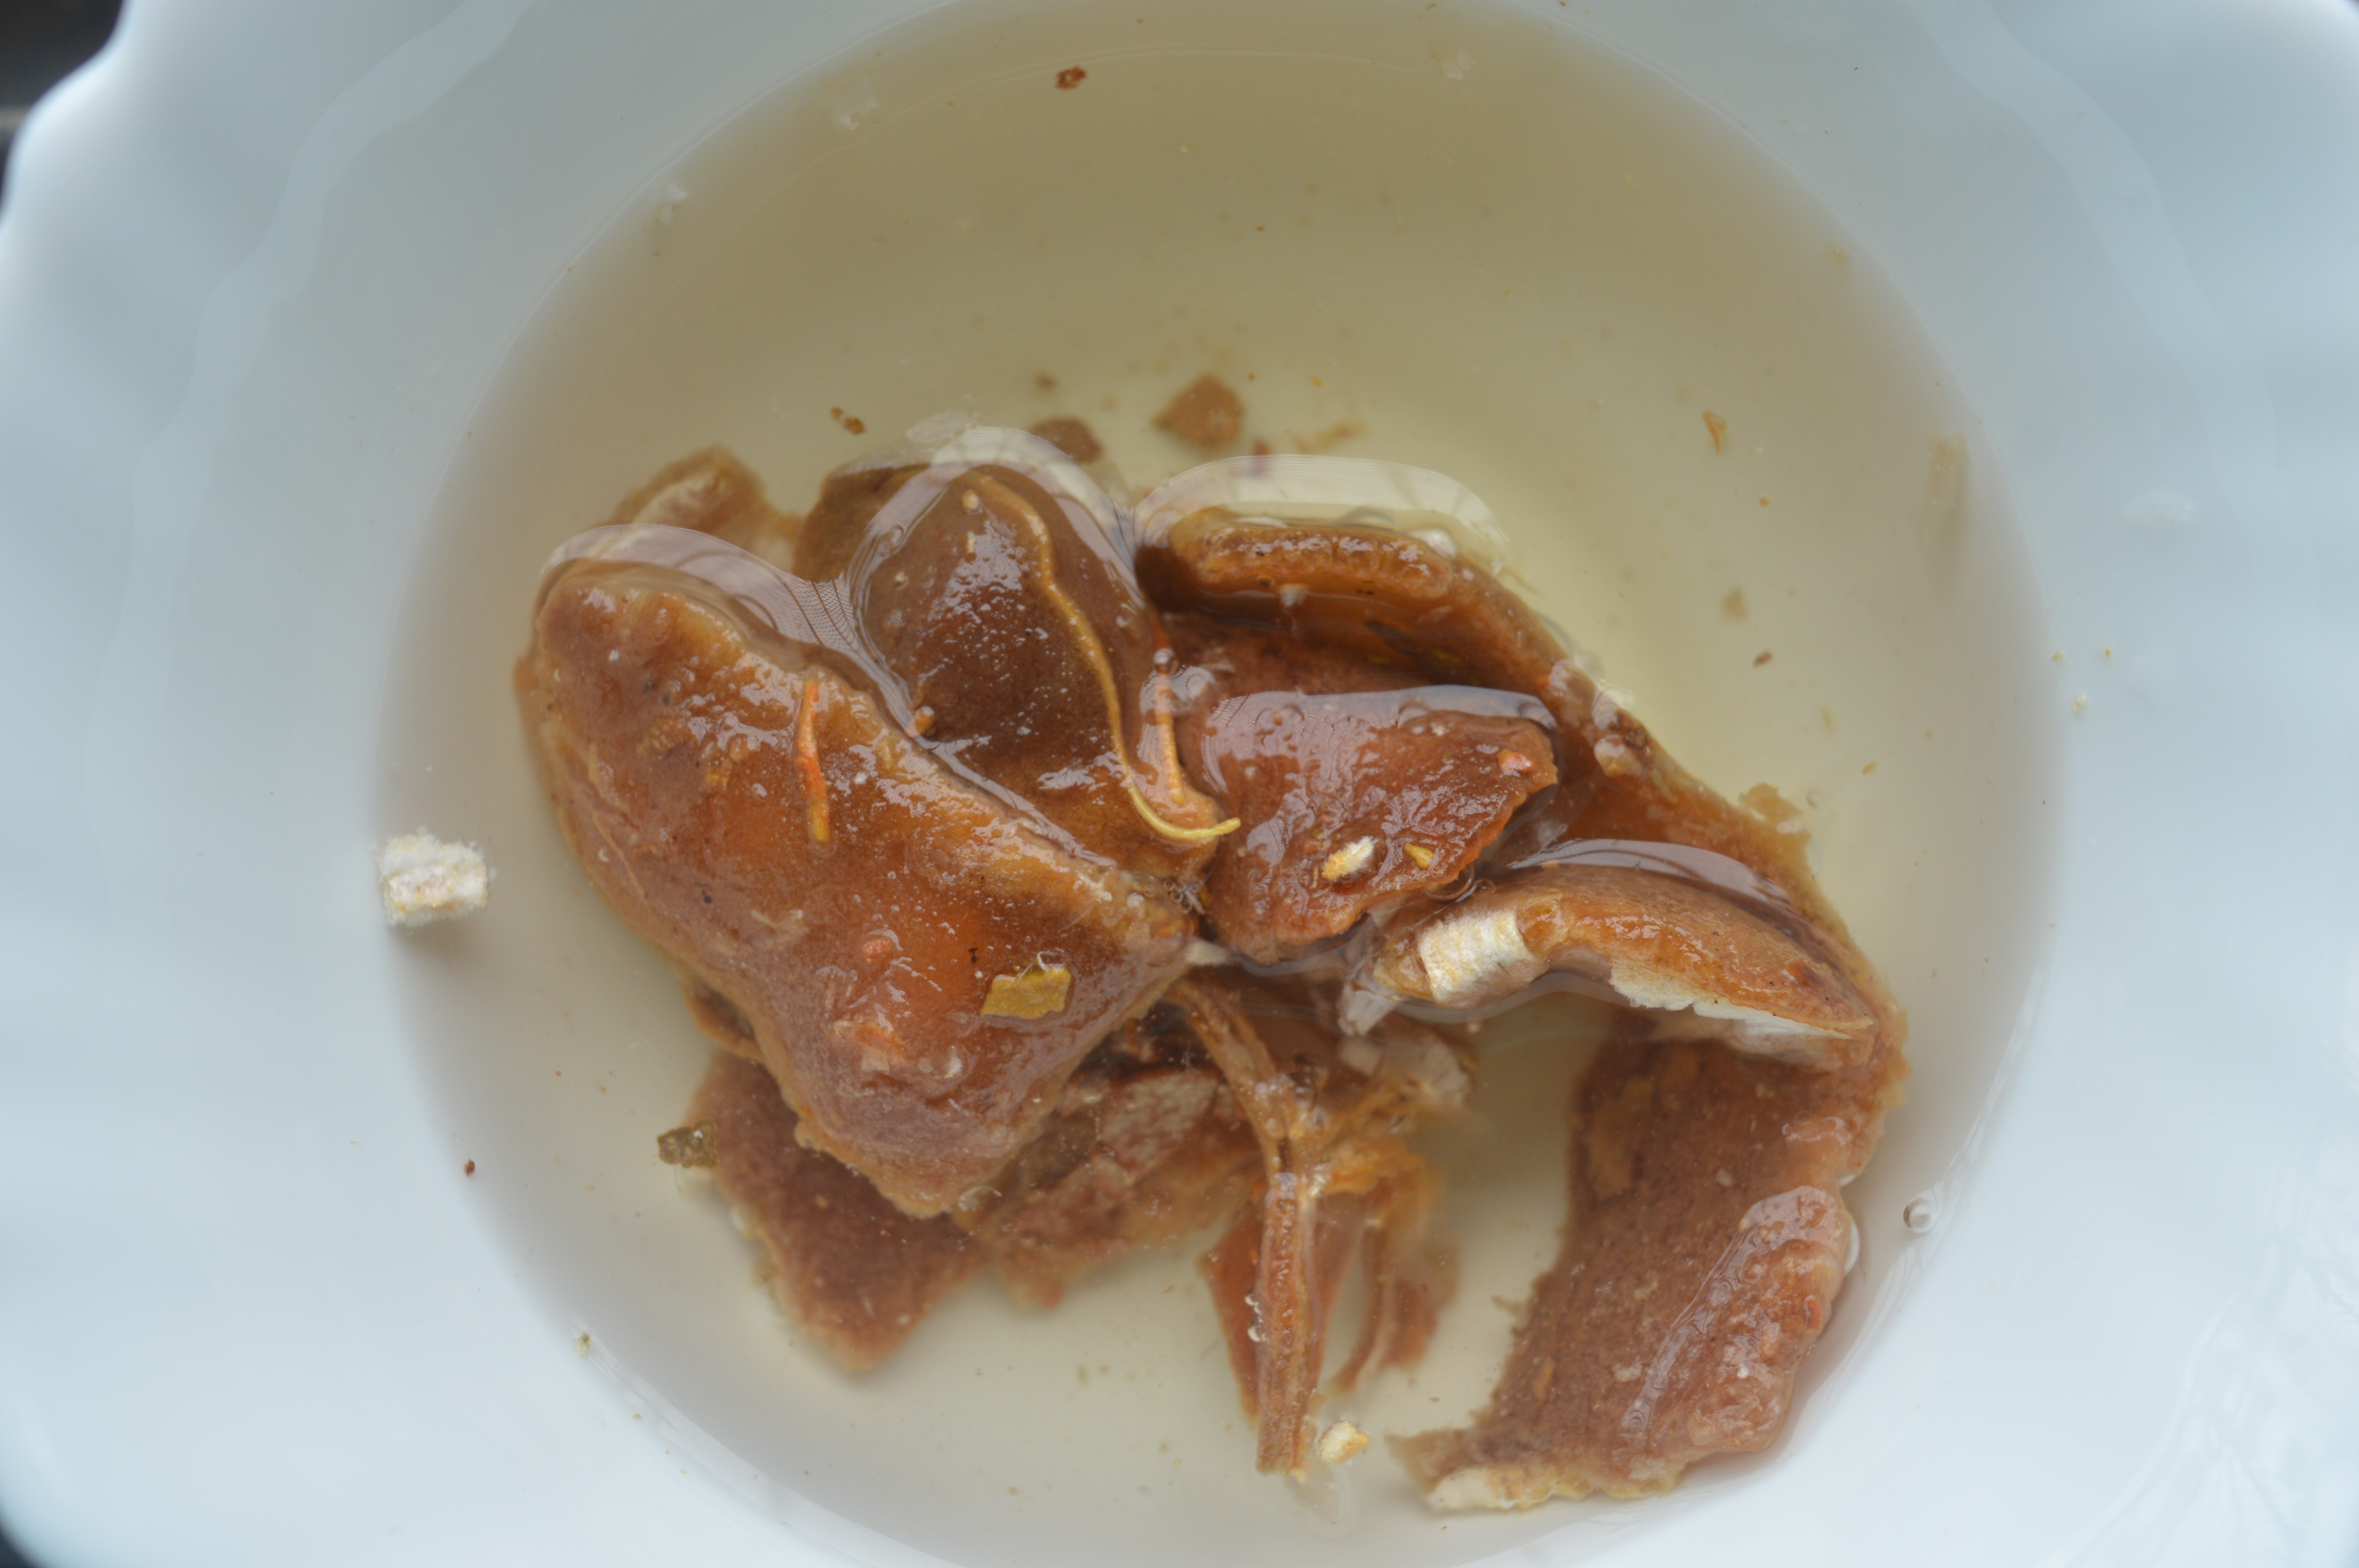
Seeds Removed 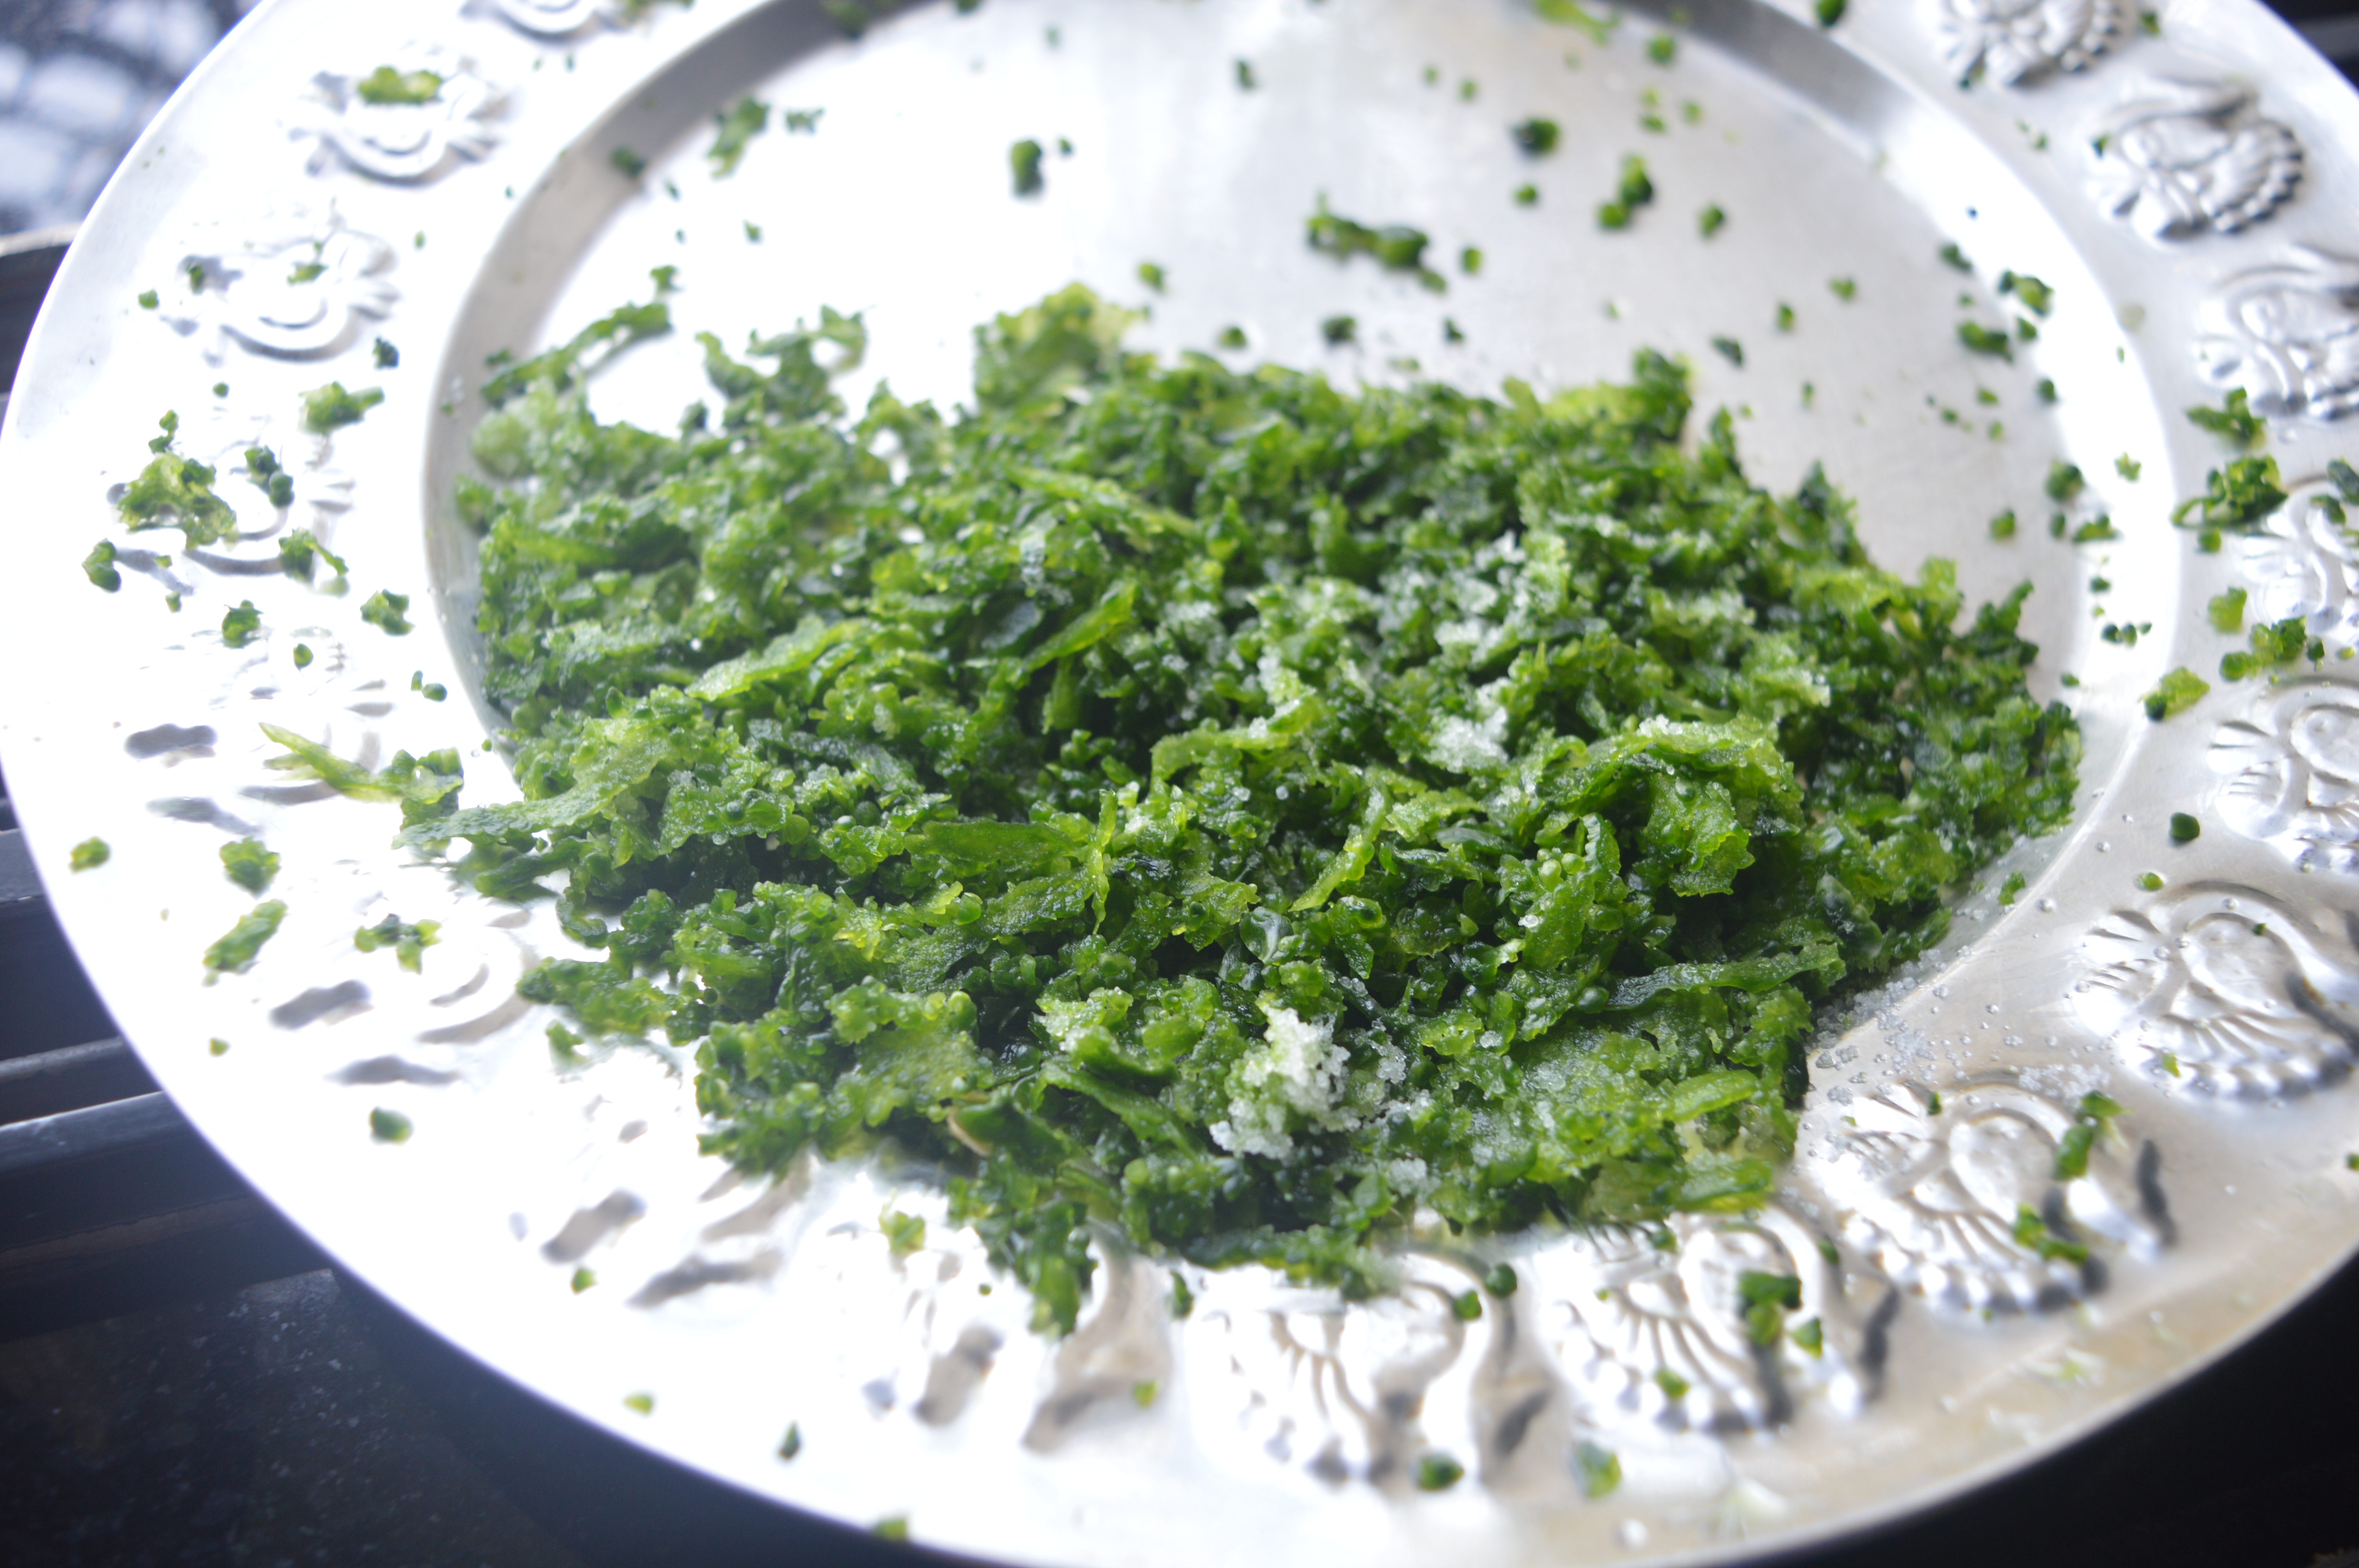
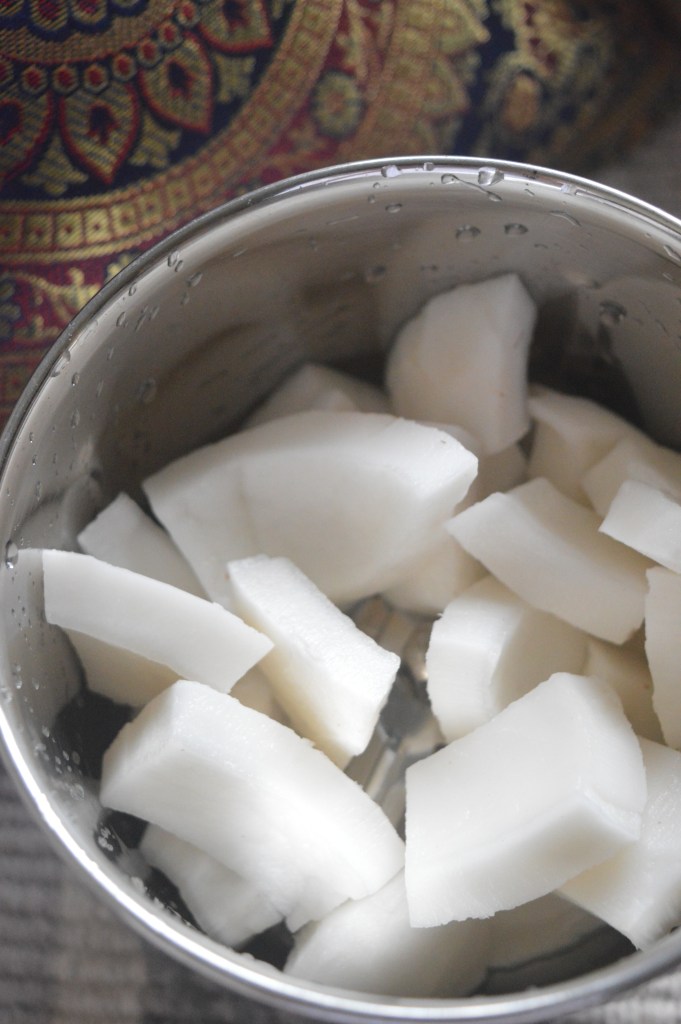
Washed Skin 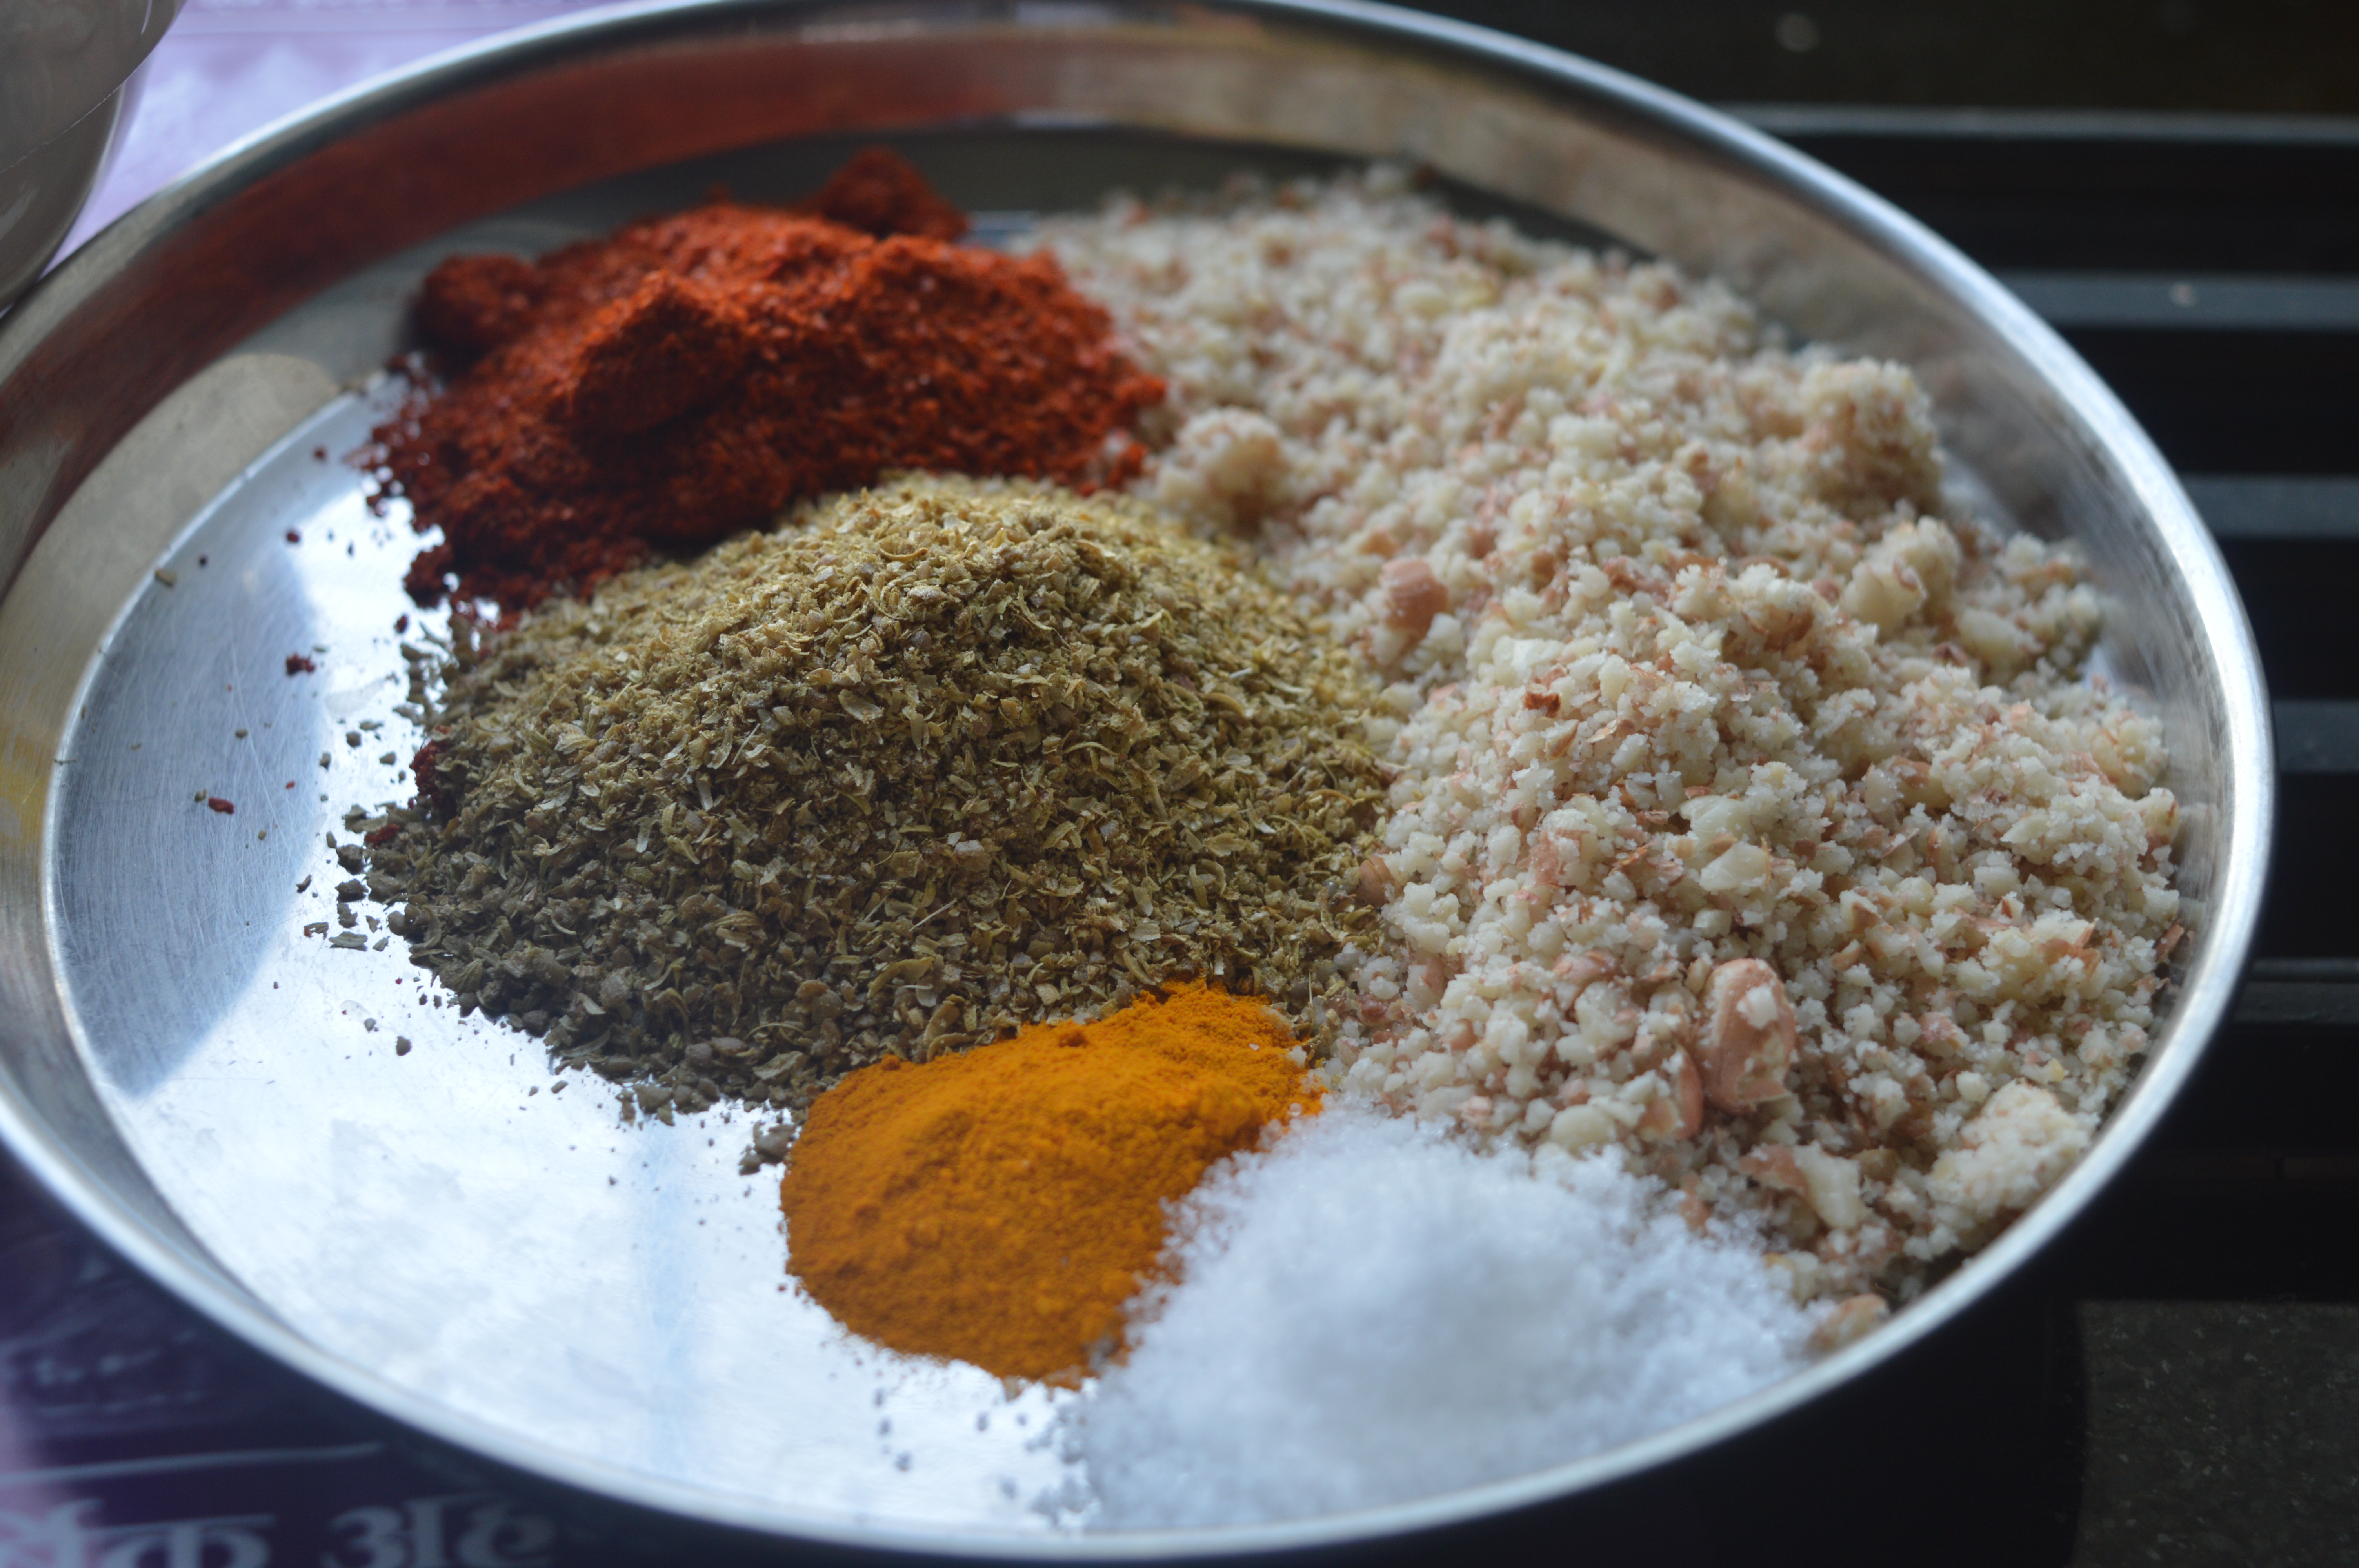
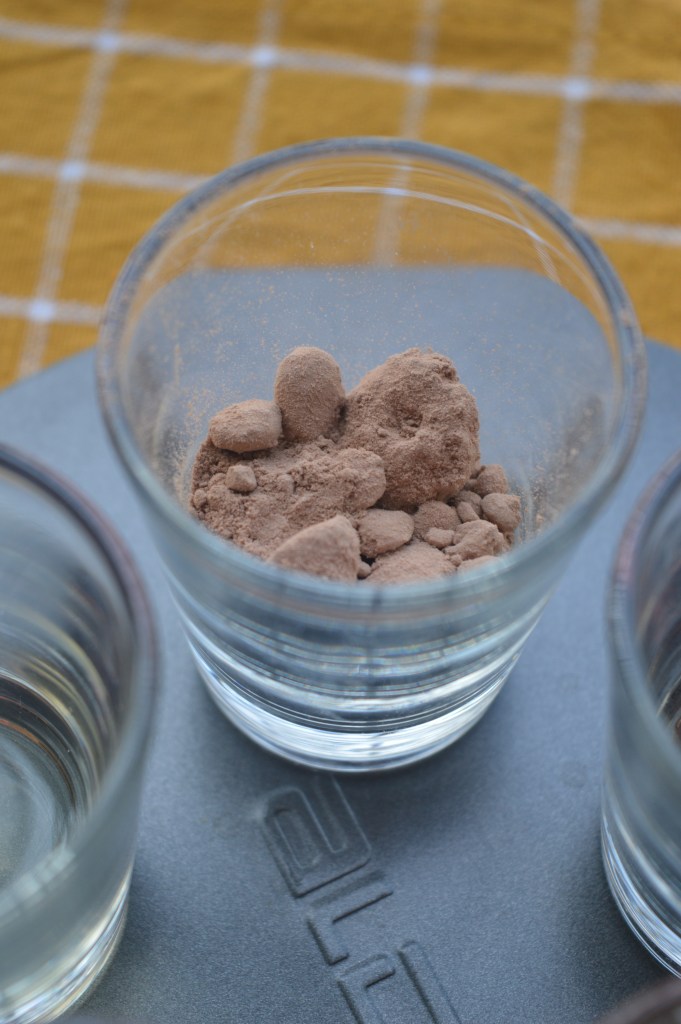
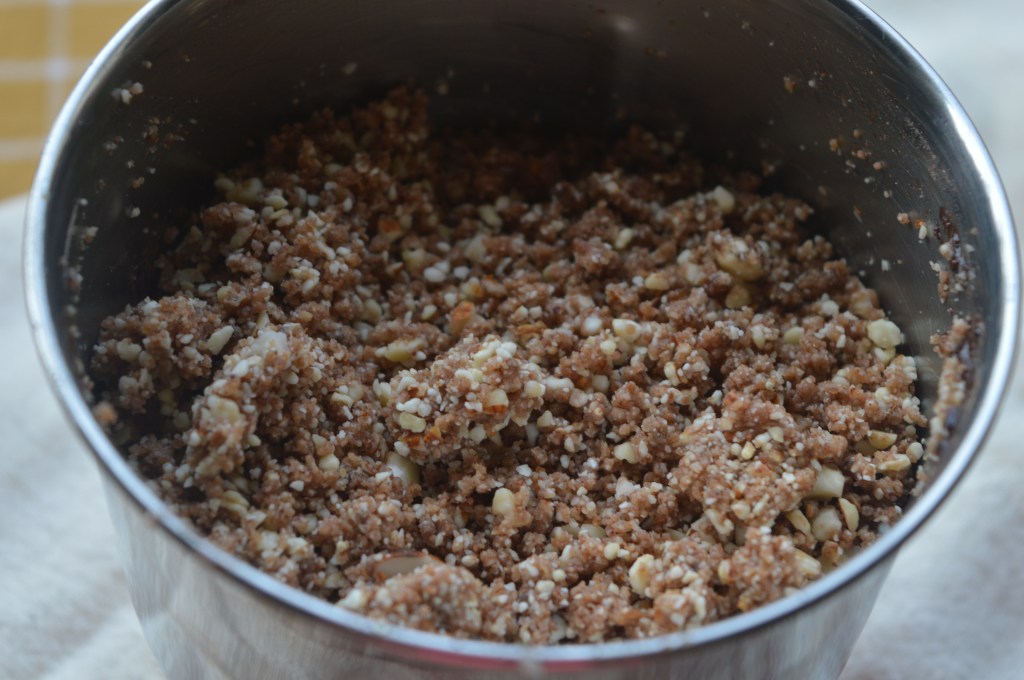
Stuffing Ingredients 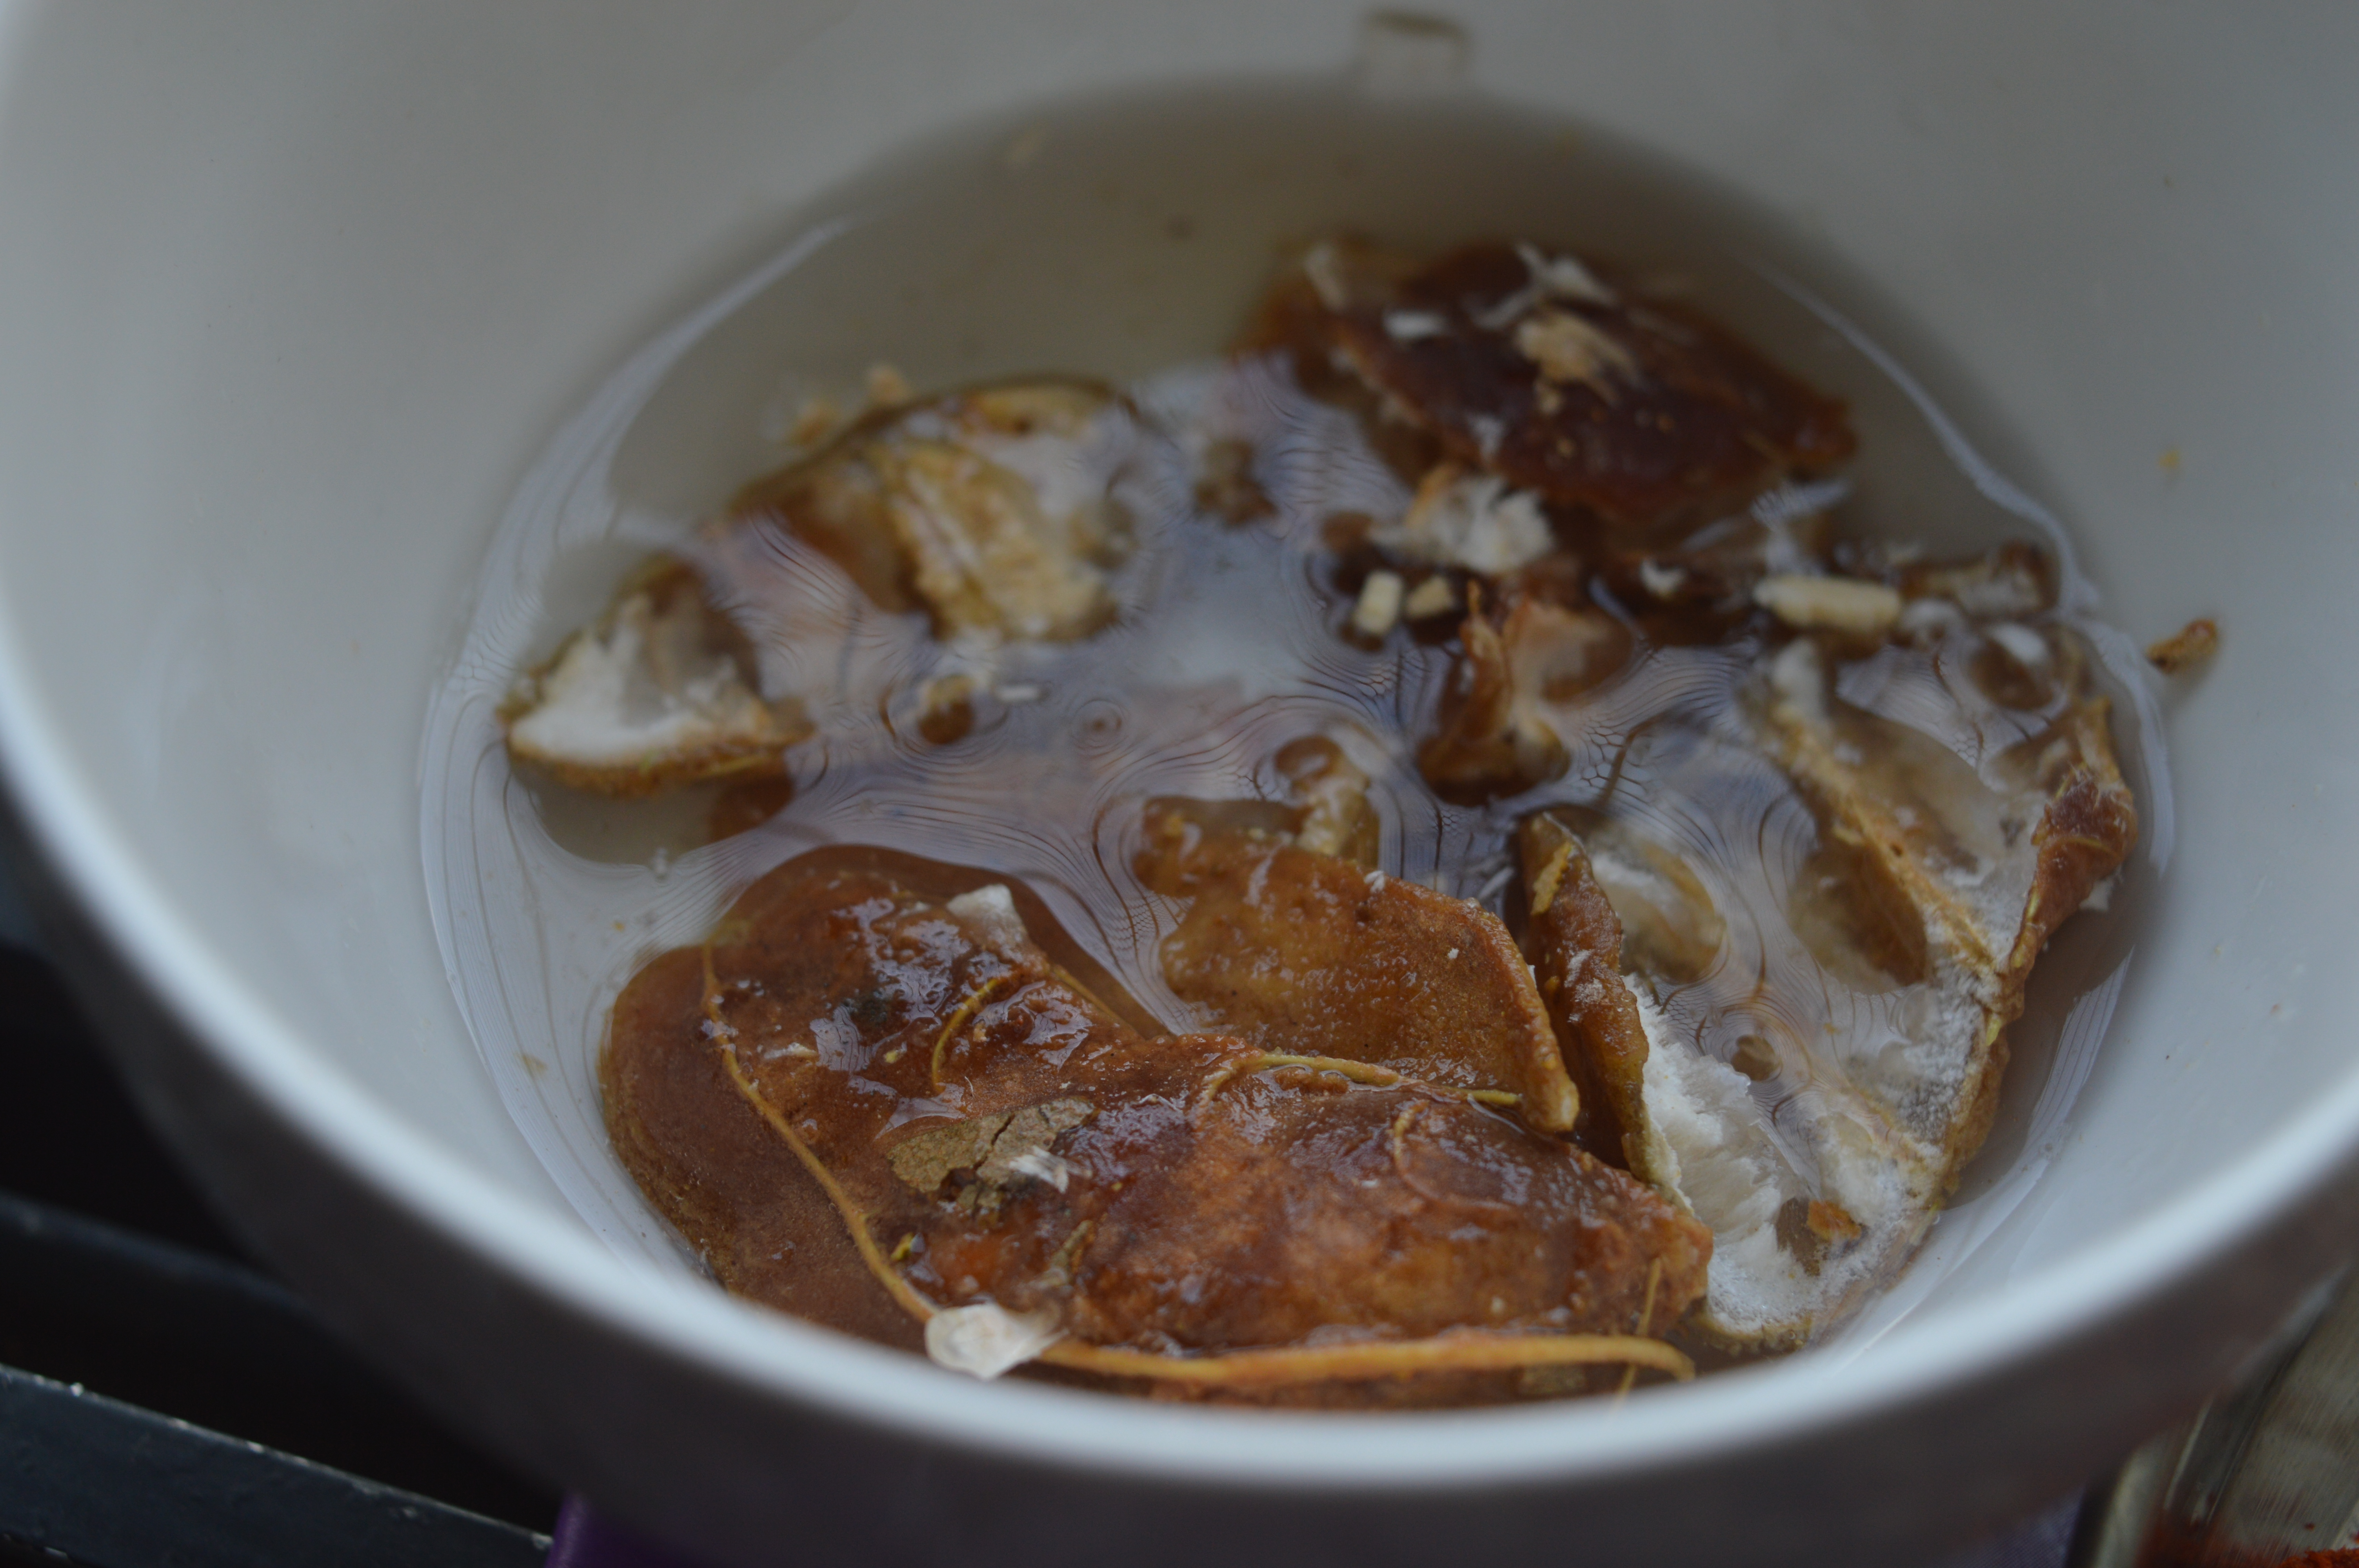
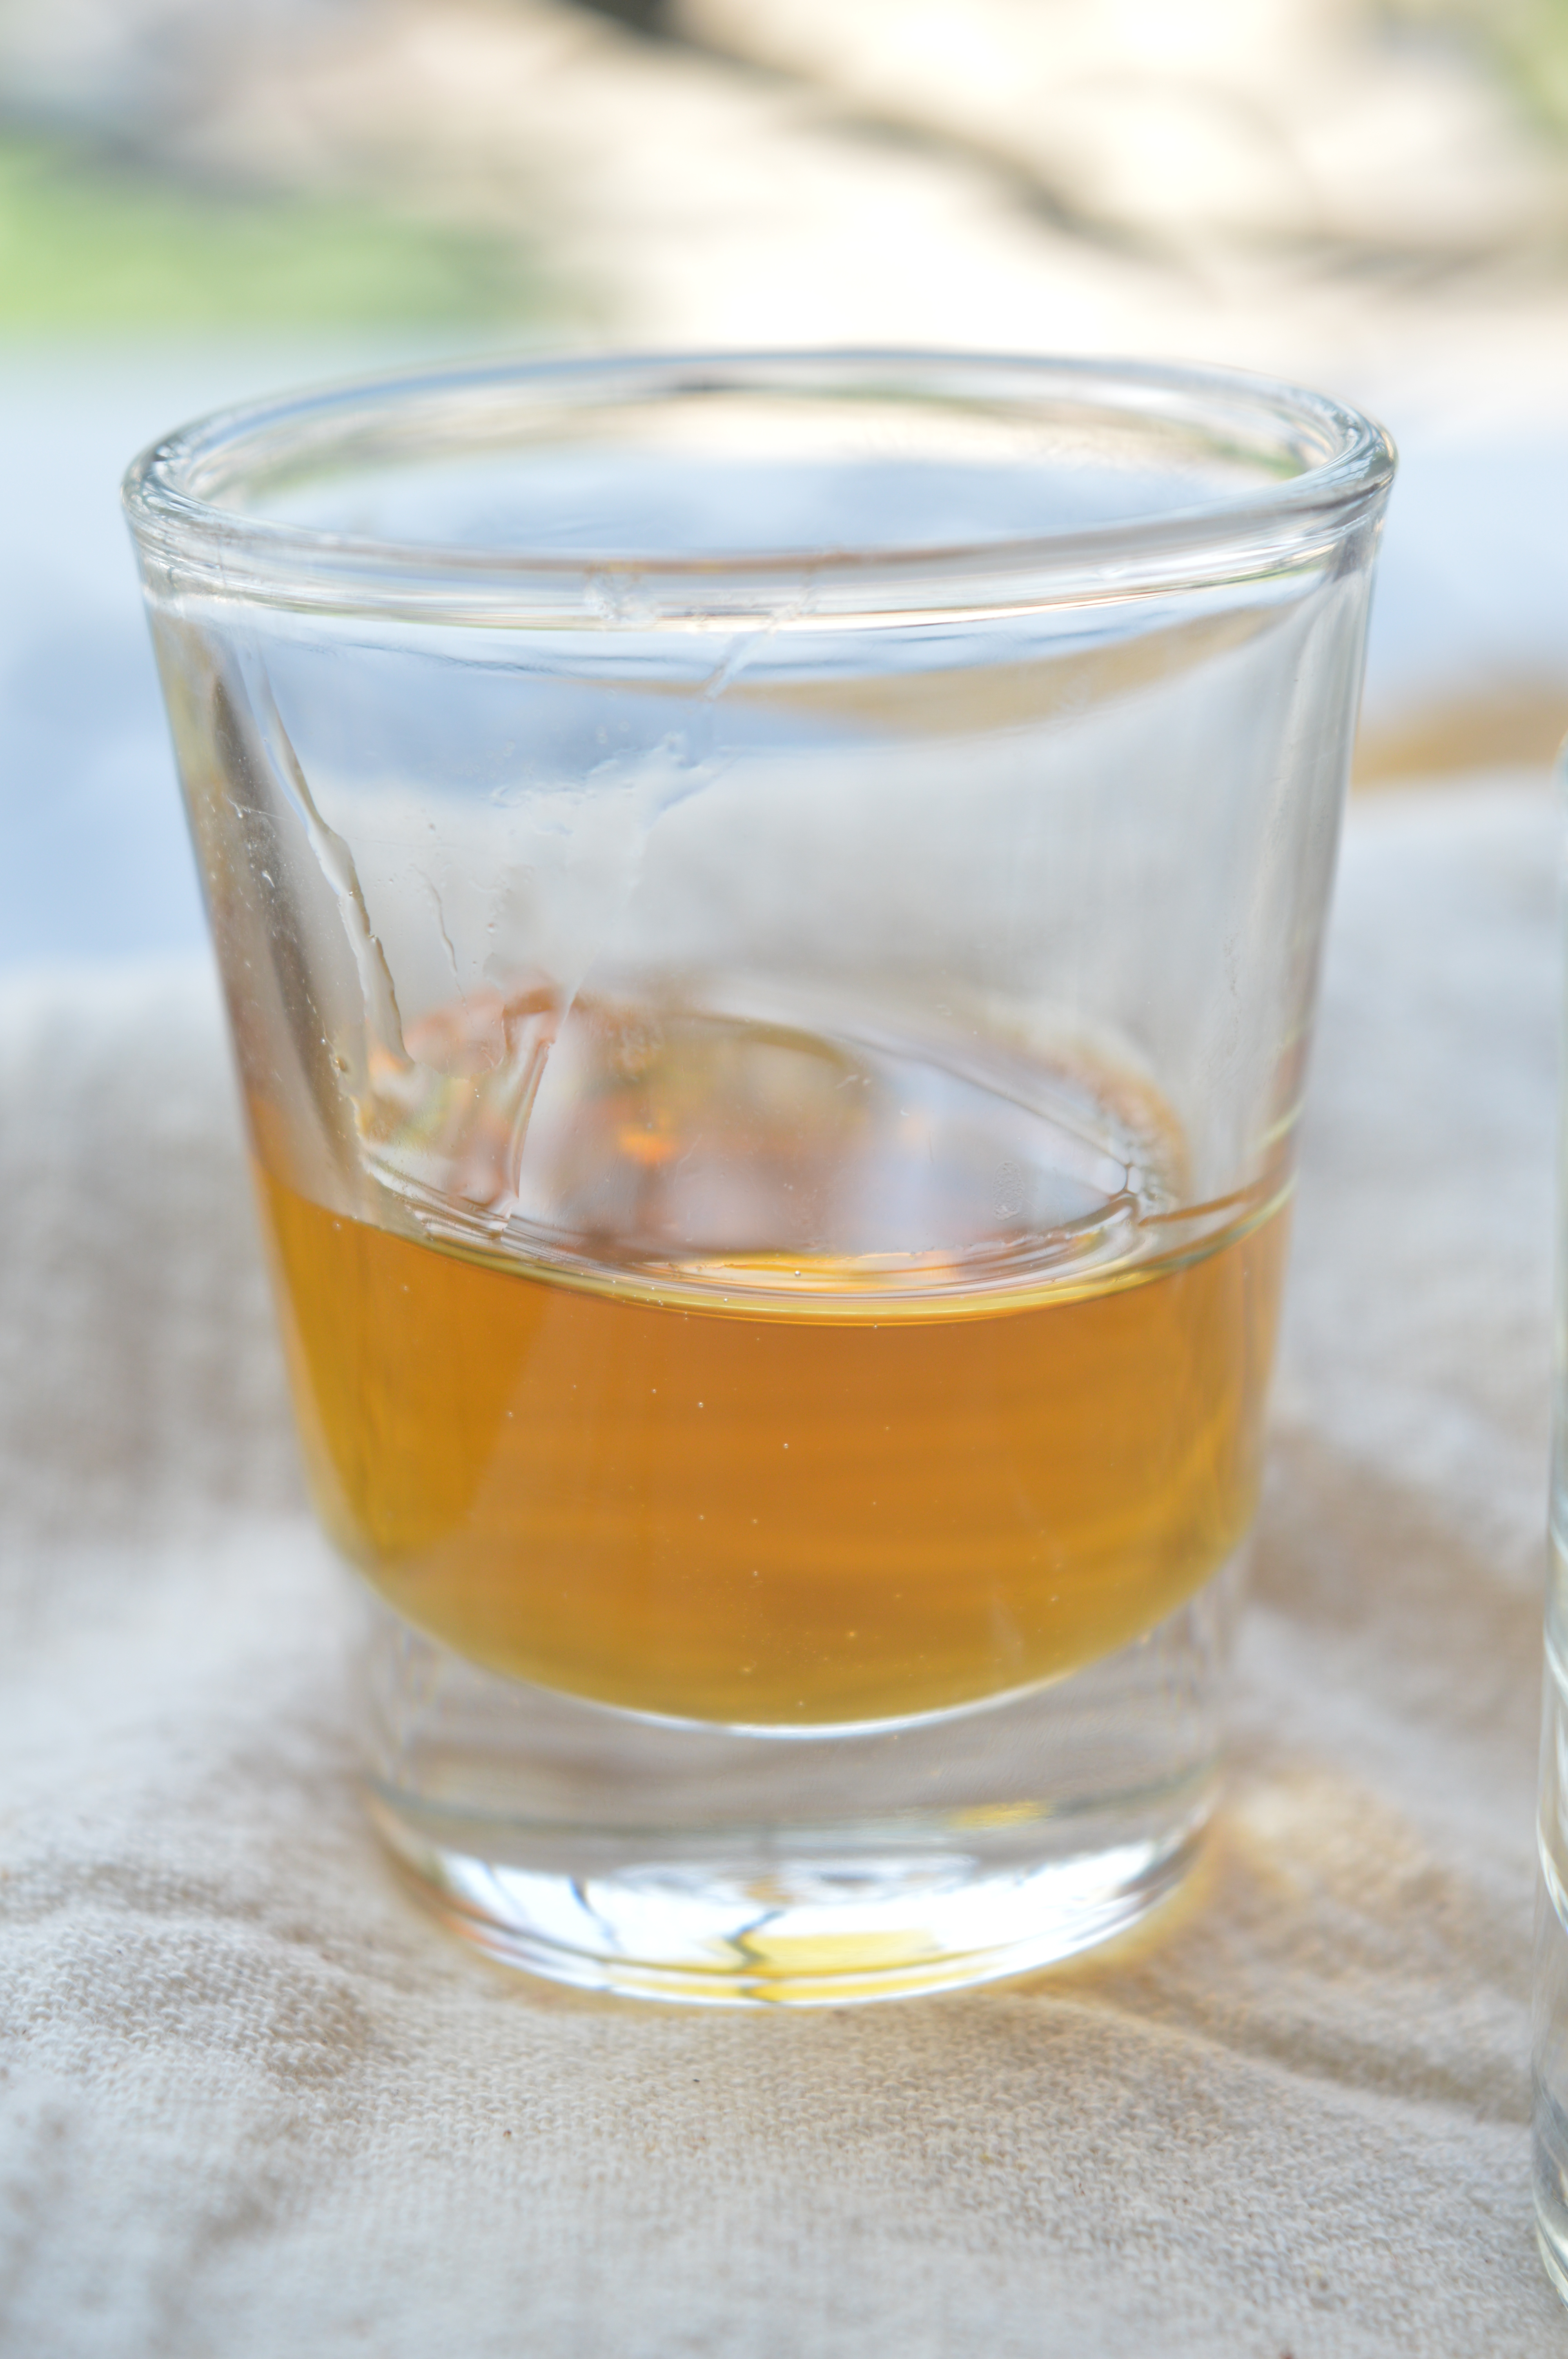
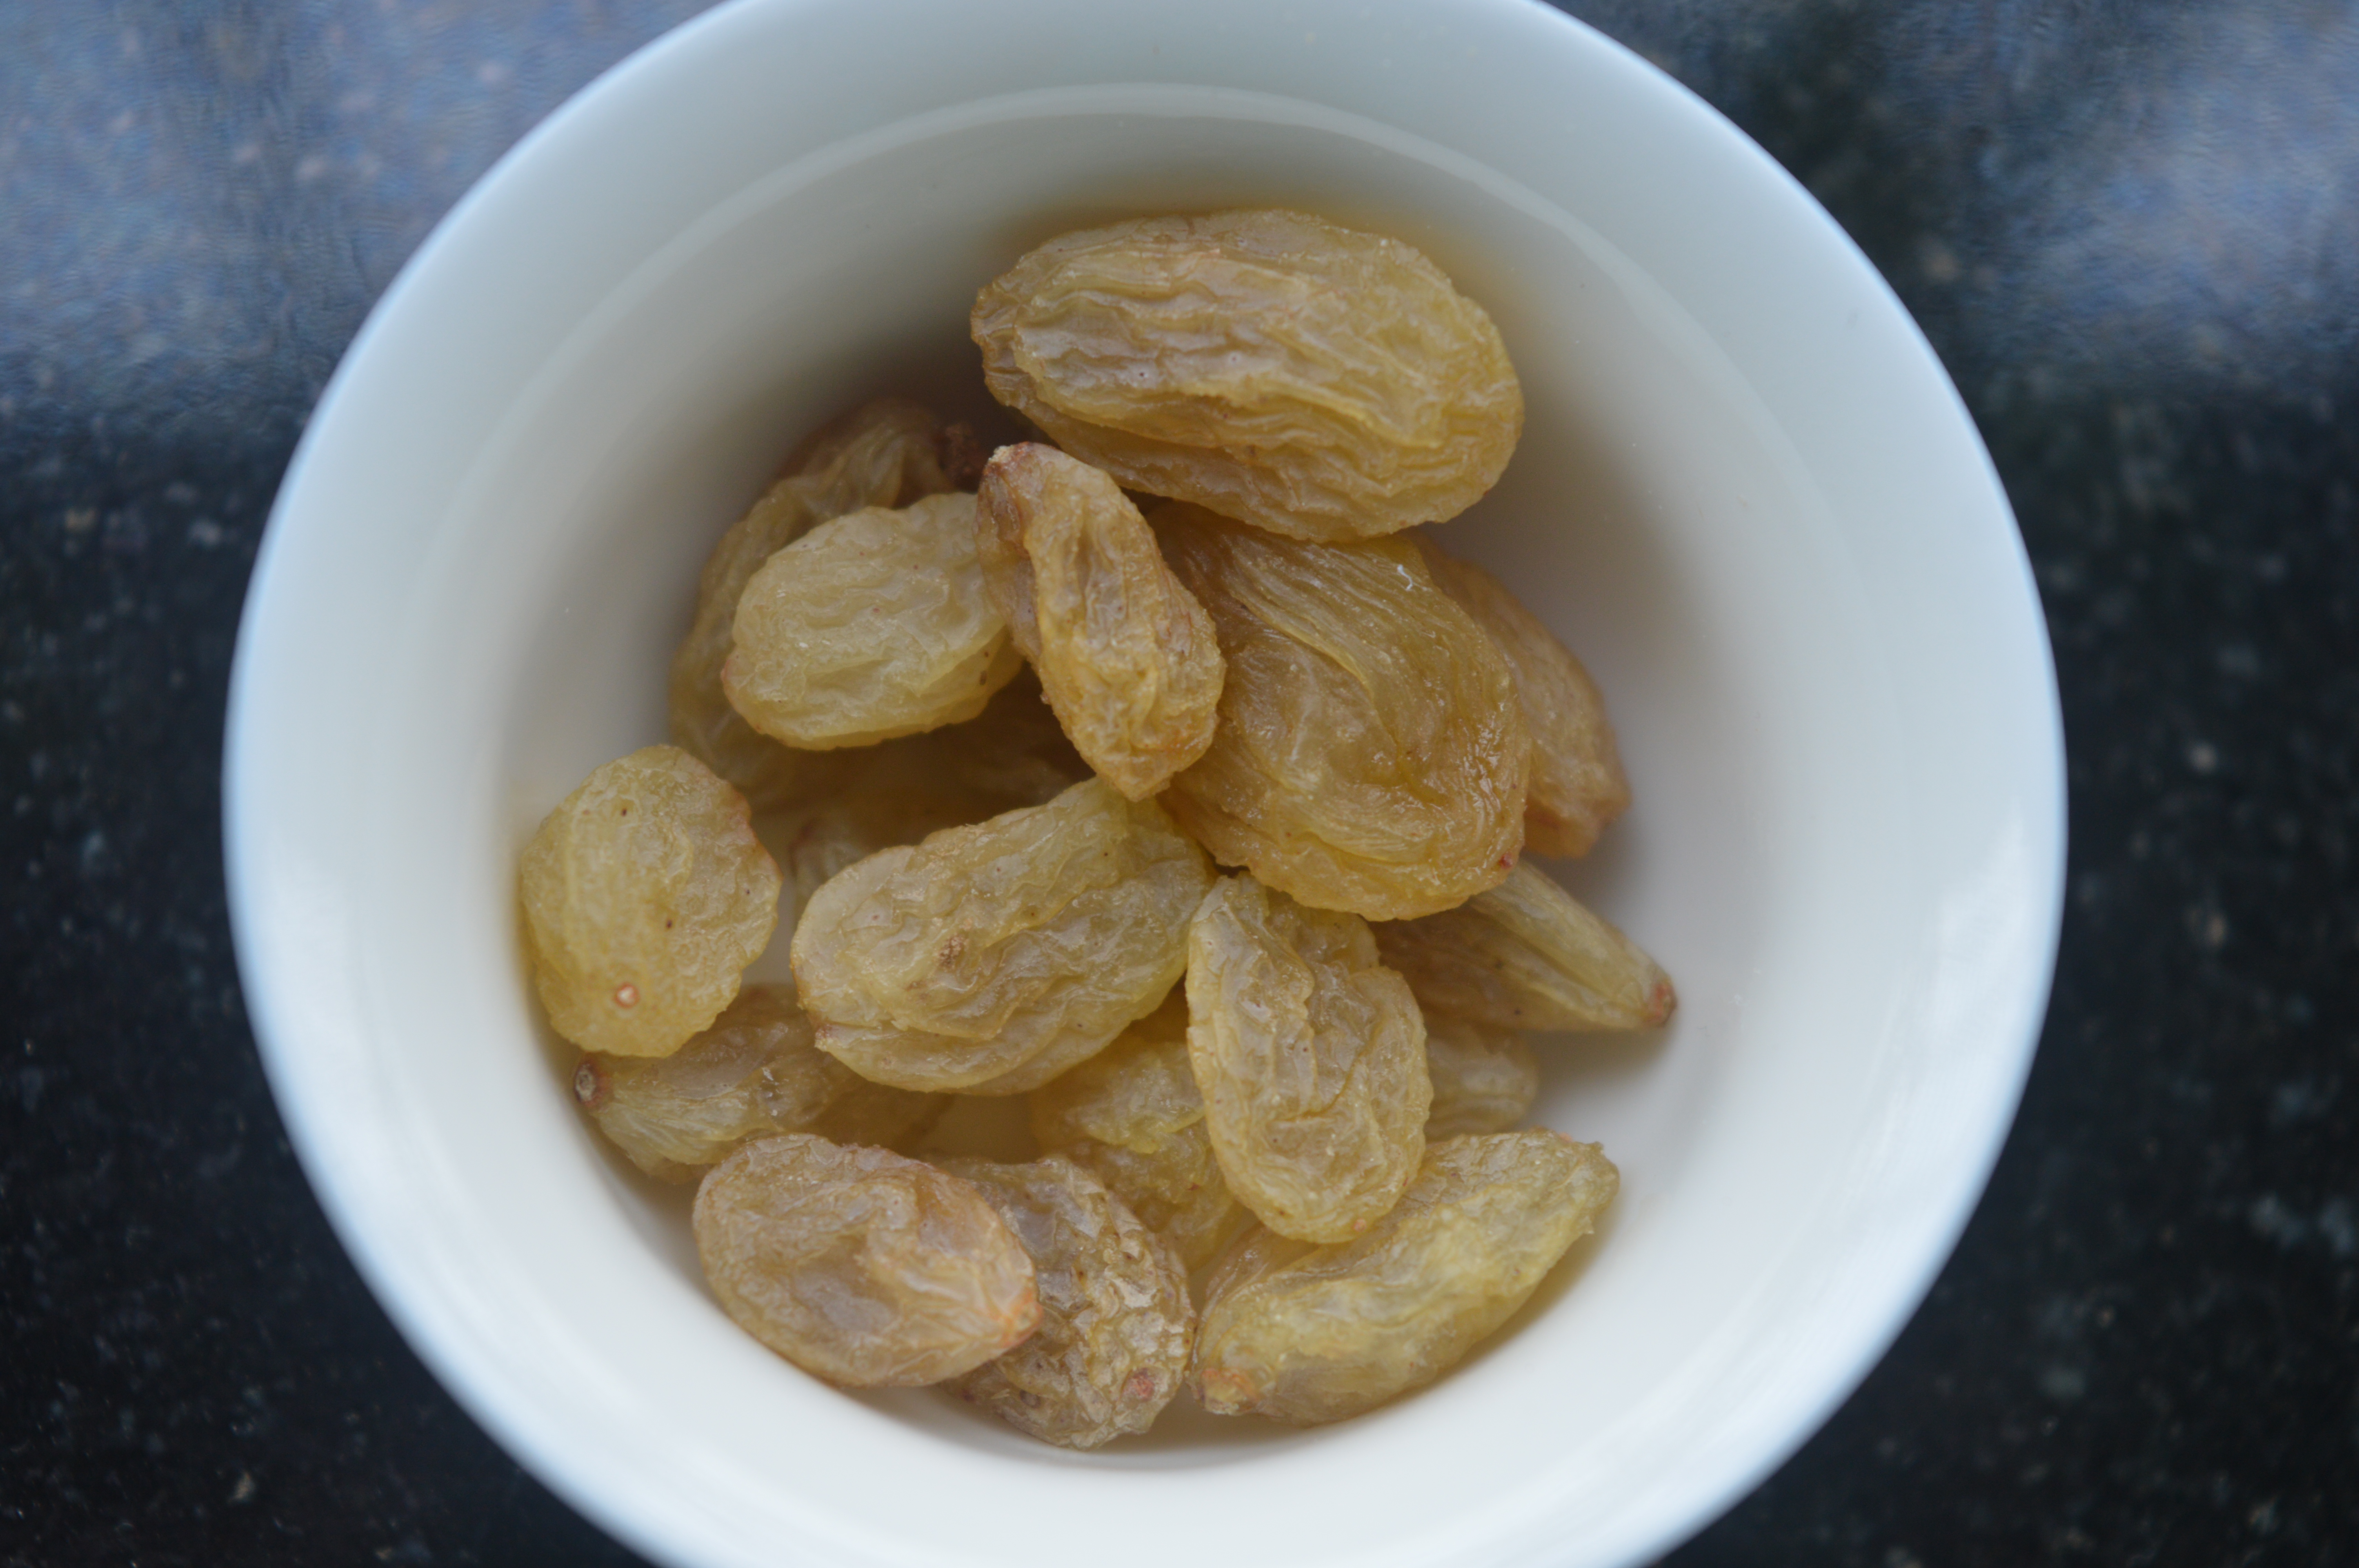
Soaked Tamarind 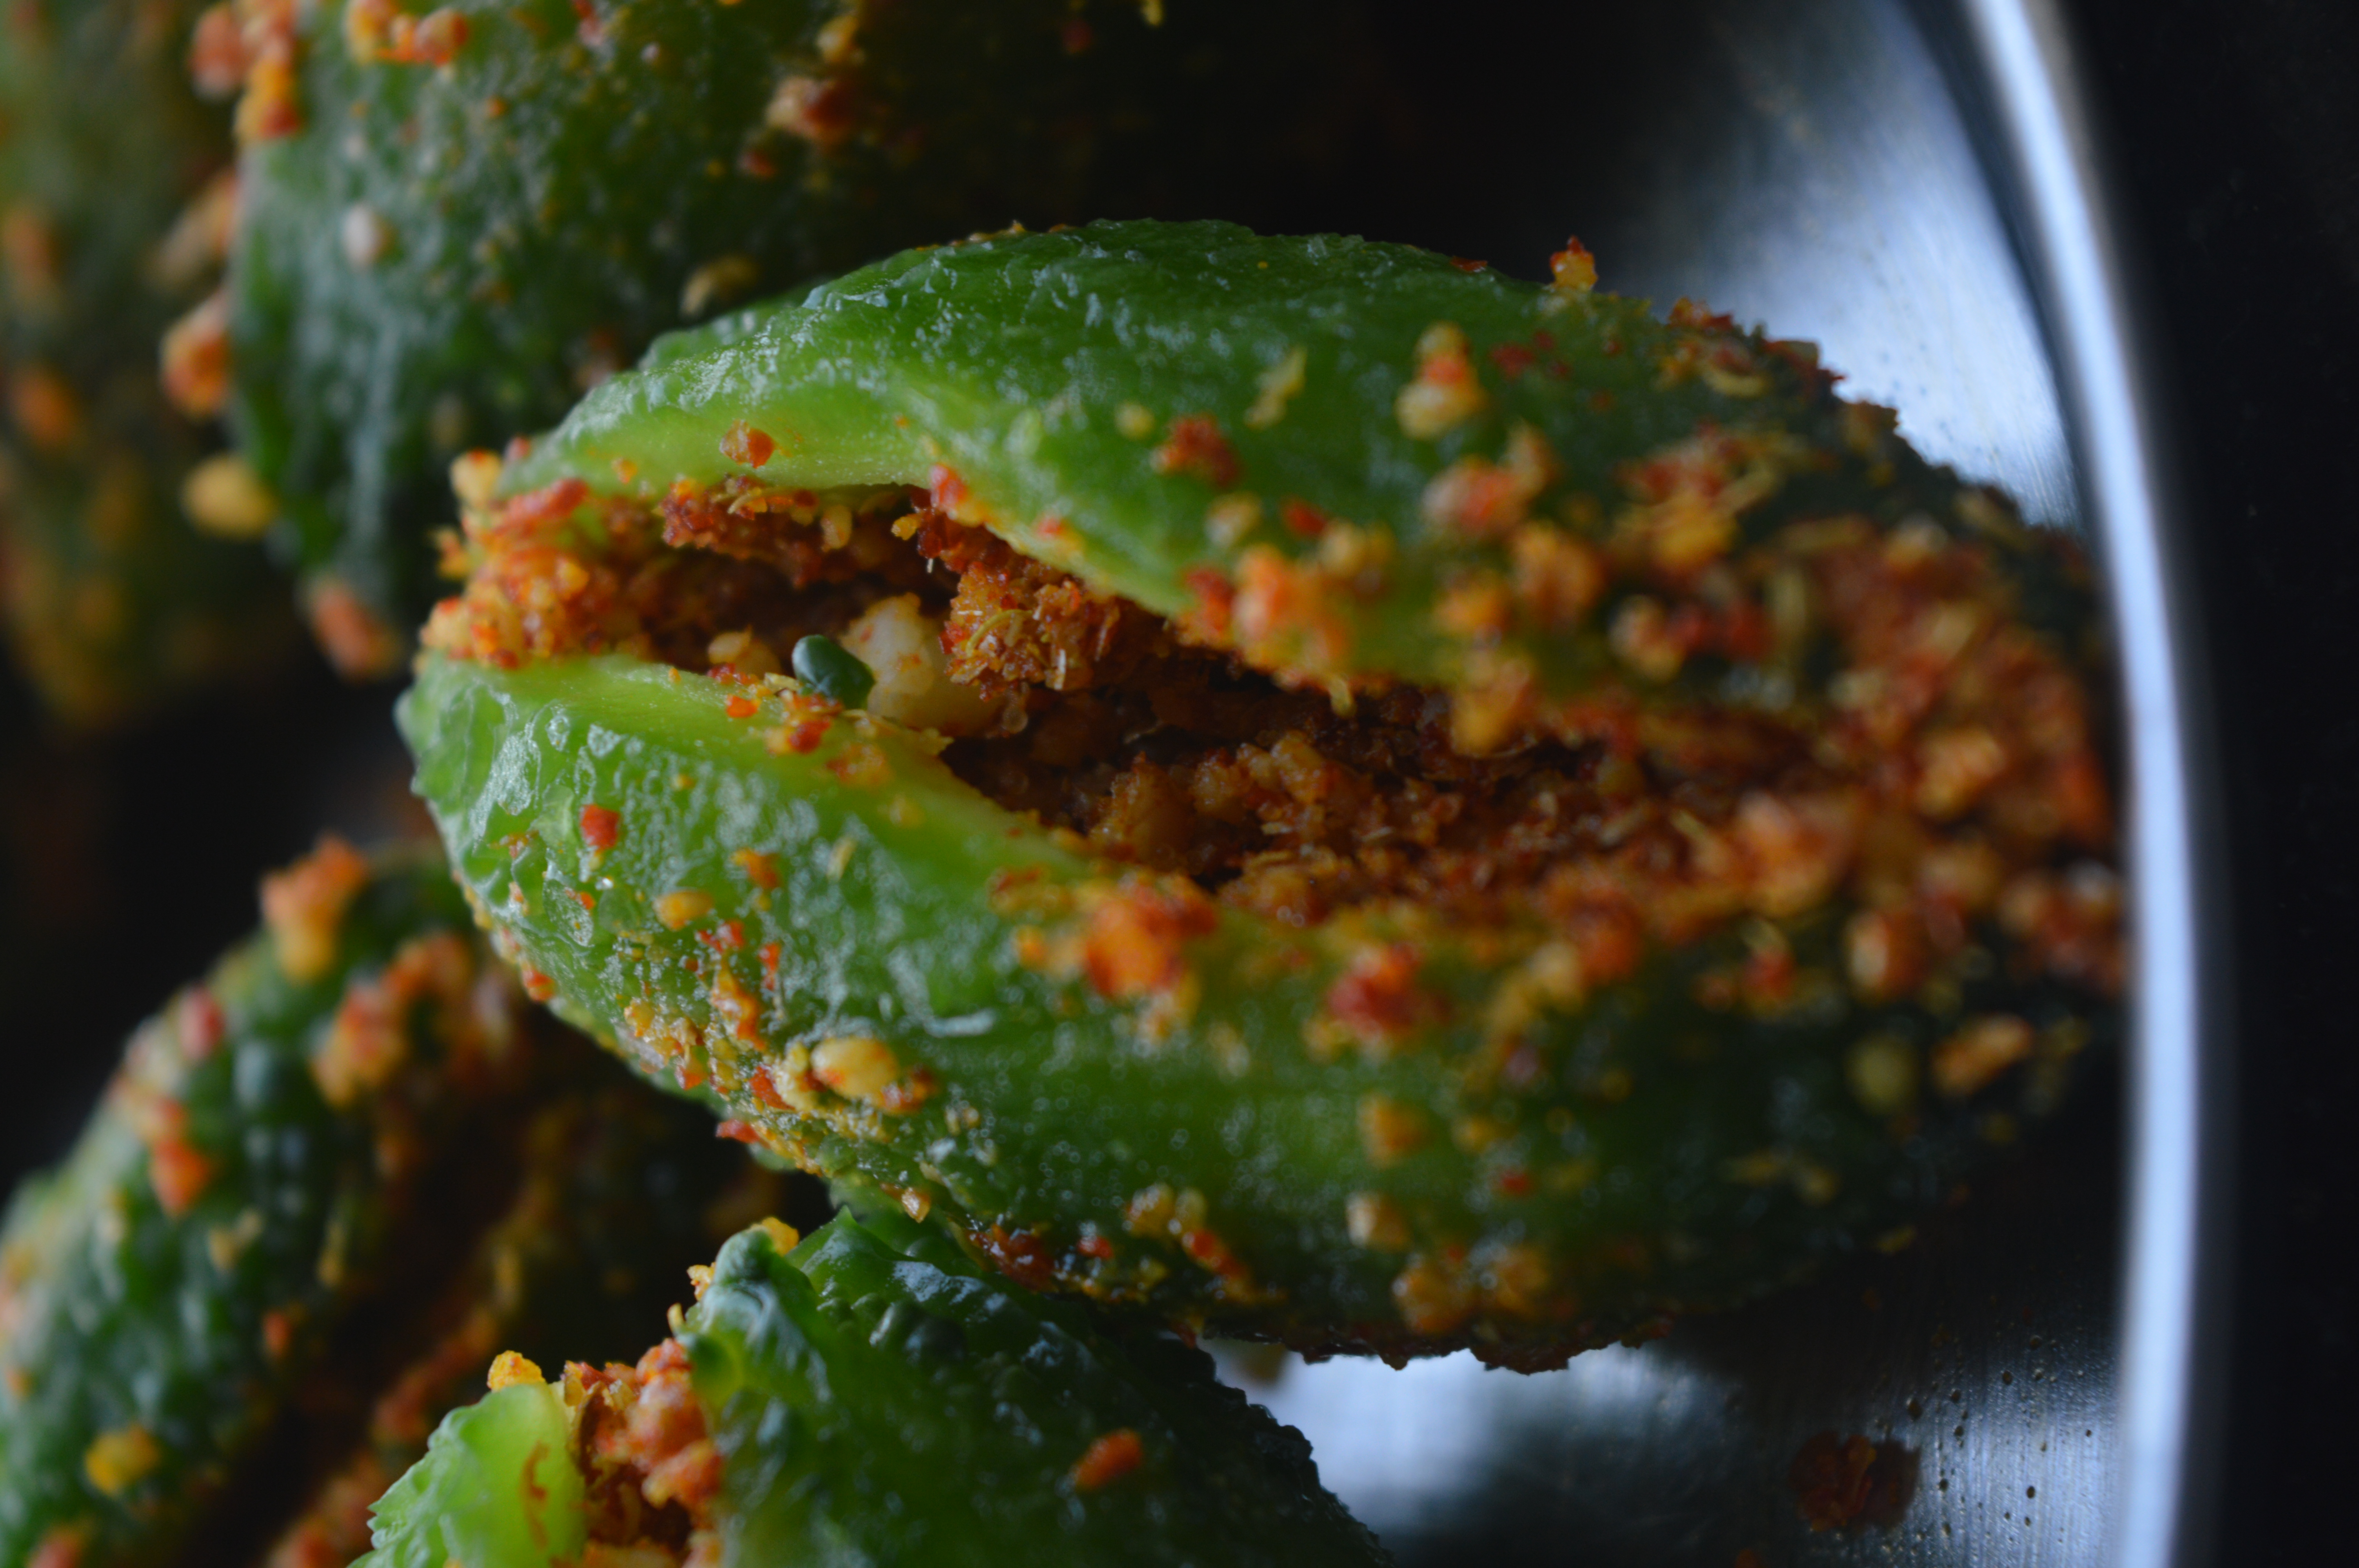
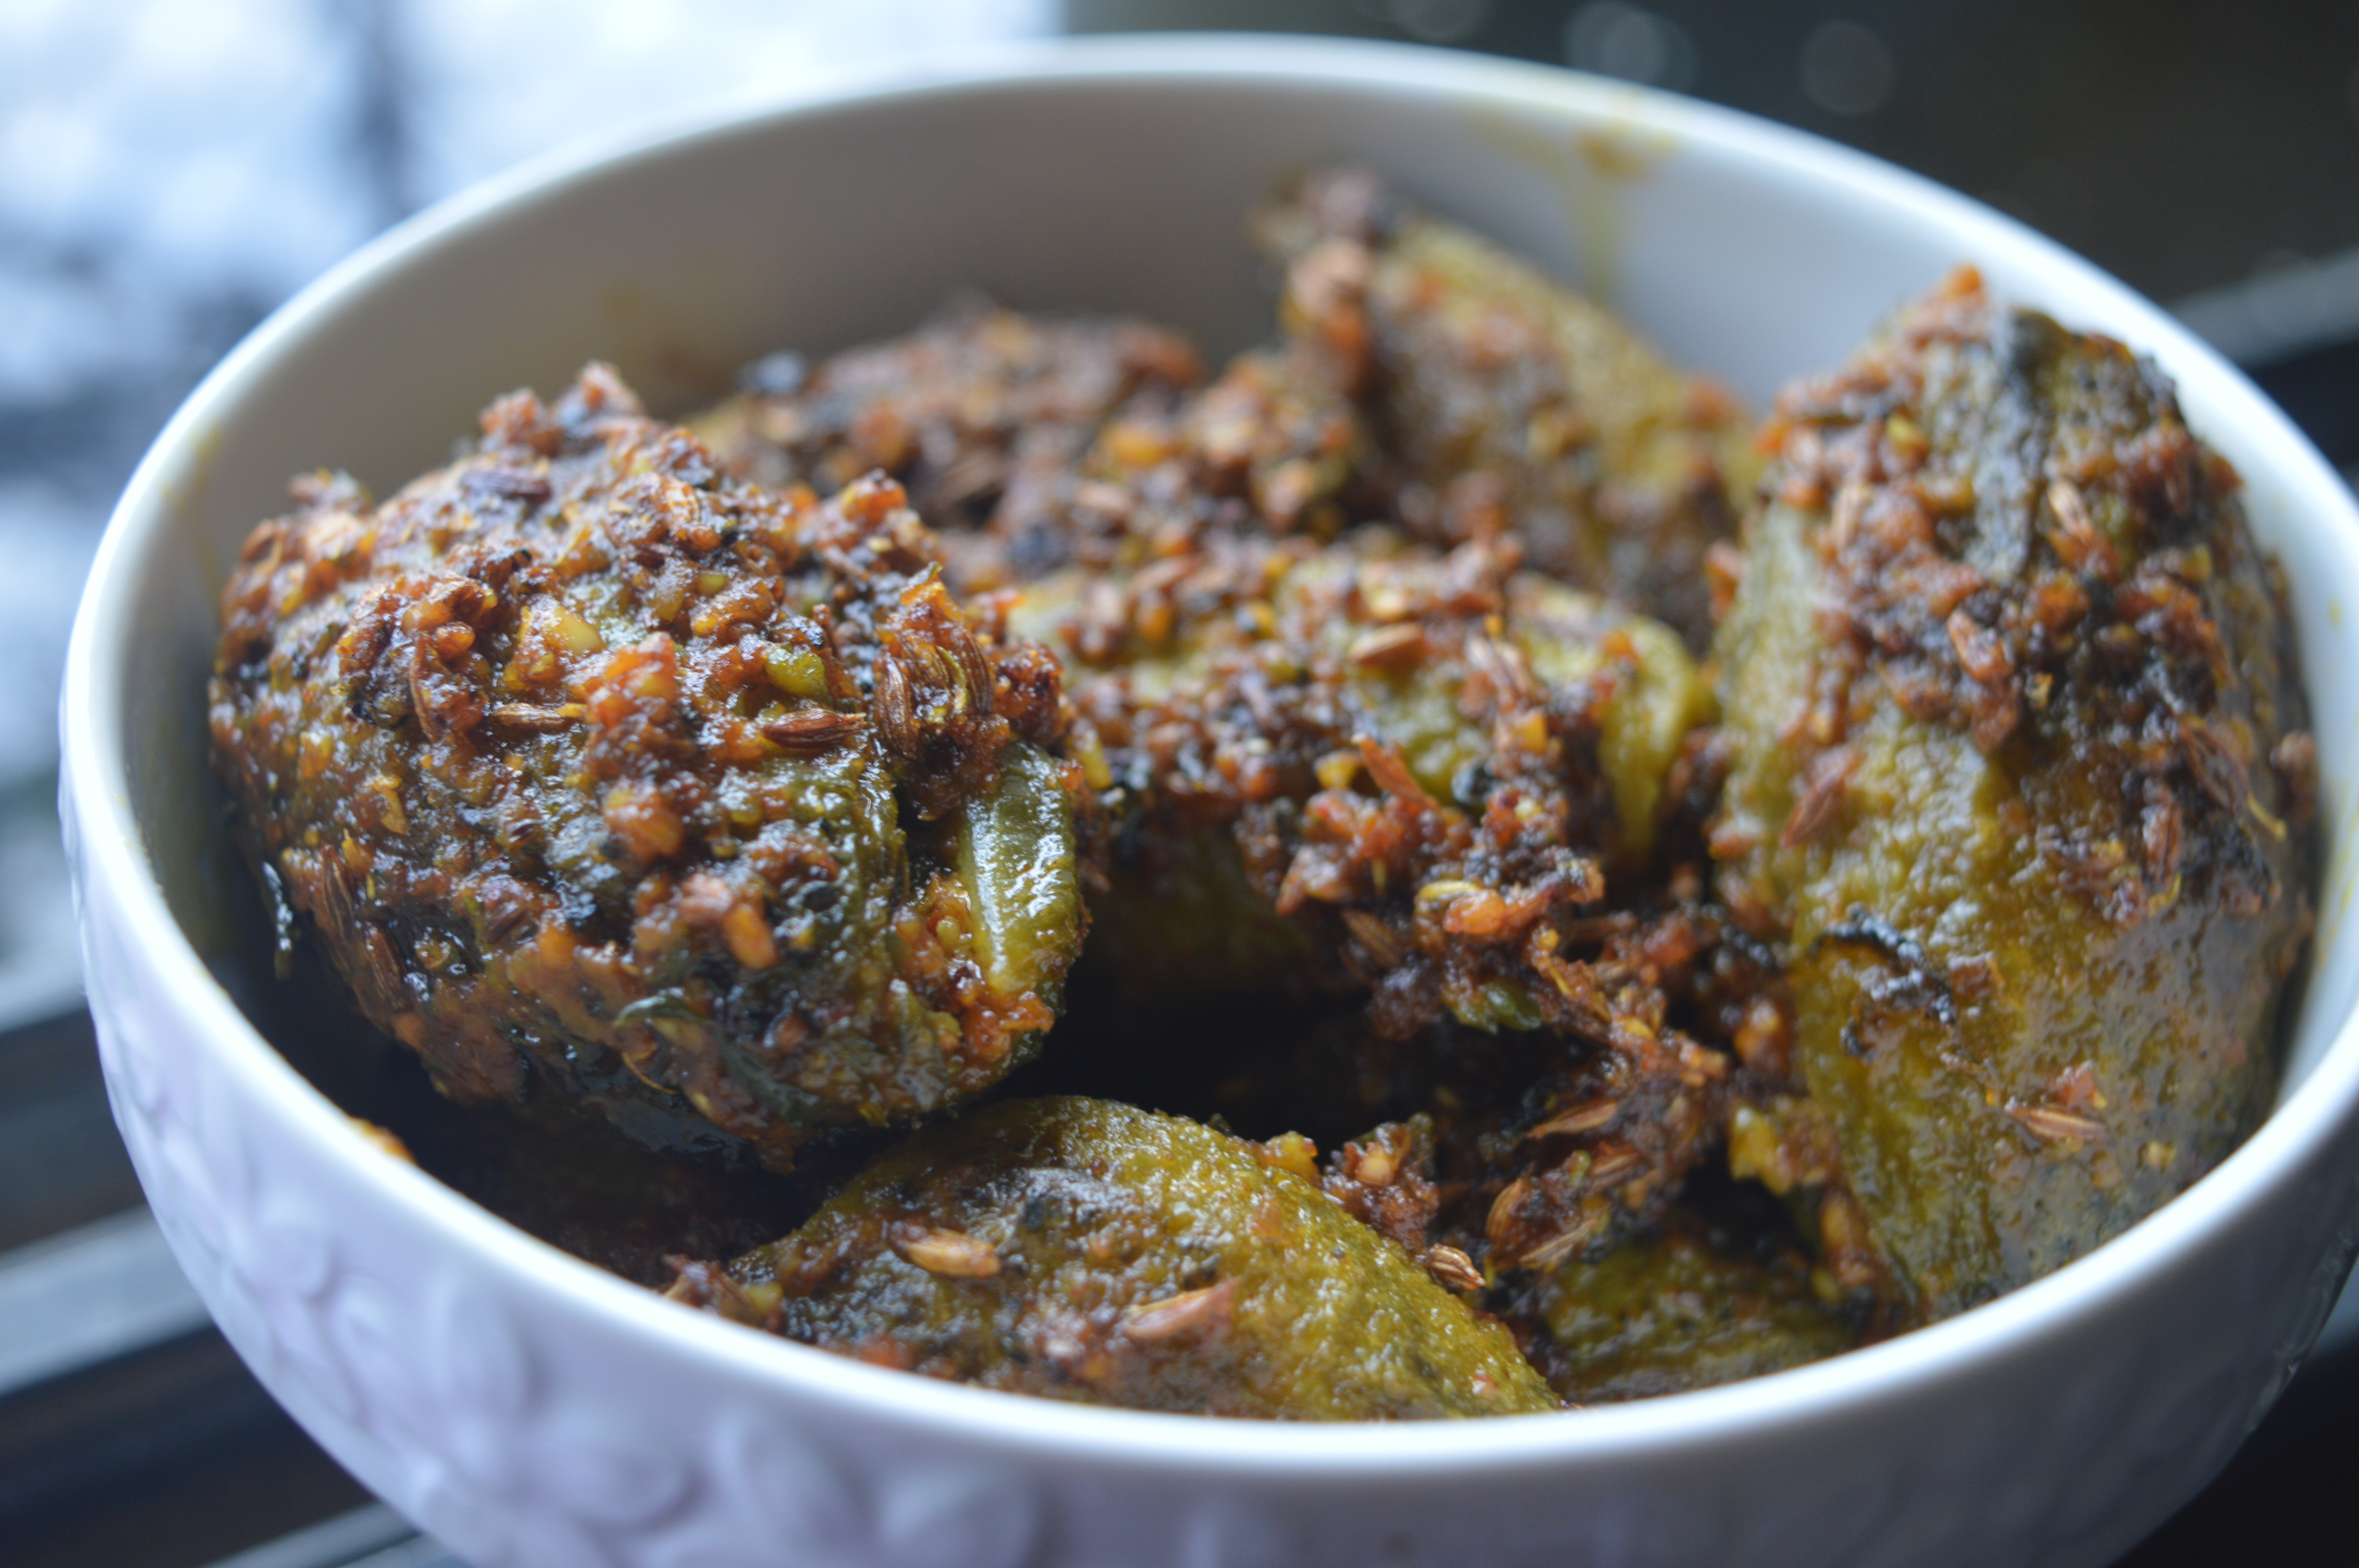
Stuffed Gourds 
Ready to Cook